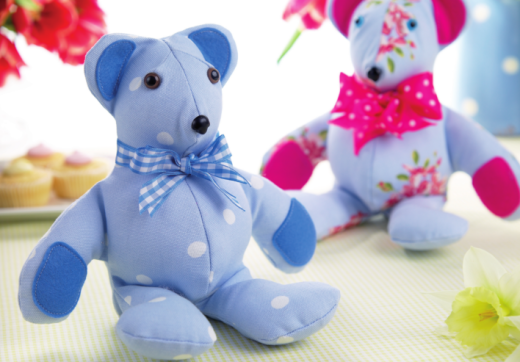
These gorgeous hand stitched characters are sure to delight grown ups and children alike!
What you need...
- Fabric, spotty, floral; felt, blue, pink
Eyes
Noses
Ribbon, gingham, spotty
Toy filler, polyester
Sewing machine
Thread
Scissors
Pins
instructions
-
Both designs are made in the same way, so for either one cut out two front pieces (a) and two back panels (b) using the template provided. Trim two ear patches and two hand patches (d) from pink or blue felt.
-
Start by stitching the darts on the head, using a 5mm seam allowance, then sew the two darts on the back panels at the base of the body. Press these seams open. Next, match the seams at the top of the head on the front two pieces and pin along the centre front seam.
-
Stitch until you get to the base of the belly, leaving a 5mm seam allowance, and clip into the end of the seam. Stitch the centre back seam together,
matching the top of the head to the base of the back and leaving a gap in the seam between the two notches marked on the pattern provided. This is where the teddy will be filled. Clip into the seam at the base of the back. -
Position and pin the ear patches to the ears on the front pieces and the hand patches to the ends of the arms. Edge stitch in place. Now the front and back pieces can be stitched together. Match the seams at the centre top of the head, with right sides facing, and pin.
-
Carefully match and pin all the way around the outer edge of the teddy. Start stitching at the base of the belly and back, sew along the legs, body, arms and head until you return to where you started. Clip all the seams, make straight cuts into all the concave curves and take out tiny 'V' from the convex curves, so straight clips under the arms and 'V's around the hands.
-
Turn the teddy through to the right side through the gap in the centre back seam. Tease out all the seam allowances, using your fingertips to achieve smooth curves. To attach the facial features, make small holes at the ends of the darts on the head and a small hole at the point of the nose.
-
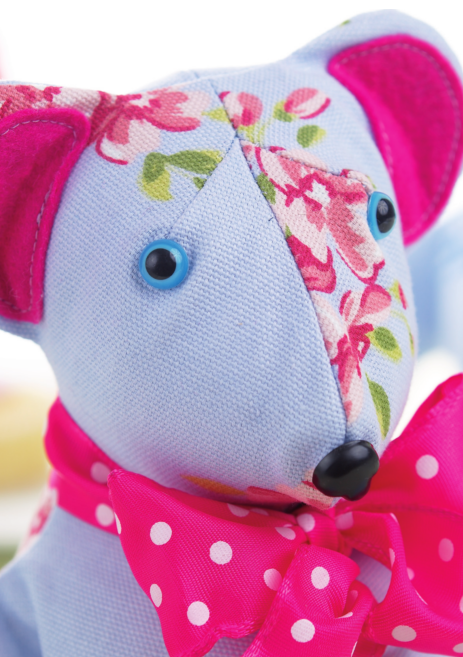
Push the shank of the eyes and nose through the holes, then press on the backs to secure them in position. To fill the teddy, start by stuffing the legs. A knitting needle helps to get the wadding in place. Move on to the arms and head, leaving the ears empty. As each limb is stuffed, don't push wadding into the joints as this will prevent the arms and legs from moving. Fill the body last. When you're happy with the shape of the bear, slip stitch the gap in
the centre back seam closed. To finish, tie ribbon in a bow around the neck.


