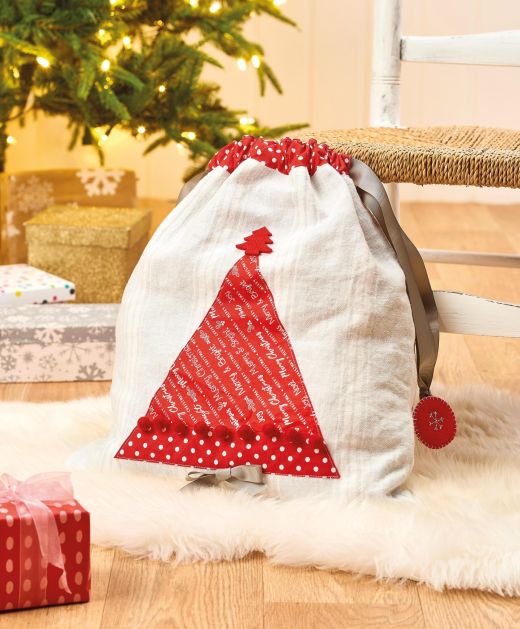
Hang up this festive bag on Christmas Eve, ready for Santa!
What you need...
- Striped linen fabric
Cotton fabric: red spotty,
Christmas prints
Grosgrain ribbon
Red wool felted pom-poms
Red felt
White embroidery thread
All-purpose polyester filler
instructions
-
1. Cut striped linen fabric, 42cm x 80cm for the outer bag, and red spotty fabric, 42cm x 100cm for the lining. Trim a rectangle of Christmas print fabric, 22cm x 25cm, plus a strip of red spotty fabric, 6cm x 25cm.
2. Stitch the spotty strip to one of the shorter edges of the printed rectangle. Cut a triangle from this rectangle with the spotty strip at the base. Fold and press in 1cm around all three edges. Fold the striped linen rectangle in half and position the prepared triangle onto the folded fabric in the centre and towards the base of the sack. Pin in place just through a single layer of the sack and edge stitch in place.
3. Fold the linen outer rectangle in half, right sides facing, and stitch both seams together with a 1cm seam allowance. Fold and stitch the spotty lining in the same way but leave the first 10cm at the open top unstitched on both side seams. Fold in the 1cm seam allowance on all four of the open edges and edge stitch in place. Turn the outer sack right side out, then place this inside the unturned lining sack. Match the raw edges of both the outer and the lining together at the top of the sack and stitch together.
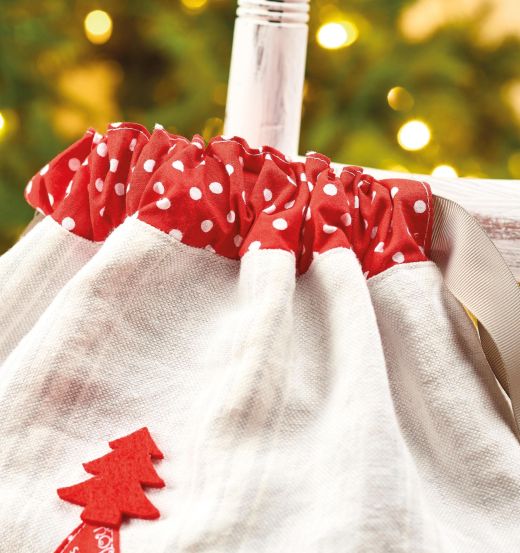
4. Turn the sack right side out through one of the openings at the top of the lining sack. Push the lining inside the outer sack, tease out the seam edges and corners, and press flat. The spotty lining should extend from the top of the outer sack. Edge stitch along the top spotty edge and the top of the outer sack edge, forming a channel.
5. Cut two lengths of ribbon approximately twice the width of the sack with a little extra. Using a safety pin attached to one end, thread the ribbon through the channel, entering and exiting through the same gap in the side and tie the ends in a knot. Repeat the process, this time entering and exiting through the opposite opening.
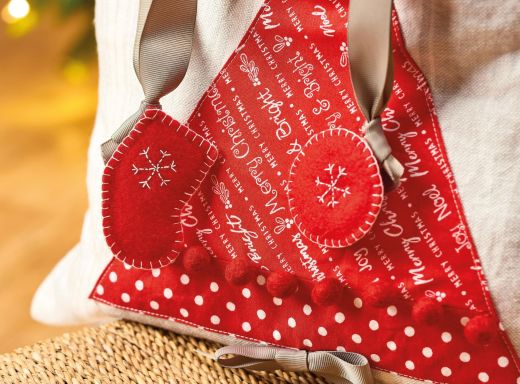
6. Make a decoration for the ends of the ribbons by cutting two small stocking shapes from red felt. Embroider a snowflake on one of the stockings. Use a back stitch to form the star shape, then add an arrow head to the end of each stitching line. Position the remaining stocking underneath and place a little stuffing inside. Pin the edges together and then use a blanket stitch to attach the two edges together.
7. Repeat the process, this time cutting two discs, embroidering one of them and stitching together again with blanket stitches. Stitch the decorations to the knots tied at the ends of the ribbons. Sew nine red pom-poms to the seam between the spotty and printed triangle. Cut and stick a small red felt Christmas tree to the top of the triangle, then stitch a ribbon bow to the centre base of the triangle to complete.


