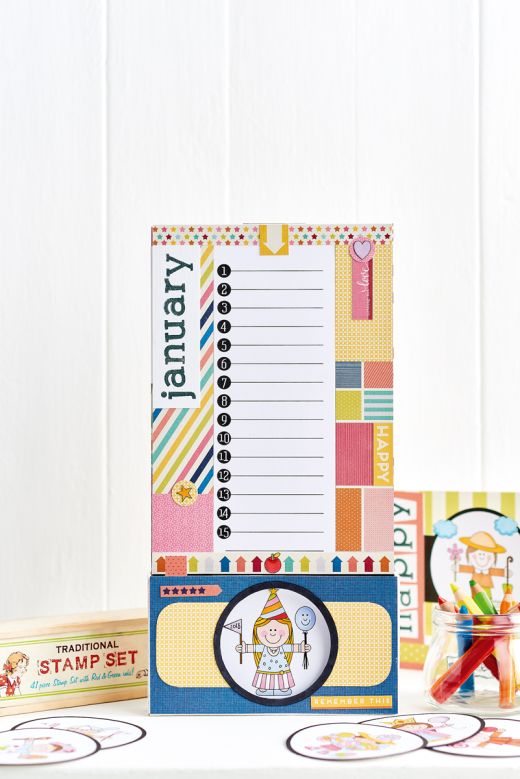
Smile! And make a fun calendar featuring our character designs.
What you need...
- Paper pad, American Crafts, Shimelle Star Shine
Card, white
Mountboard
Stamps, alphabet
Adhesives
instructions
-
Camera Calendar - 1 Make the camera box from mountboard using the templates as a guide. Once all the pieces have been cut out, place to one side. Cover the front piece in blue paper and add the lens circle frame. Cut out the area within the circle from the camera box, so that when the calendar panels are positioned inside you can see a character through it. Fold up the box and secure with strong
white glue.
2 Print out the characters and the mini motifs onto thin white card. Using a lightbox or tracing paper, add hair and clothing for each character with a black fineliner pen. A vertical line here and there will change a skirt into shorts or add sleeves and spiky hair. Colour in with marker pens, then cut out.
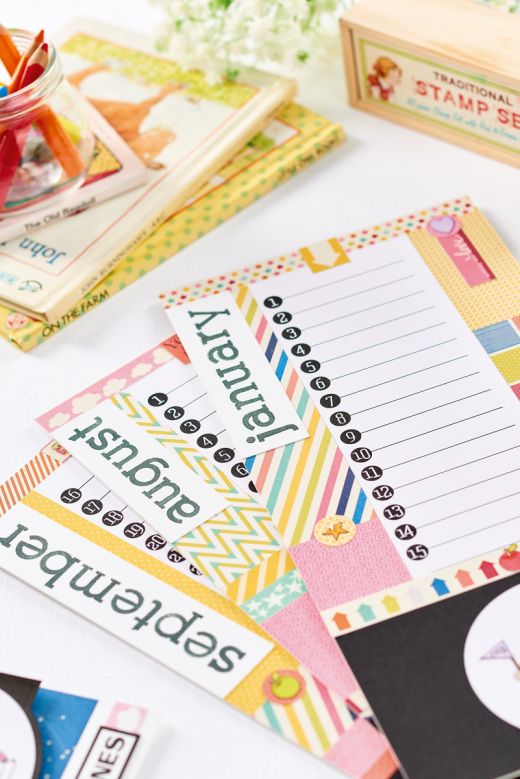
3 Print out 24 number panels, two for each month. The calendar panels are double sided so 1-15 is on the front and 16-30/31 on the back; black out the number spots on months which don’t have
31 days.
4 Take 12 pieces of A4 mountboard and reduce the width to 15cm. Check they fit into the camera box, if necessary reduce a tiny bit further. Measure 1.3cm from the top and stick on a number panel, then add patterned papers to create a patchwork effect.
5 Stamp the names of the months onto white card and stick along the sides. Add the character circles – checking the position so they can be seen through the camera ‘lens’ when placed in the box. Continue with each month, front and back, until you have 12 panels. -
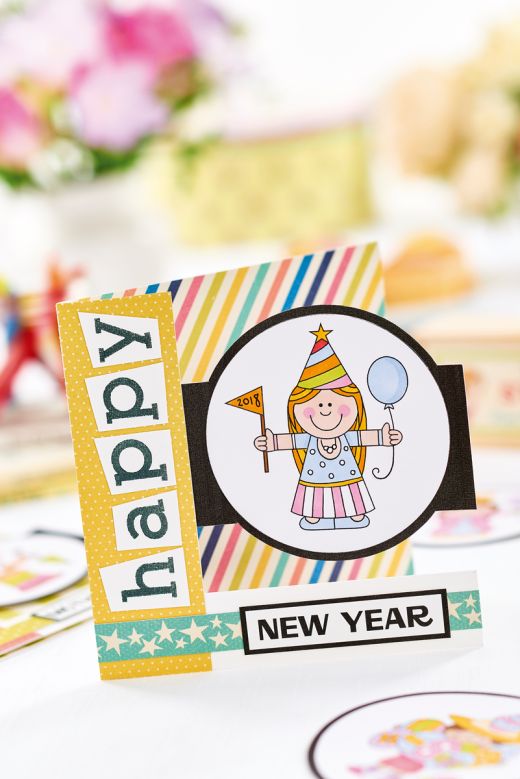
New Year Card - 1 Create a card blank, 12.2cm square. Open up the card and cut, 8.5cm x 9.5cm, from the righthand side. Add a strip of black card, 4.5cm x 12.2cm.
2 Cover the front with patterned papers and add a square to the inside. Stamp ‘happy’ in black ink onto card and cut out the letters separately. Trim the tops at jaunty angles and stick to the front.
3 Use stamps, alphabet stickers or a computer to generate any text you want along the bottom of the card. Print out the character circles and mini motifs onto thin white card. Use a lightbox or tracing paper to add the mini motifs to the hands as before.


