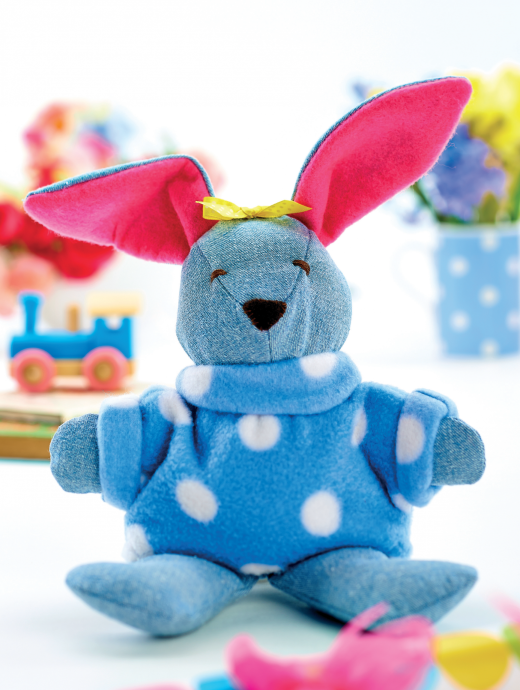
This softy from Amanda Walker will make the perfect springtime friend for your little one
What you need...
- Denim, soft washed
Fleece, spotty
Felt: pink, dark brown
Ribbon
Pom-pom, white
Thread: co-ordinating; embroidery, brown
Toy filling, polyester
Sewing machine
instructions
-
Trim denim using the pattern provided: lower and back head, one top head, front and back body, and two pairs of legs. Cut one pair of ears from denim and one from pink felt. Cut two jumper pieces from fleece on the fold. With right sides facing, stitch two pairs of legs together from the top, leaving a 3mm seam allowance. Clip this around the feet, then turn the legs to the right and stuff. Stitch across the tops.
-
Sew the centre-front and centre-back body seams together, then two darts in the base of the back body. Match the front and back bodies together and stitch from the neck edge around the arm and down the side edge of the body, then repeat on the other side. Divide one felt and one denim ear piece in pink and denim, then pin and stitch the edges. Turn to the right and press. Fold a tuck in each ear and stitch across the base to secure. Stitch the centre-back seam of the back head together, right sides facing.
-
Match the centre-front of the lower head and stitch from the nose to the neck edge. Pair the nose of the top head with that of the lower, then pin and stitch into place. Position the ears,pink side forward, then pair the edge to the notches on the top head and pin. Position the back head over the front, matching the top of the centre-back seam with the centre notch on the top head and sandwiching the ears between the two edges. Pin and stitch around the seam. Turn to the right and open the seam allowances.
-
Place the turned head inside the unturned body, then match the side seams in the head with those on the edge of the neck. Pin and stitch around the neck, attaching the head to the body. Turn the body to the right. Position the legs on the edges of the front body base, then secure. Stuff the arms and stitch from the shoulder to the underarm, then stuff the body and head. Slip stitch the gap at the base of the body closed, being careful to cover the seam allowance from the tops of the legs.
-
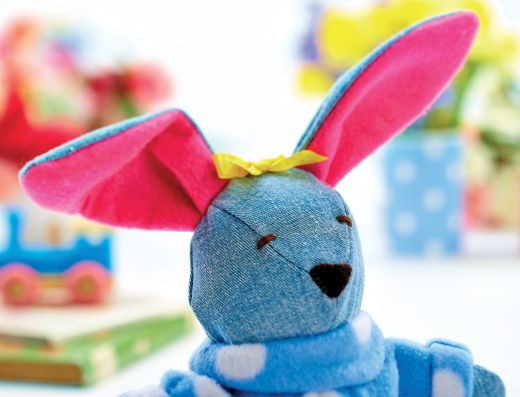
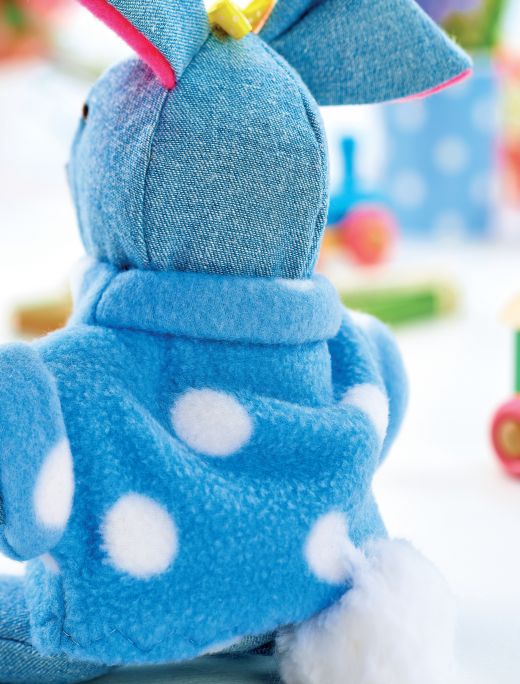
Mark the eyes and nose positions onto the head. Cut a small triangle of brown felt for the nose and hand stitch into place, then stitch the eyes using brown embroidery thread. Stitch a ribbon bow to the top of the head, then a white pompom to the curve in the centre-back body. Position the jumper pieces together, right sides facing, and clip at the marked notches. Stitch between the notches around the shoulders and the underarm, then side seam to the lower edge. Turn to the right and match the neck and sleeve remainders, then complete the seams on the right for cuffs.


