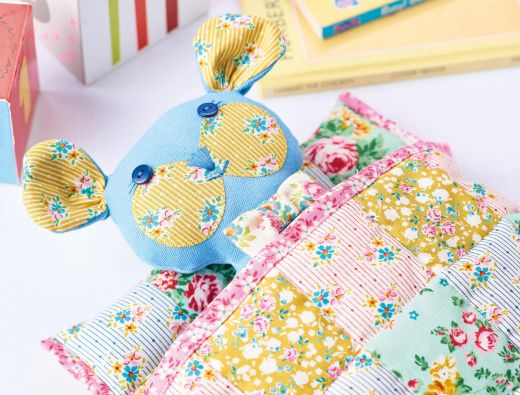
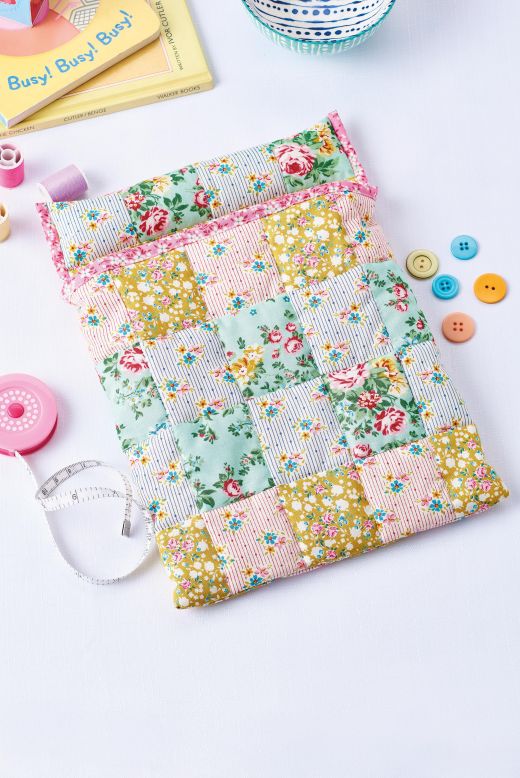
Stitch Corinne Bradd’s adorable bear with his own cosy pouch
What you need...
- Fabric: denim; cotton, Tilda Apple Butter prints; striped
- Quilt wadding, 2oz
- Toy stuffing
- Fusible adhesive sheet
- Blue buttons, 10mm
- Embroidery thread, blue
instructions
-
Teddy Bear - 1. Cut two bear shapes from denim using the template, adding a 5mm seam allowance as you do so. Iron fusible adhesive onto the back of a yellow cotton print and trace the stomach and cheek pieces onto the backing paper. Cut out without adding a seam allowance and fuse to the front of one of the body pieces. Secure the cotton to the denim with a small zigzag stitch in a co-ordinating colour.
2. Use two strands of blue embroidery thread to work a triangular nose and mouth between the fabric cheeks. Add small buttons for eyes and stitch eyelashes. Place the bear shapes right sides together and sew all around the edges, leaving 4cm open along the inside leg. Clip all curves and angles before turning right sides out. Firmly stuff before folding in the raw edges of the gap and slip stitching closed.
3. Cut two ear shapes from denim and two from patterned cotton, adding 5mm seam allowances. Pair up one piece of each fabric right sides together and stitch around the curved edge, leaving the bottom flat edge unsewn. Clip curves and turn each ear right sides out. Turn in 5mm around the bottom of each ear and pull taut to gather the fabric. Slip stitch the gathered edges to the top of the bear’s head.
4. Cut a strip of printed cotton, 4.5cm x 15cm. Fold in half lengthways, right sides together, and sew down the long seam. Turn out and cut into two pieces, 4cm and 11cm. Fold the ends of the longer piece to the centre and tack. Wrap the shorter strip around the centre and tack to make a bow. Stitch this to the bear’s neck. -
Sleeping Bag - 1. Cut 36 pieces of printed cotton, 6cm x 7cm. Sew them right sides together to make a 4 x 9 panel with the pieces positioned portrait. Make a second panel, 2 x 4, from eight pieces of fabric. Stitch this to the top of the right-hand part of the main panel as this will create the pillow section. Press the panel and pin onto wadding and striped lining fabric. Trim the fabrics to the same shape and topstitch along the seam lines to quilt.
2. Check the edges of the quilted panel are neat and zigzag stitch around them to prevent fraying. Fold the main section of the quilt right sides together and sew down the side seam. Shift the side seam 1cm towards the back and stitch across the bottom edge of the bag so the front is five patches wide and the back is four.
3. Turn the bag right sides out and fold the spare patches at the top of the sleeping bag in half. Cut a strip of fabric, 3cm x 22cm, and fold under 5mm on each long edge. Place the strip over the raw edge of the pillow section and topstitch along both edges. Lightly stuff the resulting patchwork tube to make a pillow. Tack the end of the tube closed.
4. Cut several 3cm wide strips of patterned fabric and join end to end to make a piece at least 43cm long. Use this to bind around the ends of the pillow and neaten the top edge of the sleeping bag.
Projects you may also like...
Recommended Projects...
 BusymittsShare your makes


