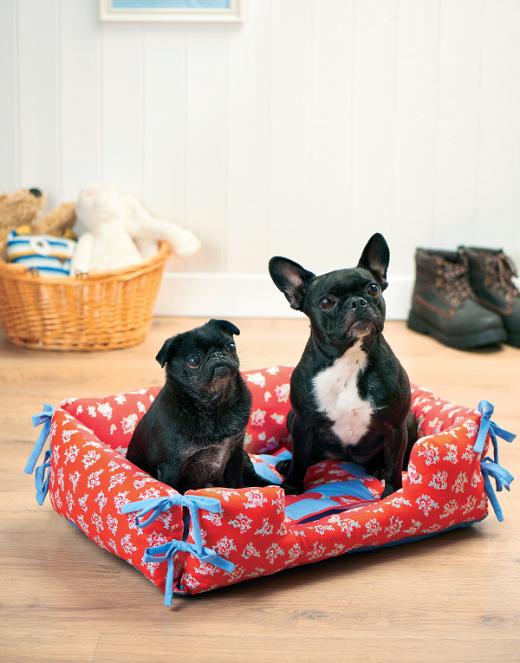
Stitch a pretty present for a canine friend
What you need...
- Cotton fabric, 1m each of two patterned designs, 1m of plain
Plain cotton, 40cm x 60cm
Fibre filling
Pillow
Quilt wadding, 2oz weight
Zip, 50cm
Template
Interior size 40cm x 60cm. Height 20cm
instructions
-
Bed - 1 Cut two 42cm x 62cm rectangles from the plain fabric, and a strip 7cm x 62cm. Place the strip along the centre of one of the rectangles and pin. Draw a 50cm long pencil line along the middle and stitch around it, 0.3cm from the line on either side. Use a craft knife or small scissors to cut along the pencil line and turn the fabric strip through the hole to the other side and press. This will create a perfectly hemmed slit in the rectangle. Pin the zip under the slit and top-stitch in place, taking care to reinforce the ends of the hole. Trim away excess fabric if necessary.
2 From each of the printed fabrics, cut two 22cm x 42cm rectangles and two 22cm x 62cm rectangles. Place one set of print pieces with the zipped rectangle to make the outside of the bed and the other set with the plain rectangle to form the interior. From one of the larger rectangles of each print cut an indent from the centre to make the bed easier for small dogs to climb into (use downloadable template).
3 Stitch the rectangles around the edges of the plain fabric panels, right sides together with a 1cm seam allowance and stopping 1cm from each end of the seam. This will form two fat cross shapes. Unzip the zip slightly and place the two crosses right sides together, matching up the indent on the front of the bed.
4 Cut 16 strips of plain fabric measuring 4cm x 30cm. Fold each in half lengthways and sew down the long edge and across one end with a 0.5cm seam allowance. Turn each tube the right way out and press. Sandwich the strips between the crosses so the ends of two strips sit on each side seam, one 3cm from the top edge and the other 10cm. Pin in place as these will be secured in the next step.
5 Stitch all the way around the cross shape with a 1cm seam allowance, making sure the loose ends of the strips are not caught up in the seam. Turn out the fabric through the zip and press. Lay the bed flat and top stitch along the seams separating the plain fabric from the print material, leaving a 10cm gap in the centre. Stuff each resulting pocket fairly firmly with fibre filling and close up each pocket with a neat running stitch through both layers.
6 Fit a normal household pillow into the base of the bed through the zip opening and zip up. Take the ties on the sides of the padded pockets and tie together to keep the sides of the bed upright.
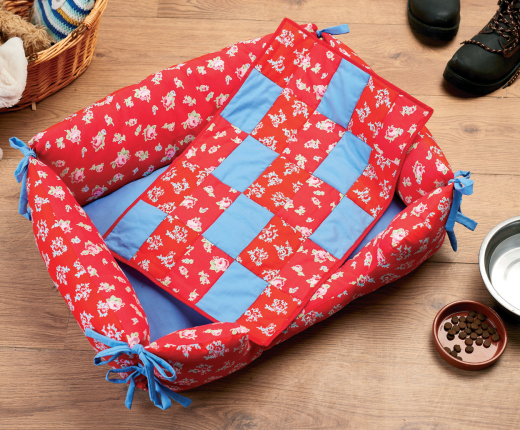
7 Make a simple patchwork cover for the inside of the bed from the leftover fabric. Cut 25 rectangles measuring 8cm x 12cm and sew right sides together in a five by five block with a 0.5cm seam allowance throughout. Press the panel and layer right side up onto a 40cm x 60cm piece of wadding and a same size rectangle of plain cotton. Pin the layers together, top stitch along the seam lines to quilt and trim the wadding and backing to the same size as the patchwork. Bind the edges of the mini quilt with coordinating bias binding and lay over the padded base of the bed


