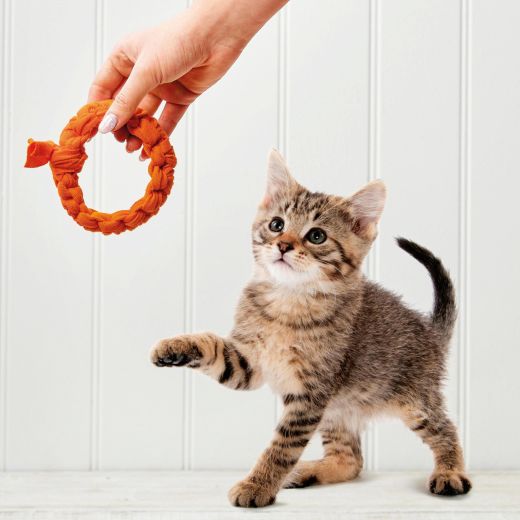
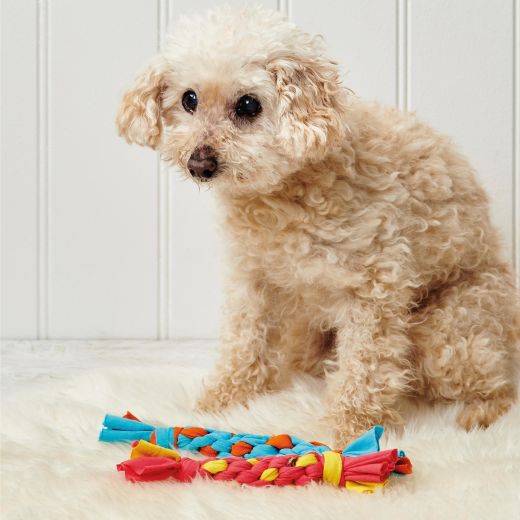
Craft a quick and easy plaything for your beloved pet
What you need...
- T-shirts or sweatshirts in bright colours
Scissors Tape measure SIZE: Small ring ragger: 16cm diameter. Large ring ragger: 26cm diameter. Pink wand: 21cm long. Blue wand: 23cm long
instructions
-
RING RAGGER - 1. Cut off one of the cuffs from a sweatshirt; this forms the inner filler ring to the toy. If you have a T-shirt, you can still use the cuff around the short sleeve but include 3cm extra as well to bulk out the inner ring. This inner can also be formed by cutting a strip of jersey fabric and stitching the two ends together. The length of the strip will determine the circumference of the ring.
2. To make the larger ring, trim a continuous strip from the shirt approximately 3m long. Start by cutting upwards at a very slight angle from the base of the garment from one of the side seams and continue in a spiral up the shirt. As you approach the point where you started, make sure your cutting line runs above the first; the strip needs to be approximately 3cm-4cm wide.
3. Find the centre of the strip and tie it at this point onto the ring. This project features a macramé square knot and is formed by using the two outer strips which will be the ones either side of the knot. The cuff becomes the inner part called the filler and isn’t used in the knotting process. The outer strips are knotted over and under the cuff filler.
4. Take the first strip to the left and pass it to the right over the filler then under the last strip. Next, take the last strip and move it to the left under the filler and over the first strip. Pull the knot up towards the tie securing the strip to the filler. To complete the first knot, reverse the process by passing the right-hand outer strip under the filler and over the left-hand strip. Pull the ends to tighten, pushing the second part of the knot up towards the first. Repeat around the ring filler until you meet the first square knot. Tie the two strips tightly to secure and trim away any excess.
5. To create the smaller ring, cut or make a ring filler. Instead of trimming one long strip, cut two 1m lengths in different colours. Join the two ends together and knot onto the ring as before. -
WAND TOY - 1. Cut four 3cm x 45cm jersey strips; the first in one colour and the other three in a second shade. The length of the strips will determine the finished length of the wand.
2. Hold the ends together and tie a knot using two of the strips, connecting all four and leaving the loose ends 3cm long. Turn the knot downwards so that the length of the strips are facing towards you and hold the knot in one hand.
3. Lay two of the strips to the right and two to the left. Take the right-hand top strip, form into a loop over the lower right-hand strip and hold with your thumb. Next, take the lower left-hand strip, make a loop over the top of the upper left-hand strip and hold with your index finger.
4. Take the lower right-hand strip and pass it out and over the top of the right loop, then into the left-hand loop. Take the upper left-hand strip around the back, then over and into the right-hand loop and pull all four strips up tightly to form the knot.
5. Repeat this process; the single coloured strip will pass between the left and right of the knot, forming a pattern as the wand is created. Make sure that you leave enough length on the ends to knot and secure the end of the wand. Trim away the excess to the same length as the other end.


