Count down the days until Santa's visit with Carolyn Letten's crafty calendar
What you need...
- Fabric: patterned, plain, various; numbered
Cork noticeboard, 20cm x 30cm, three
Ribbon, green
Mini pegs, wooden
Shapes, wooden
Card
Foam pads
Glitter glue
instructions
-
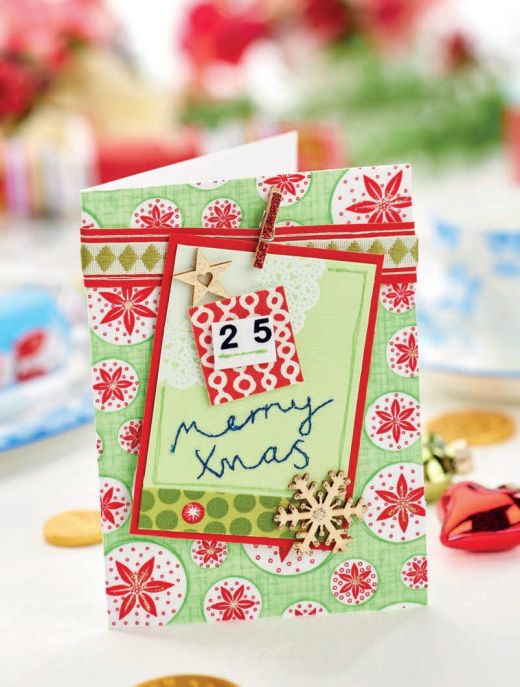
Merry Xmas Card - 1 Stick patterned fabric onto an A5 card, overlapping 1.5cm to the back. Trim a length of ribbon for the width of the card, plus a 2cm overlap on both sides.
2 Glue the ribbon to the middle of a red fabric strip, 1cm wider. Stick this onto scrap card and leave to dry. Machine stitch down both sides of the card backed with ribbon, then set aside.
3 Cut white card, 7cm x 9.5cm, and cover with green fabric. Layer over 1.5cm of the bottom with patterned fabric, then stick a mini paper doily to the top-left corner.
4 Using the template provided on the pattern pages, trace the text greeting onto white tissue paper. Place it above the patterned strip, then stitch over the words using navy thread and tear the tissue away.
5 Cover card, 3cm x 4cm, in red patterned fabric. Stick a fabric 25 to white card and sew with green thread to secure. Mount the number onto the previous piece using foam pads, then attach it to the centre card with more pads.
6 Use a mini wooden peg to hold the finished centre card in place along the ribbon. Wrap excess ribbon around the card and secure. Add wooden shapes and glitter glue to the peg and card. -
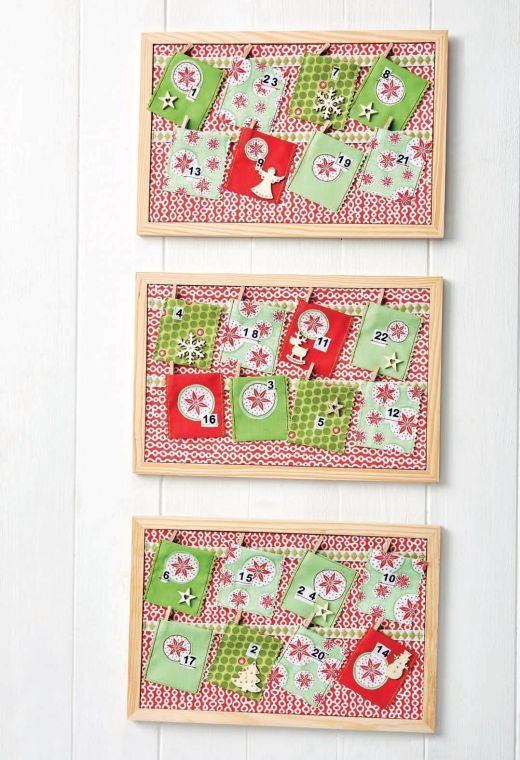
Advent Calendar - 1 Create three panels each from card and patterened fabric, 17.5cm x 27.5cm. For each board, glue the card to the middle of the fabric on the wrong side. Fold the excess fabric over the edge of the card and fix in place using a strong adhesive.
2 For each board cut two lengths of ribbon, 26cm. Lay the first 1cm from the top of the board, and secure the raw ends to the back, then the second 9cm from the top. Once the glue is dry, machine stitch the ribbon ends and middle in place.
3 To make the pockets, cut 24, 6.5cm x 16cm panels in various colours and patterns. Fold each one in half, wrong sides together and iron to crease. Fold both raw ends in to the wrong side by 2cm and press.
4 Cut various motifs from fabric and machine stitch to the front of the pockets. Snip out fabric numbers, glue them to each pocket and sew in place.
5 Iron the pockets, fold each in half wrong sides together, then pin. Make sure the top raw edges are folded in. Sew each pocket, 5mm in from both sides.
6 Trim excess fabric close to the stitching with pinking shears. Peg the pockets to the ribbon on each noticeboard, then add dabs of glitter and Christmas shapes to decorate.


