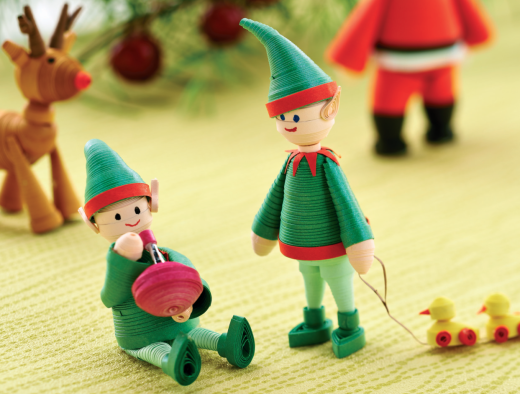
Quill a set of adorable elves to add to your Christmas decoration collection
What you need...
- Quilling paper, assorted
Quilling tool
PVA glue
Fine nib pens
instructions
-
Roll two peach-coloured quilling strips together tightly, end to end, and seal with a little dab of glue. Dome slightly and coat the inside liberally with PVA. Repeat the step, then join the two halves together to create a head.
-
Make the elf a tunic by rolling four green strips together, seal as before and dome to a height of 3cm. Create a flat disc from three and a half green strips, coat with glue and allow to dry before slotting into the end of the tunic. This will make a base to attach the legs onto.
-
The legs and arms are made in the same way, from one strip, rolled tightly, sealed and pushed to a point using the sharp end of a knitting needle. Apply glue to the inside of the tubes and shape gently into position. Finish the elf by adding a hat, shoes and trimming around his tunic. Draw on eyes and a mouth.


