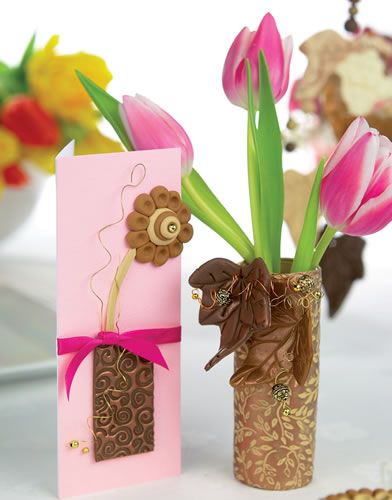
Create charming decorative additions to any item with Studio by Sculpey polymer clay
What you need...
- Studio by Sculpey, polymer clay cappuccino, coffee bean, buttercream, desert sand
Texture plates
Rolling pin, acrylic
Cutters, leaf
Embossing tools
Skewers, metal
Craft knife
Box, small, round
Glass, small
Card, pink
Ribbon, bright pink
Wire, gold
Beads, gold
Wax, gilt, gold or copper
Glue
Baking tray
instructions
-
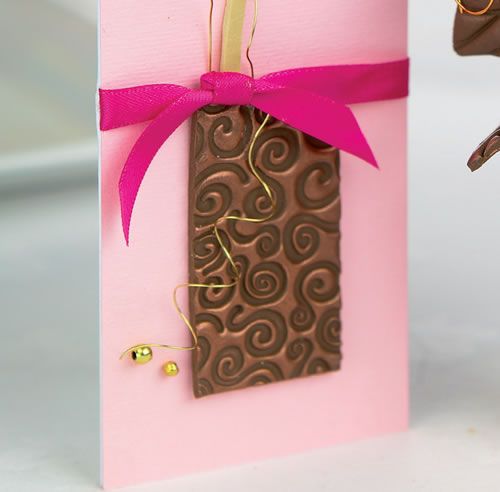
Tall Card - 1. Use an acrylic rolling pin to create a 2mm thick piece of coffee bean clay. Place a texture plate on top and press firmly. Remove this then use a sharp knife to trim a panel, 6cm x 3cm.
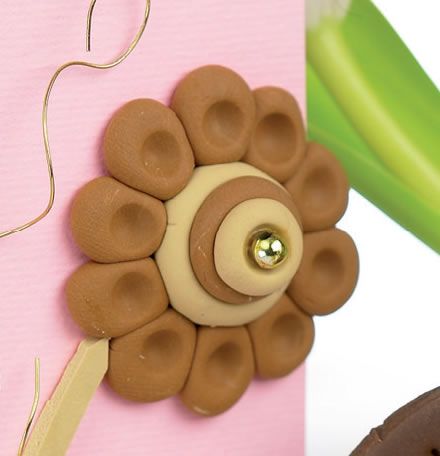
2. Create the flower centre by forming a ball of desert sand clay. Press the head of a large embossing tool in the middle. Place a smaller buttercream ball in the centre and decorate in the same way. Repeat on top with a paler shade. Make matching petals, moulded into shape then embossed in the centre, as shown.
3. Arrange these around the flower centre and press in place. Create the stem by rolling a thin tube, then flatten and trim into a curve. Cover a baking tray with foil and bake the clay according to the manufacturer's instructions.
4. Create a pink blank, 16cm x 6.5cm, then use a sharp knife to slit the fold half way up. Rub gilding wax over the coffee bean oblong, then glue centrally, near the bottom of the card. Secure the stem and flower in place, as shown. Coil three lengths of wire around a pencil. Leave to dry, then thread ribbon through the slit and tie in a knot on the front of the card. Glue a couple of gold beads at the bottom of the vase and one centrally on the bloom.
Studio by Sculpey, tools and decorative accessories, available from HobbyCraft stores and branches of WHSmith. For stockists information, contact Oasis Art and Craft Products Ltd., 01562 744 522


