Whip up these shimmering greetings with your January gift
What you need...
- Fancy Floral Foiled Card Kit (from our January issue)
Adhesives
instructions
-
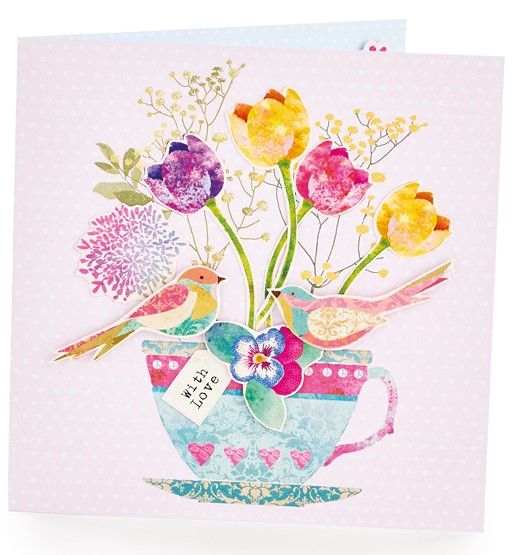
Birdy Teacup Greeting - 1 Trim the pink teacup blank, 11.5cm square. Pop out the flowers and birds.
2 Glue the long-stemmed flowers in place, then add the birds on top using foam pads.
3 Cover the inside with blue spotty paper and add a sentiment and flowers with foam pads along the right-hand side. You can then bend the front of the card to butt up against the sentiment for an extra special display.
-
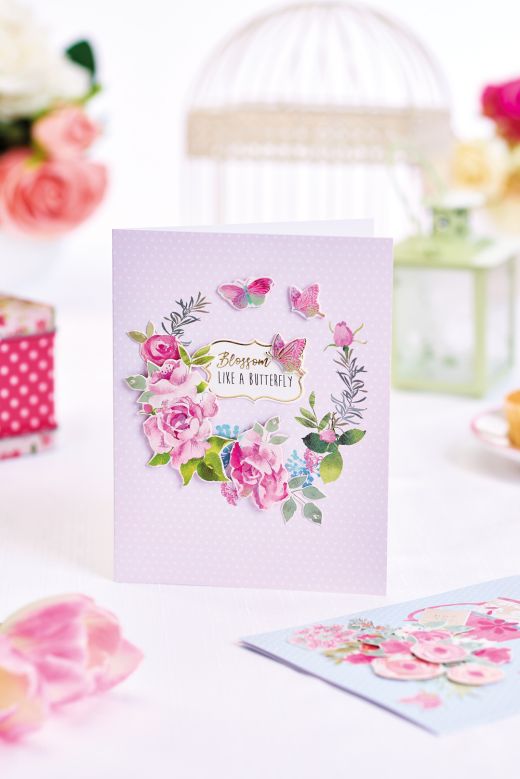
Flower Wreath - 1 Build up the wreath from the bottom and work to the left as you add flowers and foliage.
2 Glue a sentiment in the centre, then stick a butterfly offset over the top.
3 Finish with a sentiment and butterfly inside the greeting.
-
Floral Watering Can Card - 1 Pop out the background flowers and tag, then glue over the printed flowers on the blue spotty blank.
2 Use foam pads to add more flowers, then add a butterfly in the top-left.
3 Cut pink spotty paper to size, then glue to the inside of the greeting. Finish with a sentiment, a flower and a butterfly.
-
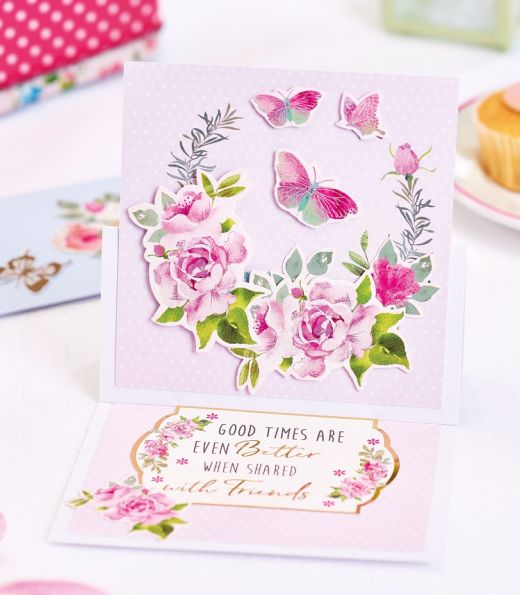
Butterfly Easel - 1 Create a white blank, 12cm square. With the fold at the top score across the front of the blank half way up.
2 Trim the back from the pink spotty circle wreath card, shape to 11cm square, then fix face up to the inside of the blank on the un-scored side.
3 Cut the printed wreath panel to 11cm square and stick to the front of the blank, only attaching to the lower part of the scored section.
4 Decorate the floral wreath with flowers and butterflies to match. Add a sentiment panel to the inside of the blank along with a flower. The front of the card will bend and sit up against the sentiment.
-
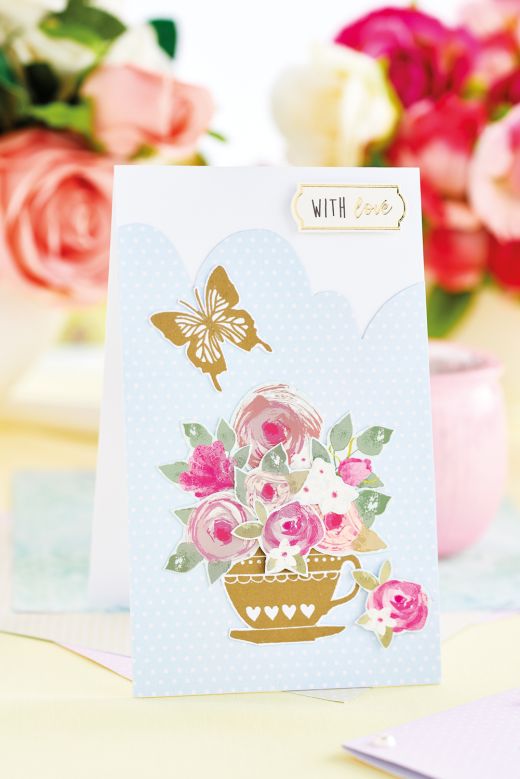
Gold Tea Cup - 1 Create a blank, 9cm x 15cm. Trim scallop shapes across spotty blue paper, 9cm x 15cm. Attach to the front of the blank allowing enough room at the top to place the ‘with love’ sentiment panel.
2 Stamp the teacup image, sprinkle with gold embossing powder and heat. Repeat for the large butterfly and cut out.
3 Stick the cup at the bottom of the blank and build up the top with flowers from the blue spotty background die-cut sheet. Add a flower at the lower right of the cup, score down the centre of the butterfly. Attach to the left of the cup and add the sentiment at the top right of the blank.


