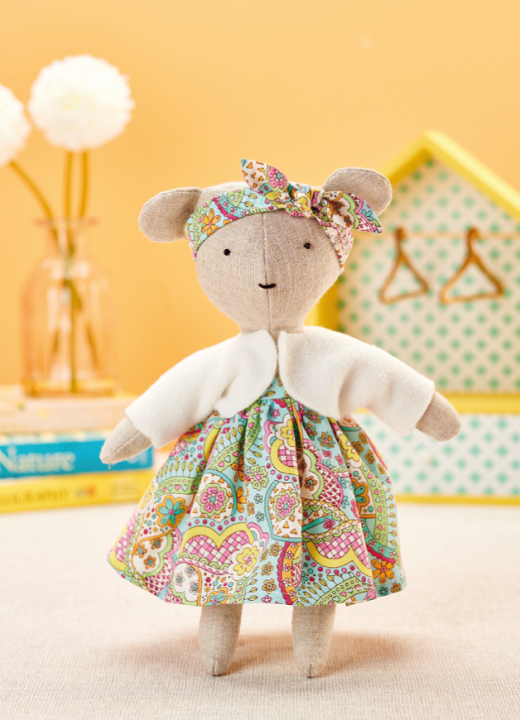
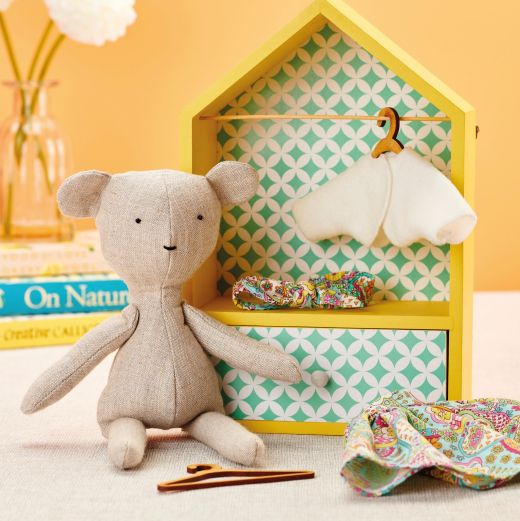
Betsy BearDelight little ones with Amanda Walker’s adorable dress-up teddy
What you need...
- Fabric: beige linen, printed cotton, ivory fleece
Two black beads
1.5cm wide elastic
Black thread
Polyester toy filling
Sewing machine and matching thread
instructions
-
1 Using the templates provided on the pattern pages, cut from the linen fabric, one pair of front head and body pieces, one back head and body piece, two pairs of ears, two pairs of arms and two legs. From the printed cotton cut a strip of fabric measuring 50cm x 12cm, this will become the skirt. Then, cut another narrow strip, measuring 3cm x 19cm, this will be the waistband, and snip a strip, measuring 4cm x 25cm, as this will be the hairband and bow piece. From the ivory fleece, cut one cardigan piece.
2. Fold the legs as indicated on the template and stitch, with a 3mm seam allowance, from the straight edge around to the base of the legs leaving the tops open. Turn the legs to the right side, then stuff each leg with the filling. Flatten the tops of the legs and centre the seam as this will sit at the back of the legs, then stitch across to seal.
3. Divide the arm pieces into two sets. Position the arms, one on top of the other with the right sides of the fabric facing. Stitch all the way around the arms leaving a small gap in one of the straight edges. Turn the arms to the right side, then tease out the seam edges. Stuff with filler, and hand stitch the gaps closed.
4. Divide the ears into two sets, then with the right sides of the fabric facing, stitch around the curved edges. Turn the ears to the right side through the straight open edge, then tease out the seams and press flat. Position the ears as indicated on the front head and body pieces and stitch into place. Stitch the centre front edges of the front head and body pieces together.
5. Position the remaining back head and body pieces over the front with the right sides facing. Pin in place, then stitch from the base of the body, up over and around the head to the opposite body edge, leaving the base open. Clip the seam allowance around the neck and shoulder areas, then turn the body and head to the right side through the gap at the base.
6. Carefully stuff the body and head quite firmly. Hand or machine stitch the tops of the legs to the front open edge at the base of the body. When you are happy with the shape of the head and body, hand slip stitch the gap at the base closed, being careful to cover the entire seam allowances from the tops of the legs.
7. With a strong thread and needle, attach the arms to the shoulders of the body as indicated on the template. Pass the needle through one arm and the body, then out the opposite side and attach the other arm. Pull the thread tight and fasten off securely. Stitch the black beads to the positions marked on the template, and with black thread oversew a line to make her nose. -
Hairband - 1. Fold the hairband strip in half with the right sides facing, then stitch the length of the strip with a 5mm seam allowance. Turn the tube to the right side and press flat. Cut a 23cm length of elastic and thread this through the tube securing both ends by stitching through all the layers. Wrap the two ends of the band over each other to make a ring, then stitch across.
2. To make the bow, fold the bow fabric piece in half, then stitch the edges together leaving a gap in the stitching line. Turn the bow to the right side through the gap and tease out the corners, then press flat. Tie the bow in a knot around the joined area of the band. The band can now be placed on her head in front of her ears. -
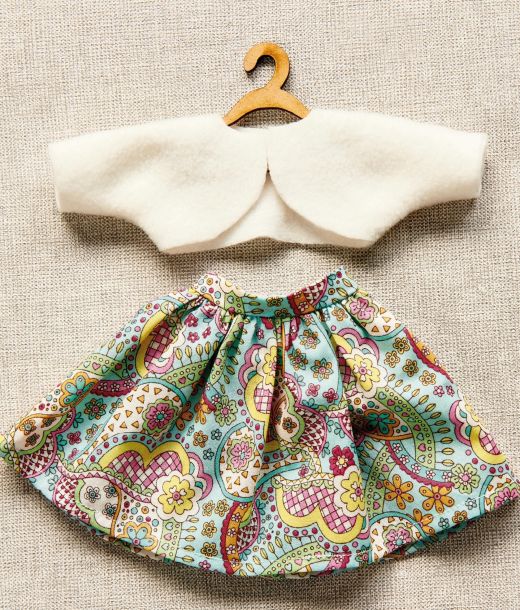
Cardigan - Fold and stitch the sleeve parts of the cardigan together as indicated on the template. Turn the sleeves to the right side and then pull the cardigan onto her arms.
-
Skirt - 1. Make two lines of gathering stitch along one of the long edges of the skirt strip, then fold and press the waistband in half lengthways. Pull up the gathering stitches until the piece is the same length as the waistband. Pin the waistband to the gathered edges with all the raw edges of both the skirt and the waistband matching and stitch across.
2. Turn and machine stitch a hem at the base of the skirt, then position and stitch the ends together from the hem up through the waistband. Turn the skirt to the right side and dress the doll pulling the waistband up under her arms.


