Intricate reindeer designs (with a touch of sparkle) are just the thing this season
What you need...
- Dies: Sizzix, Thinlits, Elegant Deer, Snap Happy set, Butterfly Lantern; Nesting, Circle, Scalloped Circle, Heart
Paper Pad, First Edition, Christmas Promise 12 x 12”
Stamp, Woodware, Santa Post Elements
Distress Ink, Frayed Burlap
Mica Spray, Bronze
Embossing inkpad, clear
Wow! Embossing Powder, Fool’s Gold
Embellishments: twine, buttons, gems, brads
MDF Heart
Adhesives
instructions
-
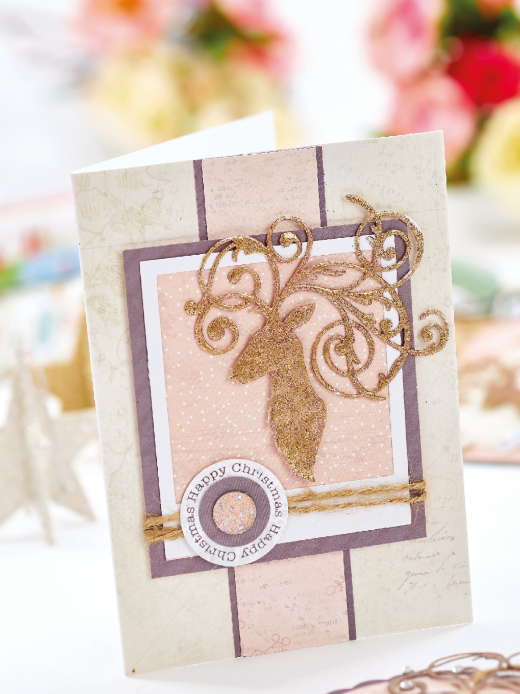
Christmas Card - 1 Cover the front of a card blank, 12.5cm x 17cm, with patterned paper. Trim a long strip of grey and pink card and stick vertically down the centre.
2 Die-cut the largest Snap Happy frame from white card, layering pink patterned paper behind. Die-cut a deer, then cover with a clear embossing stamp pad. Sprinkle embossing powder and heat to set.
3 Using foam pads add the deer to the centre of the frame. Trim grey paper slightly larger than the frame, then attach it behind.
4 Stamp a sentiment and die-cut using a circle nesting die. Die-cut a smaller shape, add to the centre, then decorate with a gem. Wrap twine around the base of the panel before fixing to the card blank. -
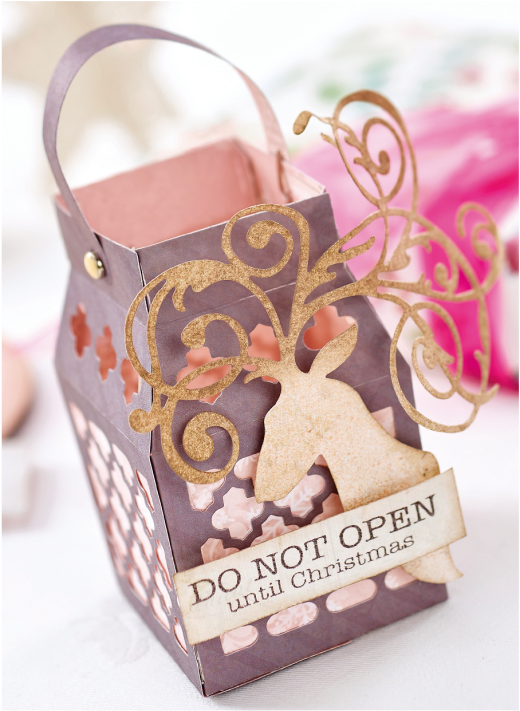
Tea Light Holder - 1 Die-cut the lantern, then add panels of pink patterned paper to the inside of the windows.
2 Die-cut a deer, ink and spritz with Mica spray, then stick to one side of the box using foam pads.
3 Die-cut a handle and attach to the lantern using brads. Stamp a sentiment, trim, distress the edges and fasten to the deer head using foam pads. -
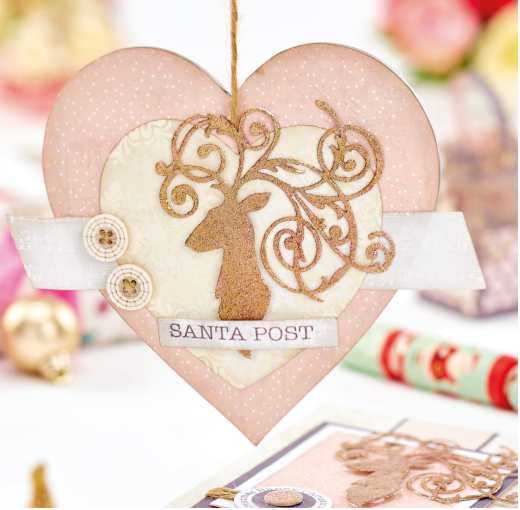
Santa Sign - 1 Cover the front of an MDF heart with pink patterned paper. Ink the edges. Trim a strip of grey and secure across the shape.
2 Die-cut a heart from cream paper, ink the edges and fix over the strip. Die-cut a deer, cover in clear embossing ink, then embossing powder and heat set.
3Add the deer using foam pads. Stamp a sentiment, trim, then stick down. Add two buttons to one side. Punch a hole and thread through the twine to hang. -
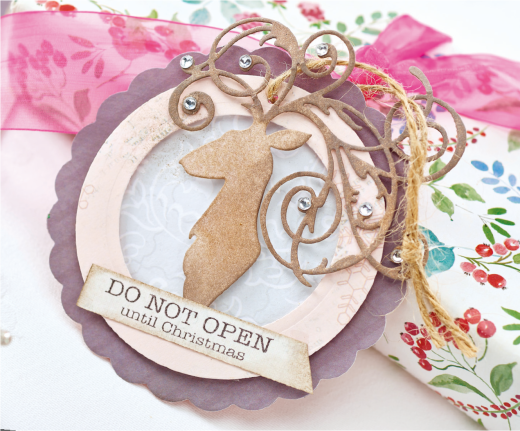
Gift Tag - 1 Die-cut a scalloped circle from grey, then a circle frame using two nesting dies. Add a circle of patterned paper behind the frame using foam pads.
2 Attach the circle element to the scalloped shape. Punch a hole in the top and thread through twine.
3 Die-cut a deer and distress using Frayed Burlap ink. Spritz with Mica Spray and leave to dry. Attach the shape to the centre of the circle using foam pads.
4 Add adhesive stones to the antlers. Stamp a sentiment, trim out, then ink the edges before adding to the base of the tag.


