Snuggle with an adorable alpaca this month and create Katie Skilton's Christmas set
What you need...
- Dies: Lawn Fawn, Winter Alpaca, Puffy Cloud Borders, Forest Borders, Stitched Rectangles, Candy Wrapper, Scripty Joy; Sizzix, Framelits Plus, Banners #2
Stamps, Lawn Fawn, Winter Alpaca
Paper pads: Lawn Fawn, Let's Bokeh In The Snow 6” x 6”, Snow Day 6” x 6”
Cardstock
Silver mirror card
Ink-pad, black
ProMarkers
Embellishments: ribbon, twine, resin flower, buttons
Adhesives
instructions
-
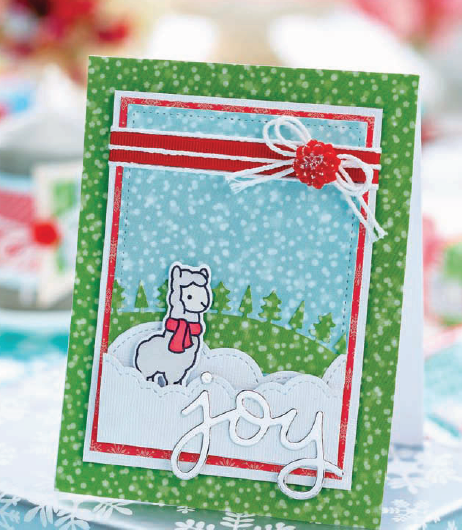
Christmas Card - 1 Trim a card blank, 11.5cm x 15cm, and cover with green patterned paper. Die-cut the second largest stitched rectangle from blue paper, layer it onto red, then white card.
2 Stamp, die-cut and colour an alpaca. Die-cut two layers of Puffy Clouds from white for snow and a layer of Forest Borders in green. Glue all the shapes onto the blue panel.
3 Stick the alpaca to the snow using foam pads. Wrap ribbon and twine around the top of the panel, then add a bow and resin flower.
4 Stick the decorated panel to the card blank. Die-cut, then attach the word ‘joy’ from silver mirror card and cover the resin flower with silver glitter glue. -
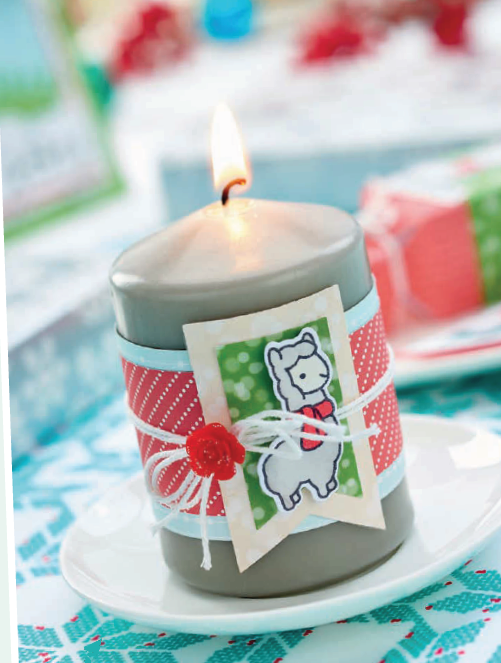
Candle - 1 Trim two pieces of patterned paper to the desired width and length of a candle. Layer them together and wrap around the middle using double-sided tape.
2 Die-cut two small banners from co-ordinating papers, stick them together and attach them to the candle. Wrap twine around it, adding a bow and resin flower. Stamp, colour and die-cut an alpaca and fix to the banner using foam pads. -
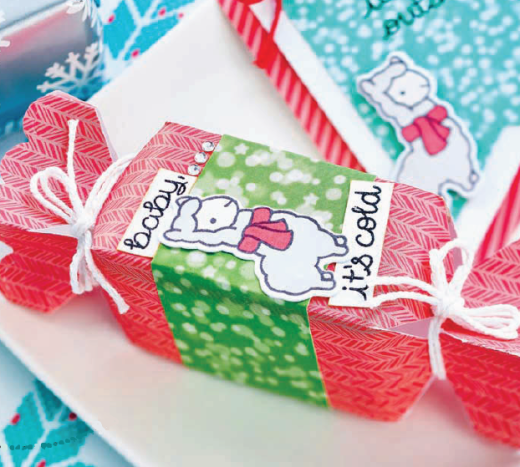
Candy Wrapper - 1 Die-cut a candy wrapper. Score and assemble. Wrap twine around each end and secure with a bow. Trim a section of paper, 4cm wide, and wrap around the centre of the box.
2 Stamp, colour and trim an alpaca and stick it to one side of the box. Stamp sentiments, trim and ink around the edges, then add them to wrapper as desired.


