Use die-cut accents to create our Valentine's Day cards, featuring sentiments of love...
What you need...
- Paper, My Mind's Eye: Lost and Found, 6” x 6” pad; paper kit, 12” x 12”
Card: pink, dark pink, green, dark green, blue, cream, brown
Dies: love; circle
Die-cutting machine, Cuttlebug
Punch: heart; corner rounder
Circle cutter
Ribbon, pink velvet
instructions
-
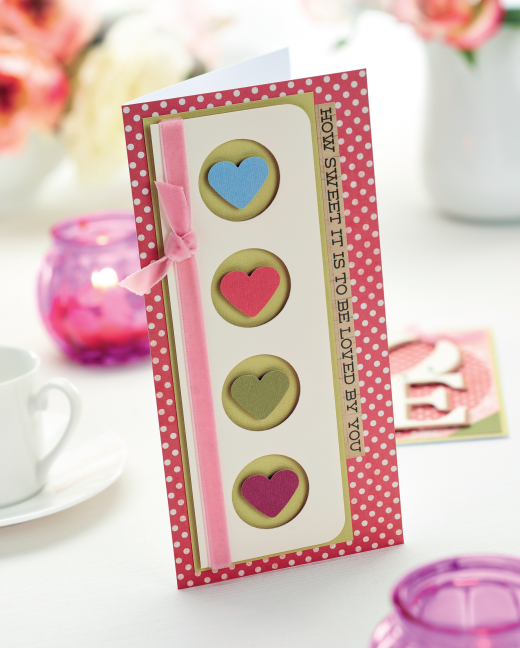
How Sweet It Is - 1 Create a tall thin blank by scoring a 21cm square card in half. Cover the front with pink/cream dot paper. Trim cream card, 6.5cm x 19cm.
2 Leave a slightly larger margin on the left (for ribbon), and mark out four circles, then cut out using a circle die and die-cutting machine. Neaten the right corners using the punch.
3 Attach light pink ribbon down the left edge of the cream section, securing the ends on the back of the card with double-sided tape. Add an additional length of ribbon to the top-left area and tie to secure it in place. Trim lime card, slightly larger than the cream piece, and layer this section behind using foam pads.
4 Punch out four different coloured hearts and position in the circle apertures, again using foam pads. Position this completed section to the left of the blank and finish with a sentiment. -
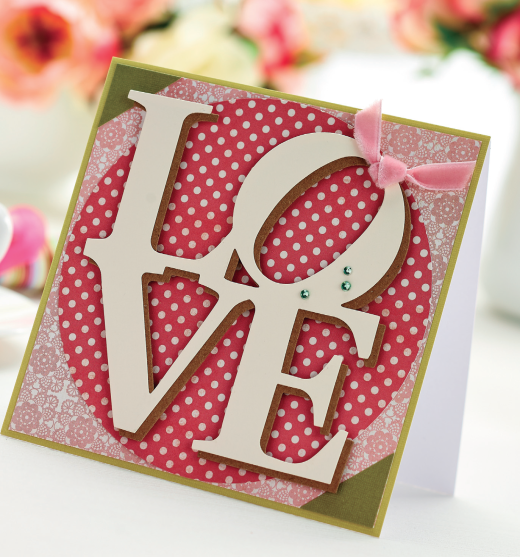
Love - 1 Cover a 14cm square blank with lime card. Matt and layer pink patterned paper to the centre of the card. Stick a large circle of pink dot patterned paper to the middle. Make a 2.5cm square from green card and cut it in half, diagonally, to create to even triangular corners and stick to top-left and
bottom-right corners.
2 Die-cut two 'love' words from cream and brown card. Stick these together to create a shadow effect and tie light pink velvet ribbon around the top of the letter 'O'. Fix the layered die-cut to the centre of the card using foam pads, then glue three green gems to the 'O' to complete.


