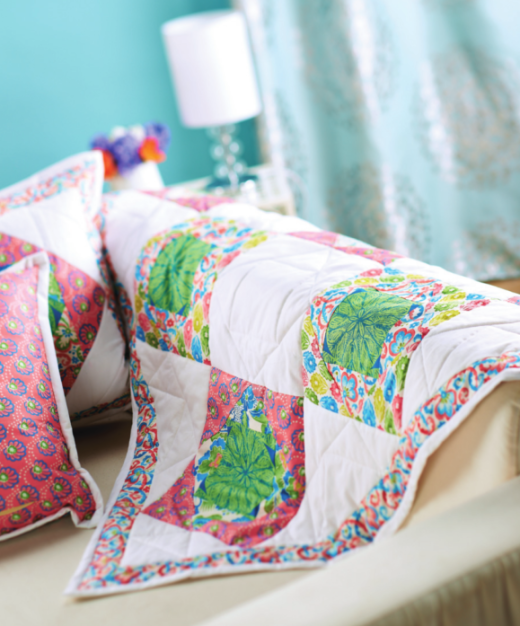
Lovingly stitch a glorious quilt and set of cushions using bright fabric prints for summer
What you need...
- Fabric: V&A, Coral Collection, Damask, Foulard, Scroll, Scallops, Medallion, 50cm of each; cotton, white, 3m
Wadding, 2m
Card
Hera marker
instructions
-
Floral Quilt - 1 Use card to make square templates of the following sizes; 11cm, 14.5cm, 15.5cm and 27.5cm. Use the 14.5cm square to trace and cut nine pieces of fabric to be used as block centrepieces.
2 Cut ten 11cm squares from damask and eight from scroll, then trim each in half diagonally. Cut 10, 15.5cm squares from foulard fabric and eight
from scallops print. Press each and arrange into blocks of three prints, so there are five blocks in one set and four blocks in different prints.
3 Stitch the smaller triangles to the edges of the squares. Sew opposite triangles first, then press out before stitching the remaining pair into place.
Repeat this process to stitch the larger triangles, so there is a square within a diamond within a square pattern, then press the seams.
4 Use the largest template to cut nine squares of white cotton, then trim four in half diagonally and one into four. Arrange the patchwork blocks in an alternating three-by-three grid with points touching. Place the white fabric between the patchwork blocks, using the halves for the edges and the
quarters for the corners.
5 To assemble the quilt,sew the pieces into a series of straight line panels, then stitch them into a square. Ensure the seams are equal so the patchwork block corners meet neatly. Cut several strips of floral fabric, 5.5m wide, and join to make a continuous strip, 5m long, then use to border the quilt top and press.
6 Cut a square of backing fabric and another of wadding so they are slightly larger than the quilt top, then layer with the wadding in the middle. Pin,
smoothing the fabric out as it’s secured, then machine stitch around each patchwork block, starting at the centre and rolling the sides neatly to
fit under the arm of the machine whilst keeping the fabric crease free.
7 Check the reverse of the quilt after stitching each square to ensure the backing has not rucked up. If so, unpick the stitching and redo. Work the quilt pattern onto the plain infill squares by placing the quilt on a flat surface and using a ruler and hera marker to mimic the patchwork lines.
8 Stitch 5.5cm-wide white strips to the patterned border, working through all layers to finish the edges, then cut away any excess wadding and backing. Double hem the white border and fold to the back of the quilt, then mitre the corners neatly and machine stitch into place.
*Use a 5mm seam allowance throughout. -
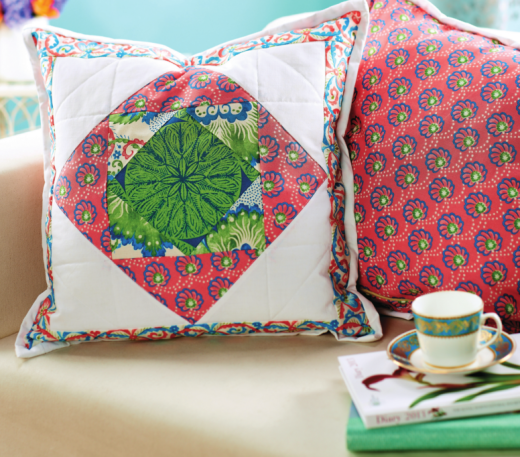
Coordinating Cushions - Create the quilted cushion top using the same method as for the quilt. Cut a second piece of backing fabric slightly longer in one direction so it can be cut and a zip sewn between the cut edges. Pin the zipped fabric to the back of the cushion top and finish the edge with a border of white fabric. To finish, fill with a cushion pad.


