Make endless greetings for the season with your Spring Stamp Set
What you need...
- Your Spring Stamp Set
Card: white, mint
Paper, assorted
Ink-pad: black, green, blue
Alcohol markers
Adhesives
instructions
-
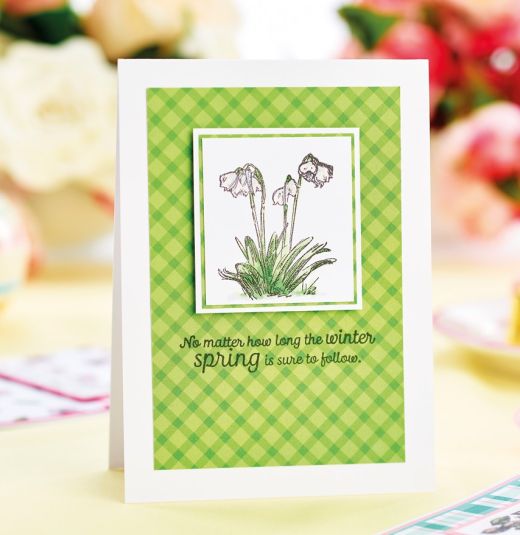
Shimmering Snowdrops Card - 1 Stamp the snowdrops onto white card and colour in with alcohol markers. Add some clear sparkle highlights to the flower heads.
2 Trim, 5cm square, then matt to green plaid paper and white card. Stick green plaid paper, 8.5cm x 12.5cm, then mount to white top-fold blank, 10.5cm x 14.5cm.
3 Attach the flower panel on top of the plaid, then finish by stamping the sentiment underneath.
-
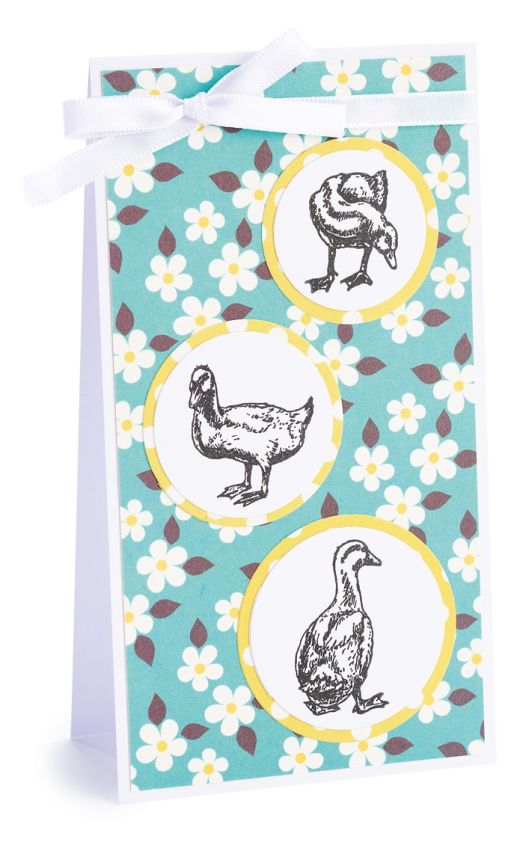
Ducks In A Row Greeting - 1 Cover a white blank, 8cm x 15cm, with floral paper. Stamp the three ducks on white card and die-cut into circles.
2 Fix to larger circles of yellow spotty paper. Attach vertically down the blank, offsetting each image. Embellish with ribbon.
-
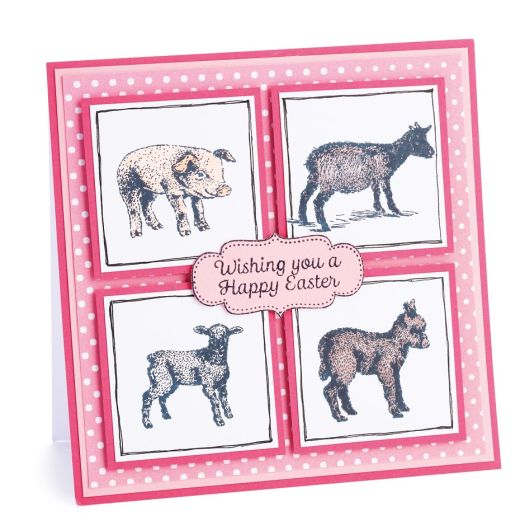
Animal Corners - 1 Fold white card to create a blank, 14.5cm square. Mount pink spotty paper onto light, then dark, pink card and glue to the front.
2 Cut four pieces of white, 5.5cm square, then stamp each of the animals and colour in. Draw a border around each one.
3 Fix to dark pink card and glue in place. Stamp the sentiment onto pink, then cut out and attach to finish.
-
Ink Blend To Impress - 1 Create a blank, 10.5cm x 14.5cm, then cover with mint card. Trim white card slightly smaller and emboss. Glue this panel onto the card front and embellish with ribbon.
2 Blend green and blue inks on white card and stamp the sheep onto it. Mount this onto mint card and attach with foam pads. Add buttons, a bow and pearl to finish.
-
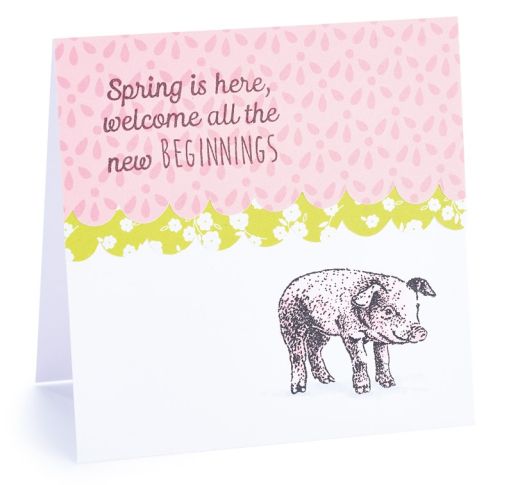
Piggy Card - 1 Stamp the smaller pig in the lower right corner of a white blank, 10cm square, then colour in.
2 Trim scallops across a piece of floral paper, 5.5cm x 10cm. Repeat across pink patterned paper, 4.5cm square.
3 Secure to the top of the blank so that the pink paper is on top. Stamp the sentiment in the top left corner to finish.


