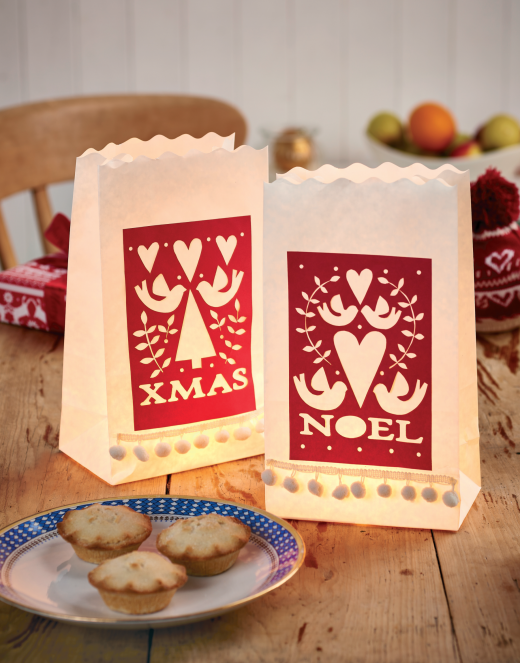
Let your home glow this Christmas with beautiful papercut candle bags
What you need...
- Card, red
Paper: plain, red; trace-down, graphite
Candle bags
Bobble trim, cream
Adhesives: glue, craft; tape, double-sided
Die-cutting machine with alphabet cartridge
GYRO-CUT®
Punch, hole
Pen, ballpoint
Tealights
instructions
-
Refer to our template and die-cut ‘XMAS’ from red paper. Place our pattern on top of the letters. Insert graphite paper between the paper and pattern, then use a ballpoint pen to trace and transfer the design.
-
Use a Gyro-Cut or sharp knife to trim the border and design. Create the dots with a hole punch. Fix the cut-out paper onto the front of a candle bag with spots of glue, then tape bobble trim along the base. Place a tealight in the bottom of the bag. Make an accompanying 'NOEL' candle bag with our motif.


