Embrace this summer's hot trend and create Katie Skilton's feather-themed makes
What you need...
- Paper pad, 12” x 12”, American Crafts, Amy Tangerine Rise & Shine
Chipboard frames, American Crafts, Amy Tangerine Rise & Shine
Dies: Xcut Feathers A5; Sizzix Thinlits, Craft Asylum, Happiness Phrases Set; Nesting, Circle
Cardstock, silver
Kebab stick
instructions
-
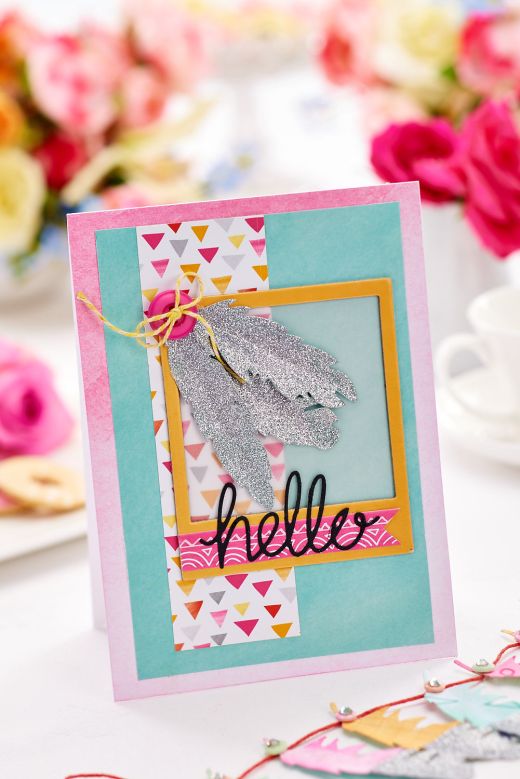
Hello Card - 1 Create a tent-fold card blank. Cover the front with pink paper and a slightly smaller piece of green card.
2 Trim a panel of patterned paper, 5cm x 16cm. Adhere to the top of the green section. Take the chipboard frame and fix a vellum panel behind it. Add a banner to the base.
3 Die-cut three different shaped feathers from silver card and score in the centre of each. Stick to the corner of the frame and attach a button. Die-cut the word ‘hello’ and position on the frame. -
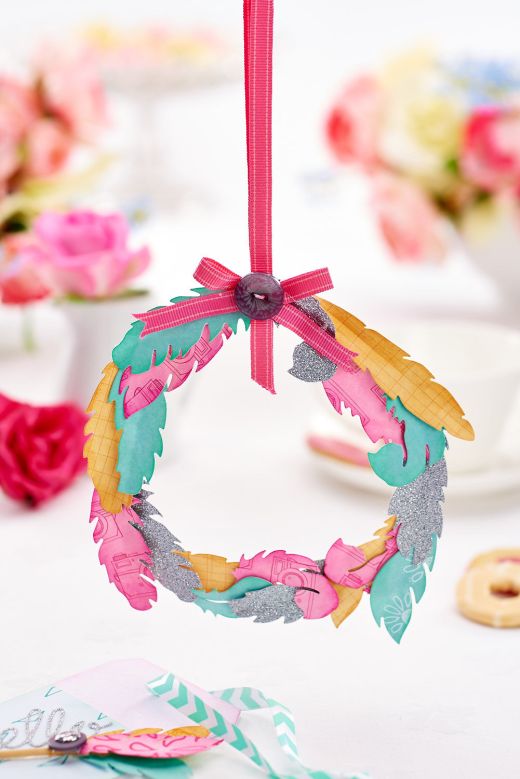
Feather Wreath - 1 Make the base using two nesting dies layered inside each other.
2 Die-cut several different shaped feathers and ink the edges. Adhere them onto the dies so that they go around the whole wreath.
3 Attach a loop of ribbon at the top and cover the join with a bow. Stick a button on top. -
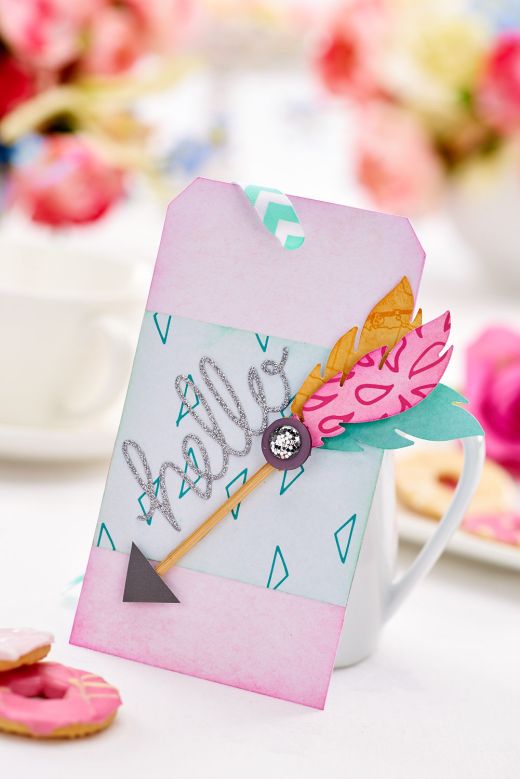
Arrow Tag - 1 Trim a tag, 8cm x 14cm. Cover with pink paper and ink the edges. Punch a hole in the top. Add a section of green across the centre. Thread ribbon through.
2 To make the arrow, attach three die-cut feathers to the top of a stick. Add a button, gem and a triangle made from card at the bottom.
3 Fix the arrow to the tag front using strong glue. Die-cut the wording and attach as shown. -
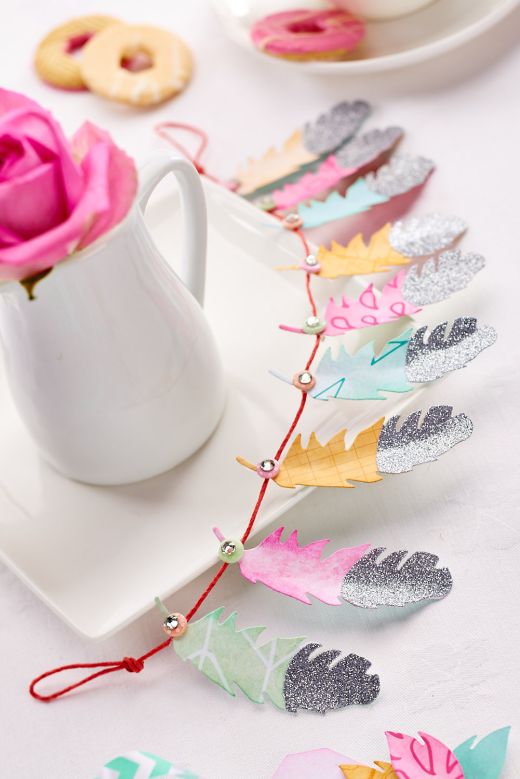
Feather Garland - 1 Depending on the length of the garland, die-cut the required amount of feathers from various patterned papers.
2 Die-cut the same amount of feathers from silver glitter card and trim off the bottom of each one.
3 Adhere this bottom piece to the patterned feathers. Leave to dry, then fold the feathers down the centre. Attach to a long strip of twine. Add a button and adhesive stone to each.


