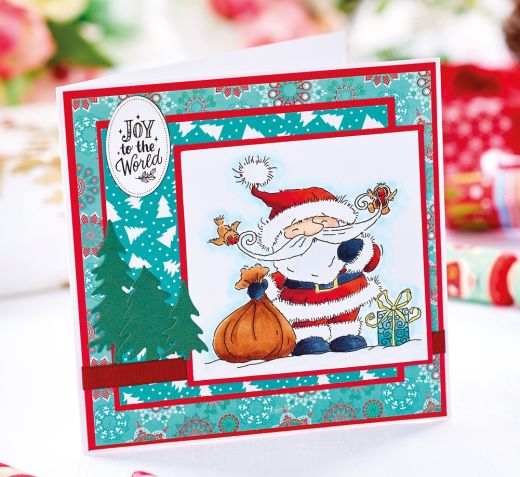
Create this fun last-minute Christmas greeting using all the essentials from your craft stash
What you need...
- Card: white, green, kraft
Stamp, Penny Black, Snowy
Dies: Marianne Designs, Dune Fence; Joy Crafts, Christmas Trees; Frantic Stamper, Tall Pine Trees
First Edition Jolly Holidays paper pad
Copic markers
Ink-pad, black
Sentiment
Adhesives
instructions
-
Snowman Greeting - 1 Cut and fold white card to form a blank, 15cm square. Cut red tree paper, 14 cm square, and layer onto green card. Attach to the centre of the blank.
2 Stamp and colour the snowman, then cut around, leaving a small white border.
3 Trim white card, 7cm x 14cm, then cut the top into a wavy line to represent snowy hills. Attach to the bottom of the red paper.
4 Die-cut a set of trees using both dies and green card. Die-cut a fence from kraft card, then snip in half.
5 Arrange the trees, fence and snowman, then attach. Print or stamp a sentiment and add above the snowman.


