Find fresh inspiration for the springtime in the form of butterflies!
What you need...
- Card: white, yellow
Dies: Tonic Studios, Wings & Things, Monarch and Princess Wings; Mariposa Wings; Butterfly and Dragonfly
Stamps, Winnie & Walter, Wish Big
Patterned Paper, Pink Paislee, Turn The Page
Ink, Tonic Studios, Black Nuvo Hybrid
Ribbon
Twine
instructions
-
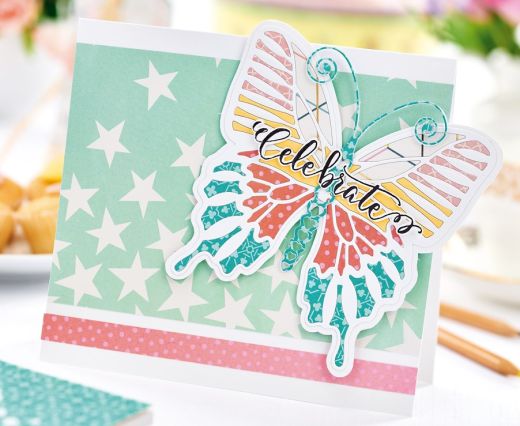
Create a Celebration Card - 1 Create a white blank, 14cm x 15.5cm, and mount green star paper. Add a strip of pink paper at the bottom. Die-cut a Mariposa butterfly from white card. Trace around the edge of the die and cut out, then adhere together.
2 Die-cut the butterfly from a variety of patterned papers, then adhere onto the die-cut base. Score the middle of the design, then die-cut a butterfly centre from patterned paper and card. Secure together. Add foam pads near the centre of the folded design and secure onto the card base. Stamp and trim out a sentiment, then add to the butterfly. -
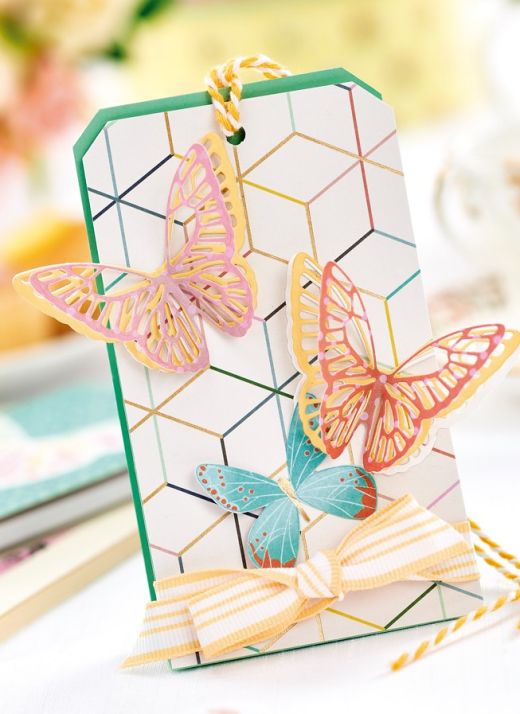
Die-cut a Treat Bag - 1 Using green card, 7cm x 26.5cm, score at 12cm and 14.5cm. Add patterned paper to the front and punch a hole in the top of the two layers. Die-cut a small butterfly twice in white, yellow and pink patterned paper. Fold each one, then adhere the three different colours together.
2 Trim out a butterfly from the patterned paper and add to the front of the treat bag, along with the stacked butterflies. Wrap ribbon around the base, then attach a bag filled with sweets in the centre. Tie yellow twine to secure the two layers together. -
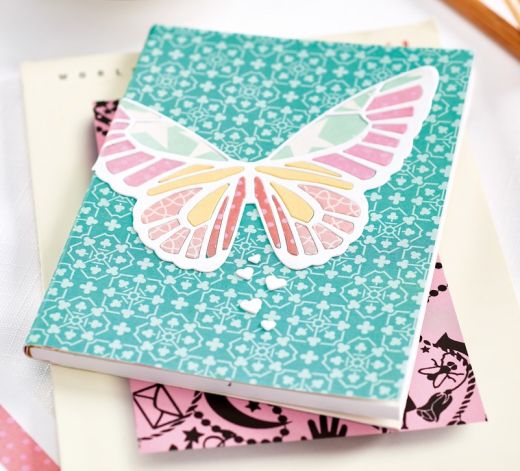
Decorate a Butterfly Notebook - Cover a 10cm x 14cm notebook in green patterned paper. Die-cut the medium butterfly from white card and secure to the book front. Fold the excess around the back and adhere. Die-cut patterned paper and fix into the spaces. Add the insides of the body beneath the butterfly written on it.


