Gather everyone together to celebrate with these frosty party cards
What you need...
- Sizzix dies: Alphanumeric Classic Lower, Wreath & Snowflake, Mitten Box
Altenew Caps Bold Alpha dies
Grafix Matte Dura-Lar
Sakura white gel pen
Cardstock: white, blue glitter, white glitter, light blue, mid blue, dark blue, mustard yellow
Turquoise ribbon
Glue
instructions
-
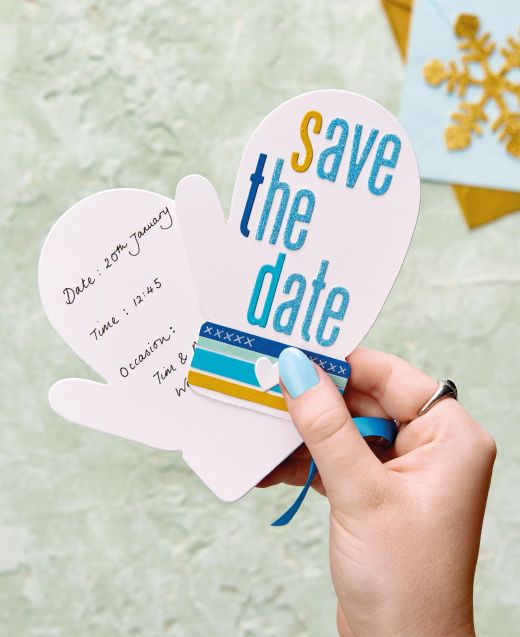
Save The Date - 1. Using the Mitten box die, cut two white layers. Die-cut ‘save the date’ from blue glitter, dark blue and mustard card. Adhere the words to the top of the mitten. Using thin pieces of card, stack and adhere them at the bottom of the mitten.
2. Add some white gel crosses and a white heart to the front. Punch a hole through the bottom of the two layers.
3. Write the information or messages on the mitten to go behind and tie them together with some turquoise ribbon. -
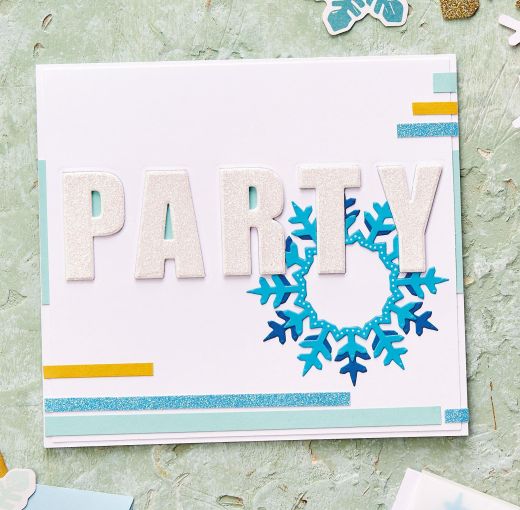
Party Time - 1. Create a tent fold white blank, 15cm x 16.5cm. Trim a slightly smaller panel of white cardstock. Using the Caps dies, die-cut ‘Party’ from the panel, then repeat three times from white card and once from white glitter card.
2. Die-cut two snowflakes from mid blue and dark blue then adhere onto the panel, trimming off any bits that extend into the aperture. Attach the die-cut panel onto the base.
3. Glue the letters together so there are three white layers and a glitter layer on the top. Affix all letters into the spaces. Add some strips of mustard, light blue and blue glitter cardstock to either side of the card to complete. -
You’re Invited - 1. Make a tent fold white blank, 12.5cm x 17cm. Die-cut snowflakes from blue, mustard and white glitter cardstock. Arrange onto the card with two hanging over the sides.
2. Take a piece of matte Dura-Lar, fold 2cm from the top, then trim the rest to be slightly smaller than the card base. Using blue glitter card, die-cut ‘you’re invited’ from the Alphanumeric set and adhere to the opaque layer.
3. Affix this layer to the reverse of the card so no adhesive shows on the front. Trim out thin layers of cardstock and attach to the front, securing the bottom of the Dura- Lar layer to the card.


