What you need...
- Bonus pink sheets
Punch
Double-sided tape
Bone folder
instructions
-
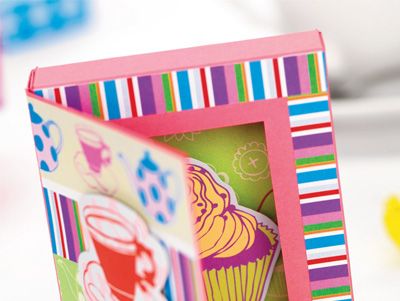
shadow box - 1 Use our template from our website to trace and cut the shadow box shape onto pink card. Cut out the aperture with a craft knife, score and fold along all the indicated lines. Lay the box flat and glue a panel of paper to the centre rectangle.
2 Flip the shape over and decorate the end rectangle section and the aperture part of the box. Assemble the box so the centre rectangle is seen through the aperture and the end one acts as a cover. Add die-cut motifs to the cover and the centre of the aperture using foam pads. -
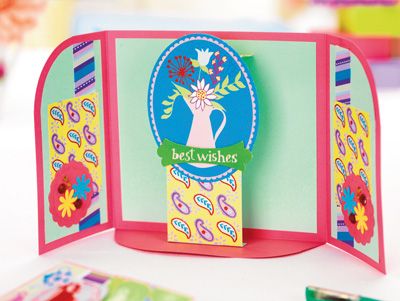
pop-out card - 1 Cut out the gatefold popup card template from our website using pink card and score where indicated. Glue smaller panels of contrasting colour card to the three main parts. Take a strip of card, 5cm x 17cm, and score across, 1cm from each end. Mark again 4cm from one end.
2 Cover the strip with yellow paisley patterned paper and fix to the card with double-sided tape on the 1cm tabs so that the strip forms a pop out area. Use patterned papers, a flower and gems to decorate either side of the gatefold and fix a large die-cut motif to the middle of the pop-out strip. Add a suitable sentiment. -
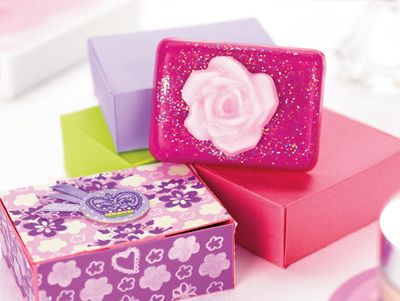
gift boxes - 1 Use our downloadable template to trace the cutting and scoring pattern of the gift box onto pink A4 card. Fold under the lid lining and secure with double-sided tape to strengthen the top of the box and ensure the semicircular tab extends from the front edge. Assemble the rest of the box by folding in the long tabs at each corner and holding them in position by folding over the scored sides of the box. Do not use any adhesive at this stage. The lid will stay shut by tucking in the tabs at the sides.
2 Once you are satisfied with the fit, disassemble the sides and lay out flat in order to decorate. Use strips of patterned paper glued onto the panels and ensure that the design will be the correct orientation when the box is made up again. Cut several ribbon tails and combine these with thin strips before fixing to the back of a chipboard shape. Place the shape in the centre of the lid. Refold the box and secure. -
tall box - 1 Trace our box template from the website onto a sheet of pink card and score where indicated. Cut out the template, taking care to make smooth curves at the tops of each side. Cover each side section individually with panels of patterned paper trimmed to the same shape, before folding up the box and securing tabs with doublesided tape.
2 Fold in the base of the box. Use a small punch to create holes in the top of two of the box sides. Fold in the non-punched tops and thread narrow ribbon through the holes to tie the top closed. Decorate with cut-out flowers and a die-cut sentiment.


