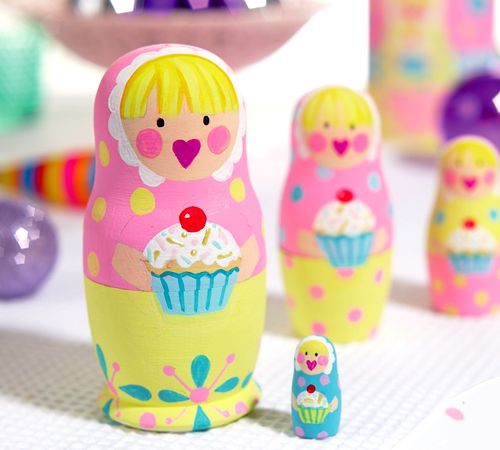
You'll adore our exclusive nesting doll designs in creamy colours and cupcake patterns
What you need...
- Acrylic paints, Decoart Americana: flesh, lemon yellow, baby pink, vivid violet, turquoise, white, antique gold; gesso, white
Russian nesting doll set
Paintbrushes
instructions
-
Nesting Dolls - 1 Take all the dolls apart and set them up within reach. Apply white gesso on the outside only of each piece. Be careful notto cover any of the inside area as the dolls will not fit back together again if you do. To ensure all the black markings disappear, apply a second coat.
2 Pick up the largest of the dolls and paint the bottom half yellow and the top pink. Do the same on the second, alternate the colours on the third, paint the fourth all yellow and the smallest all blue. Mark out the more detailed areas, such as face, hands and cupcake, very lightly in pencil.
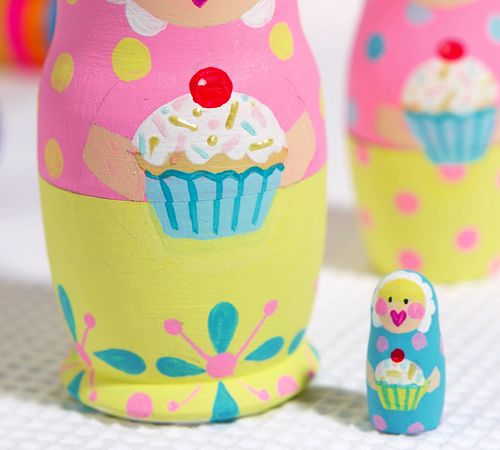
3 Mix white and turquoise paint together and colour in the cupcake case on each doll, except the smallest, which should be yellow. Use the full turquoise shade to outline a zigzagged top edge and mark some vertical lines for detail. Paint in a beige strip for the cupcake and a domed white layer above for the icing. Do this on each doll.
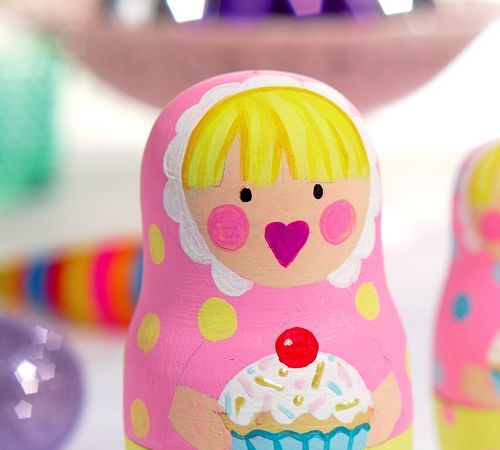
4 Colour the hands and round face areas in a flesh tone and paint a white scalloped edge around the latter. Draw pink spots onto the cheeks and use a vivid violet heart shape for the mouth. Add a yellow fringe with some antique gold edging and highlights, although the smaller dolls may have less detail.
5 Mark two black dots using a fineliner pen on every face for the eyes. Add coloured spots to the dolls as shown. Paint a red cherry on top of each cupcake, then add lines and dots using pink, blue and gold Pebeo Touch outliners for embellishment.


