Create stylish festive designs with Fiskars tools and Kath Stewart's expert guidance
What you need...
- Fiskars® Tools:
SureCut Paper Trimmer (9893)
Universal Purpose Scissors (9853)
2-in-1 Corner & Border Punch – Snowbubbles (5122)
Continuous Stamping Wheel (5568)
Continuous Stamps – Snowflakes (5707)
Continuous Ink - Silver Grey (5580)
Lever Punch – Snowflake (0231)
Lever Punch – Tree (0232)
Border Punch - Christmas Trees (0232)
ShapeCutter™ (4806)
ShapeCutter™ Mat (8608)
ShapeTemplate™ - Stars (4856)
Squeeze Punch XL – Circle (7415)
ShapeBoss™ (5600)
Shapeboss Stencil – Winter (5623)
Materials:
Card, white
Papers, patterned; plain, blue, white
Foil, metal
Seam binding
Pearls, self-adhesive
Glitter
Cord, silver
Alphabet, chipboard
Stamps, sentiment
Ink-pads, brown, blue
Sanding tool
Adhesives
instructions
-
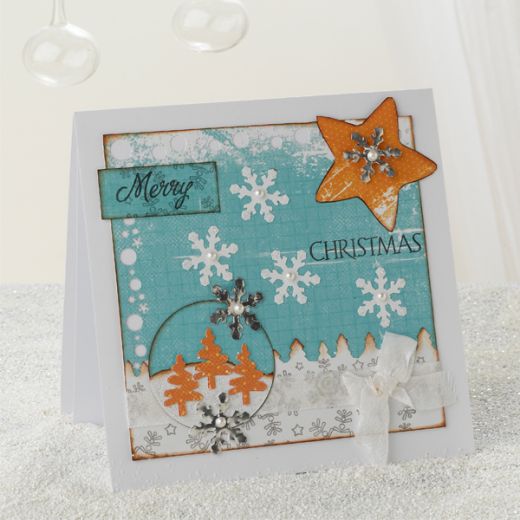
Merry Christmas - 1 Trim blue paper to 5" x 5". Punch snowbubble border on two sides using 2-in-1 Corner & Border Punch. Trim white paper to fit and punch border.
2 Stamp snowflake pattern with Continuous Stamping Wheel. Ink tips of trees with Brown Ink Pad and attach to card mat.
3 Ink around the edge of the card mat. Wrap seam binding around and attach to front of card. Decorate with seam binding bow.
4 Punch circles from blue and white paper using Circle Squeeze Punch. Tear white paper circle to create snow and fix to blue circle. Attach circle to card as shown. Punch out 3 trees from orange paper and attach to circle.
5 Punch small snowflakes from metal foil and white paper using Lever Punch. Attach to card and decorate with self adhesive pearls. Fix Alphabet stickers and Chipboard Letters as shown
6 Highlight snow and snowflakes with glitter using glue pen. -
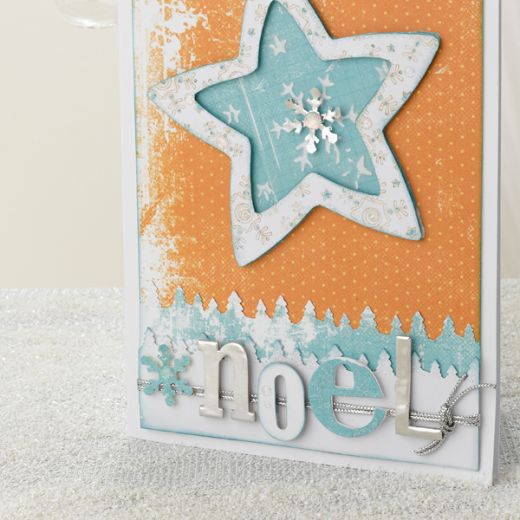
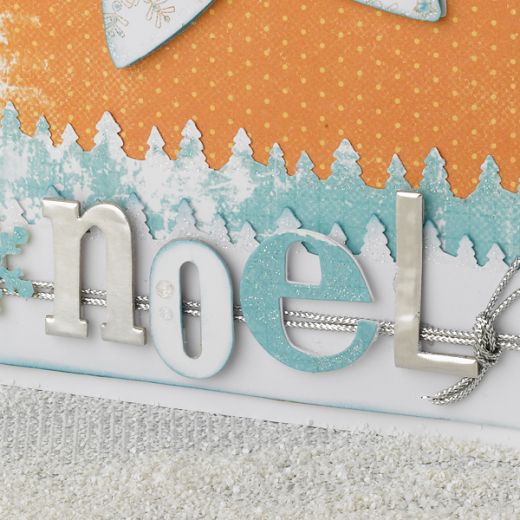
Noel - 1 Trim paper to fit card leaving a small border. Punch two Christmas Tree borders from blue and white paper. Attach across the bottom the patterned paper. Wrap silver cord around and tie with a knot. Ink edge of card mat with Blue Ink Pad and attach to card front.
2 Using ShapeCutter and Stars Template, cut large star from patterned paper. Emboss snowflake design using ShapeBoss™ and Winter Stencil. Sand design to highlight snowflakes.
3 Cut another large star from white paper and decorate with snowflake stamp set and Continuous Stamping Wheel.
4 Cut out inner star using Shapecutter and a smaller star from Stars Template. Ink edges of white star with Blue Ink Pad and attach to Blue Star with foam pads. Fix to card front and decorate with cord bow.
5 Punch snowflakes (two from blue paper and one from metal foil) using Lever Punch. Fix to card and decorate with glitter gems. Attach alphabet letters to card and highlight with glitter using glue pen.
Shop and Stop
All products can be found at Fiskars, http://www.fiskarscraft.co.uk


