Make this collection of cards that really have superstar sparkle
What you need...
- You will need your Springtime Cardmaking Kit from Issue 31 of Let's Make Cards!
instructions
-
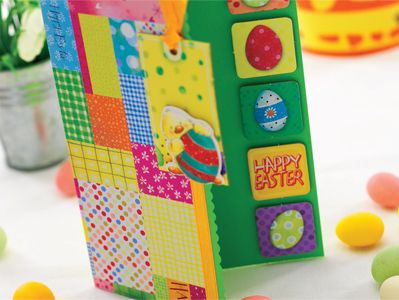
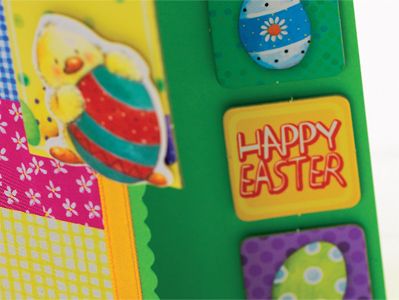
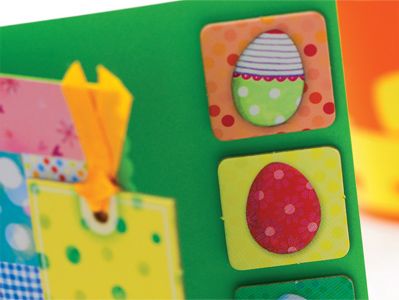
Tag Card - 1 Cut away a 3.5cm vertical strip from the opening edge of a green blank using scallop-edged scissors. Stick five chipboard squares vertically down the right of the inside back using 3-D foam pads.
2 Stick patchwork paper with greetings to the front of the card. Glue orange ribbon vertically down the edge, securing the ends on the inside of the card with double-sided tape. 3Tie a second length through a large chipboard tag and trim the ends with sharp scissors. Add the tag to the card using 3-D foam pads and attach a die-cut to bottom right of the tag to finish.


