Keren Baker brings out the balloons and bunting for this year's special occasions
What you need...
- Card: white, yellow, pink, green
Dies: My Favorite Things, Die-namics Wish, Hooray; Tonic Studios, Basic Elements Circles, Squares
Stamps: My Favorite Things, Party Animals
Ink: Tonic Studios, Black Shadow Nuvo ink; Ranger, Spun Sugar, Twisted Citron Aqua Flow Markers, Tonic Studios
Small circle punch
Ribbon, yellow
Twine: green, striped
Sequins: green, blue, yellow
Adhesives
instructions
-
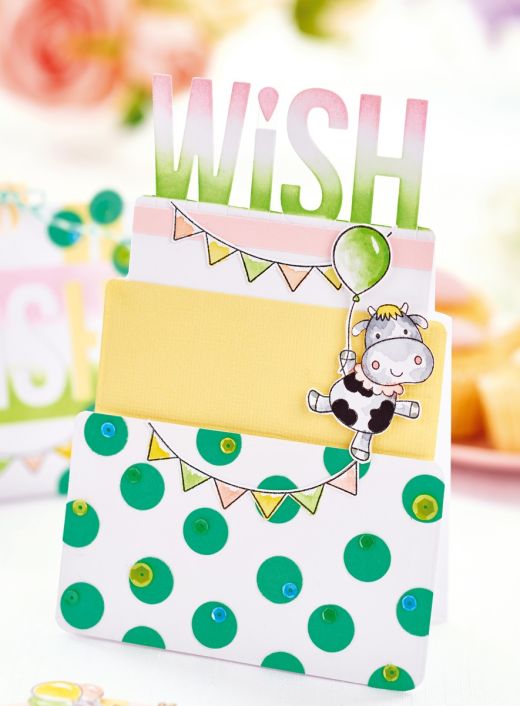
Create an Ombré Cake Card - 1 Using the largest, and two sized-down, square dies, cut out two white squares and one yellow. Partial die-cut ‘Wish’ from card, then score and fold over near the base of the letters. Stack and trim the squares to make a cake design.
2 Punch green circles and adhere to the bottom layer. Stamp, trim and colour a cow and bunting, then fix to the cake using foam pads. Add distress inks to the bottom and top of the letters. Secure sequins onto the punched circles to finish. -
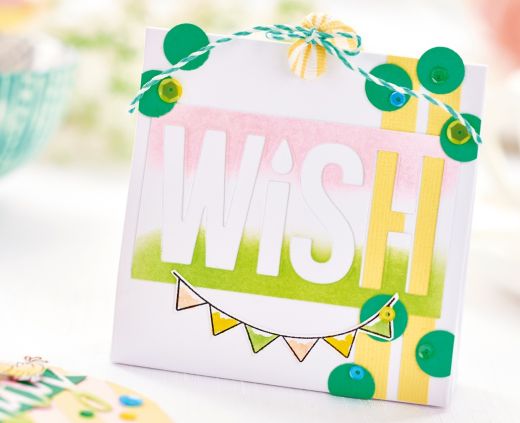
Die-cut a Wish Treat Container - 1 Fold the edges of A5 white card to create a container. Fix two strips of yellow card to the front, then apply distress ink to the card and die-cut ‘wish’. Add the negative piece onto the make.
2 Punch out green circles and secure to the container. Punch a hole in the top, thread ribbon and twine through it, then attach sequins onto the circles. Stamp, colour and trim out the bunting, then secure to the front. -
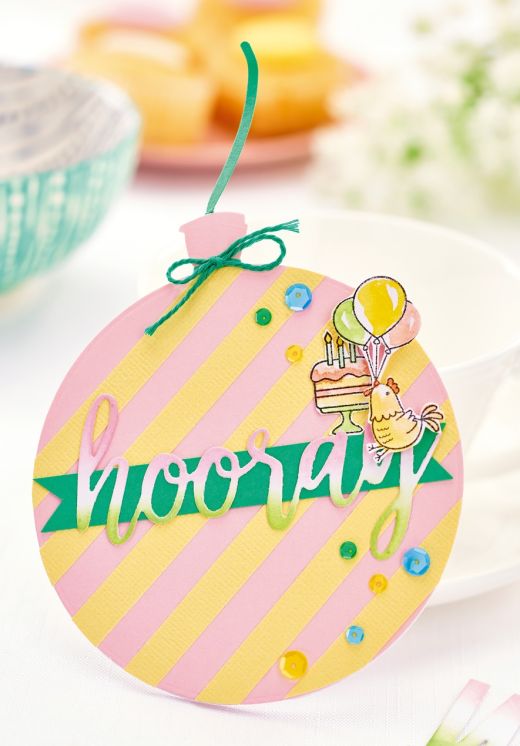
Make a Balloon Greeting - 1 Create a blank by die-cutting folded white card with a 27cm circle die, pushing the folded edge slightly towards the centre so it’s only partially cut. Die-cut another circle in pink card, then trim out a balloon top knot.
2 Add small widths of yellow card to make stripes. Adhere a wavy strip of green to make the string and tie a bow from green twine. Die-cut ‘hooray’ and use distress ink on the top and bottom. Fix to a strip of green card. Stamp and colour the balloons and cake, then attach to the card. Secure sequins to finish. CB


