Team playful, bright papers with bold die-cuts to create your own Noel wishes
What you need...
- Papers, Merry & Bright, Carta Bella
- Card: green, chipboard
- Blanks, kraft, 14cm square
- Dies: noel, Sizzix; snowflake; holly
- Gems: red, silver
- Bakers twine, red and white
- Adhesives: foam pads, 3-D; tape, double-sided
instructions
-
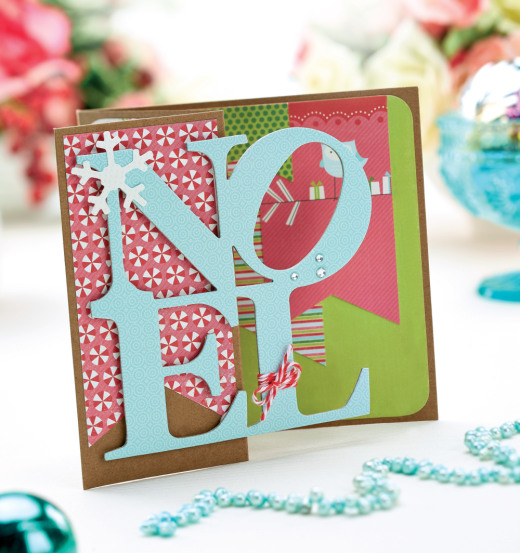
Step-Fold Card - 1 Score a vertical line centrally down the front of a kraft card blank, 14cm square, then fold it back to create a step-fold. Round all corners from a panel of bauble patterned paper and stick to the inside fold using double-sided tape. Trim green paper to fit the inside of the card, round the right corners and stick.
2 Adhere blue patterned paper to chipboard and die-cut the word 'NOEL'. Tie bakers twine around the letter 'L'. Cut out several rectangles from co-ordinating patterned papers and cut inverted 'v' shapes into one end of each. Glue red sweets paper to the front panel and stick the remaining pieces to the inside.
3 Secure the die-cut word over the front section using 3-D foam pads. Die-cut a snowflake from cream and glue to the top of the 'N'. To complete, adhere three silver gems to the 'O'. -
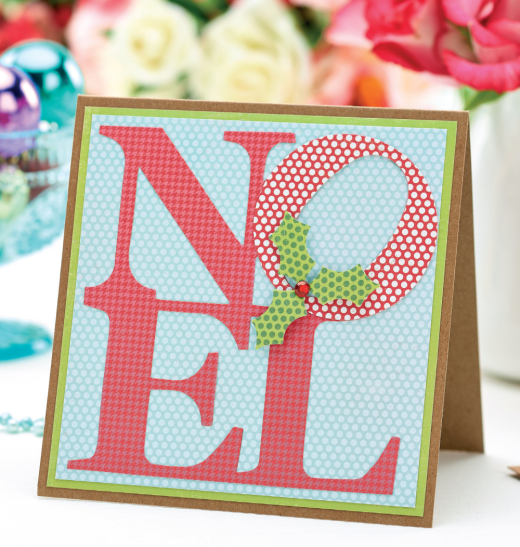
Top-Folding Greeting - 1 Matt green card onto a top-folding kraft blank, 14cm square, then stick blue patterned paper to the centre. Die-cut 'NOEL' from two different patterned papers, then trim the letter 'O' from the red and white dot paper and stick over the original letter.
2 Stick the shape to the centre of the card. Die-cut three holly leaves from green dot paper and stick below the 'O' using foam pads. To finish, glue a red gem to the middle of the leaves.
Projects you may also like...
Recommended Projects...
 BusymittsShare your makes


