
Project
Christmas Cards to Batch Make
- Designer: Crafts Beautiful
- Tags:
- crafts, christmas, batchmaking, batchmake, batch make, batch,


instructions
-
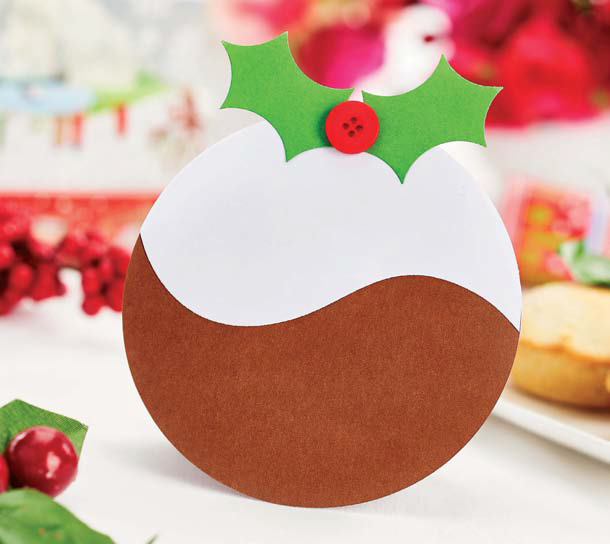
Christmas Pudding - Cut a large circle from brown card, then two additional circles from white. Create a curved edge on white using a large paisley die and attach to brown. Make holly by using a circle die to repeatedly cut out partial circles from a green rectangle. Adhere to white and add a red button. Secure the remaining circle to the back, glueing the top edge only.
-
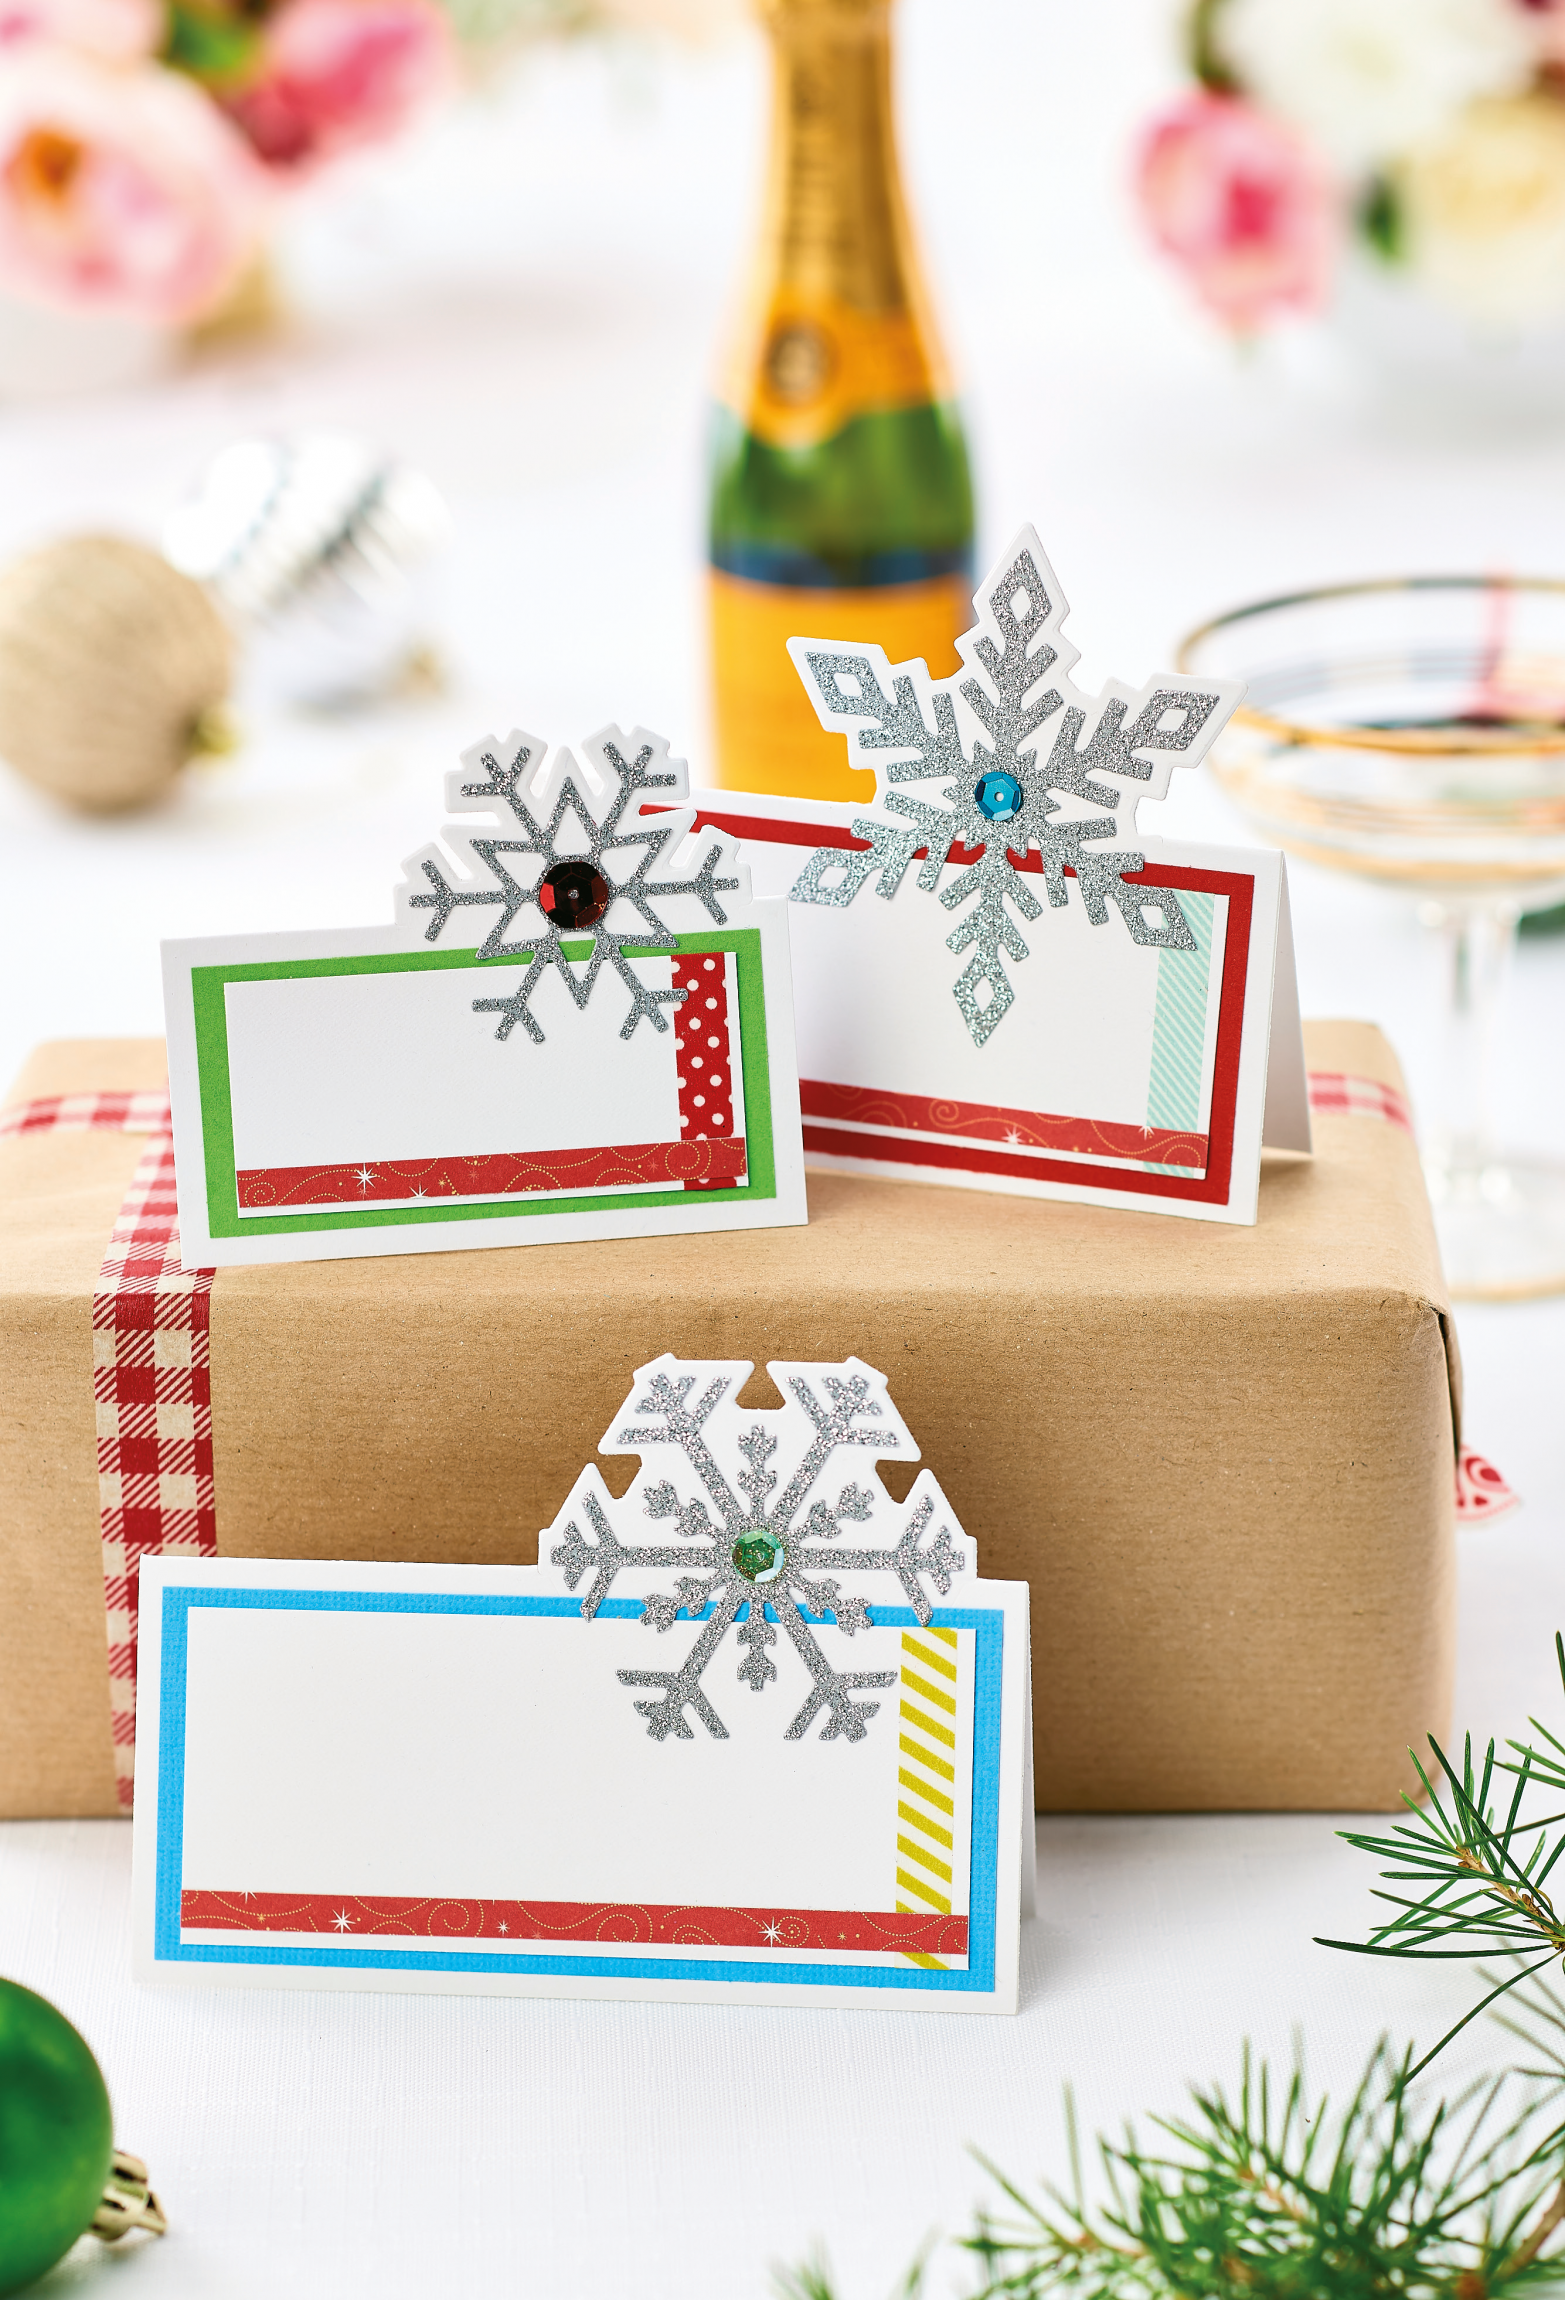
Table Place Cards - Cut white card, 11.5cm square, position a snowflake die on the right-hand side to create the partial die-cut effect. Sandwich the die, card and plates together, leaving the bottom half of the die sticking out, then run through. Score from the bottom of the snowflake die-cut to the edges. Mount with coloured card, then white. Add patterned paper across the bottom and washi tape on the right. Die-cut the inner snowflake shape from glitter card and adhere in the outline, then secure a sequin in the centre.
-
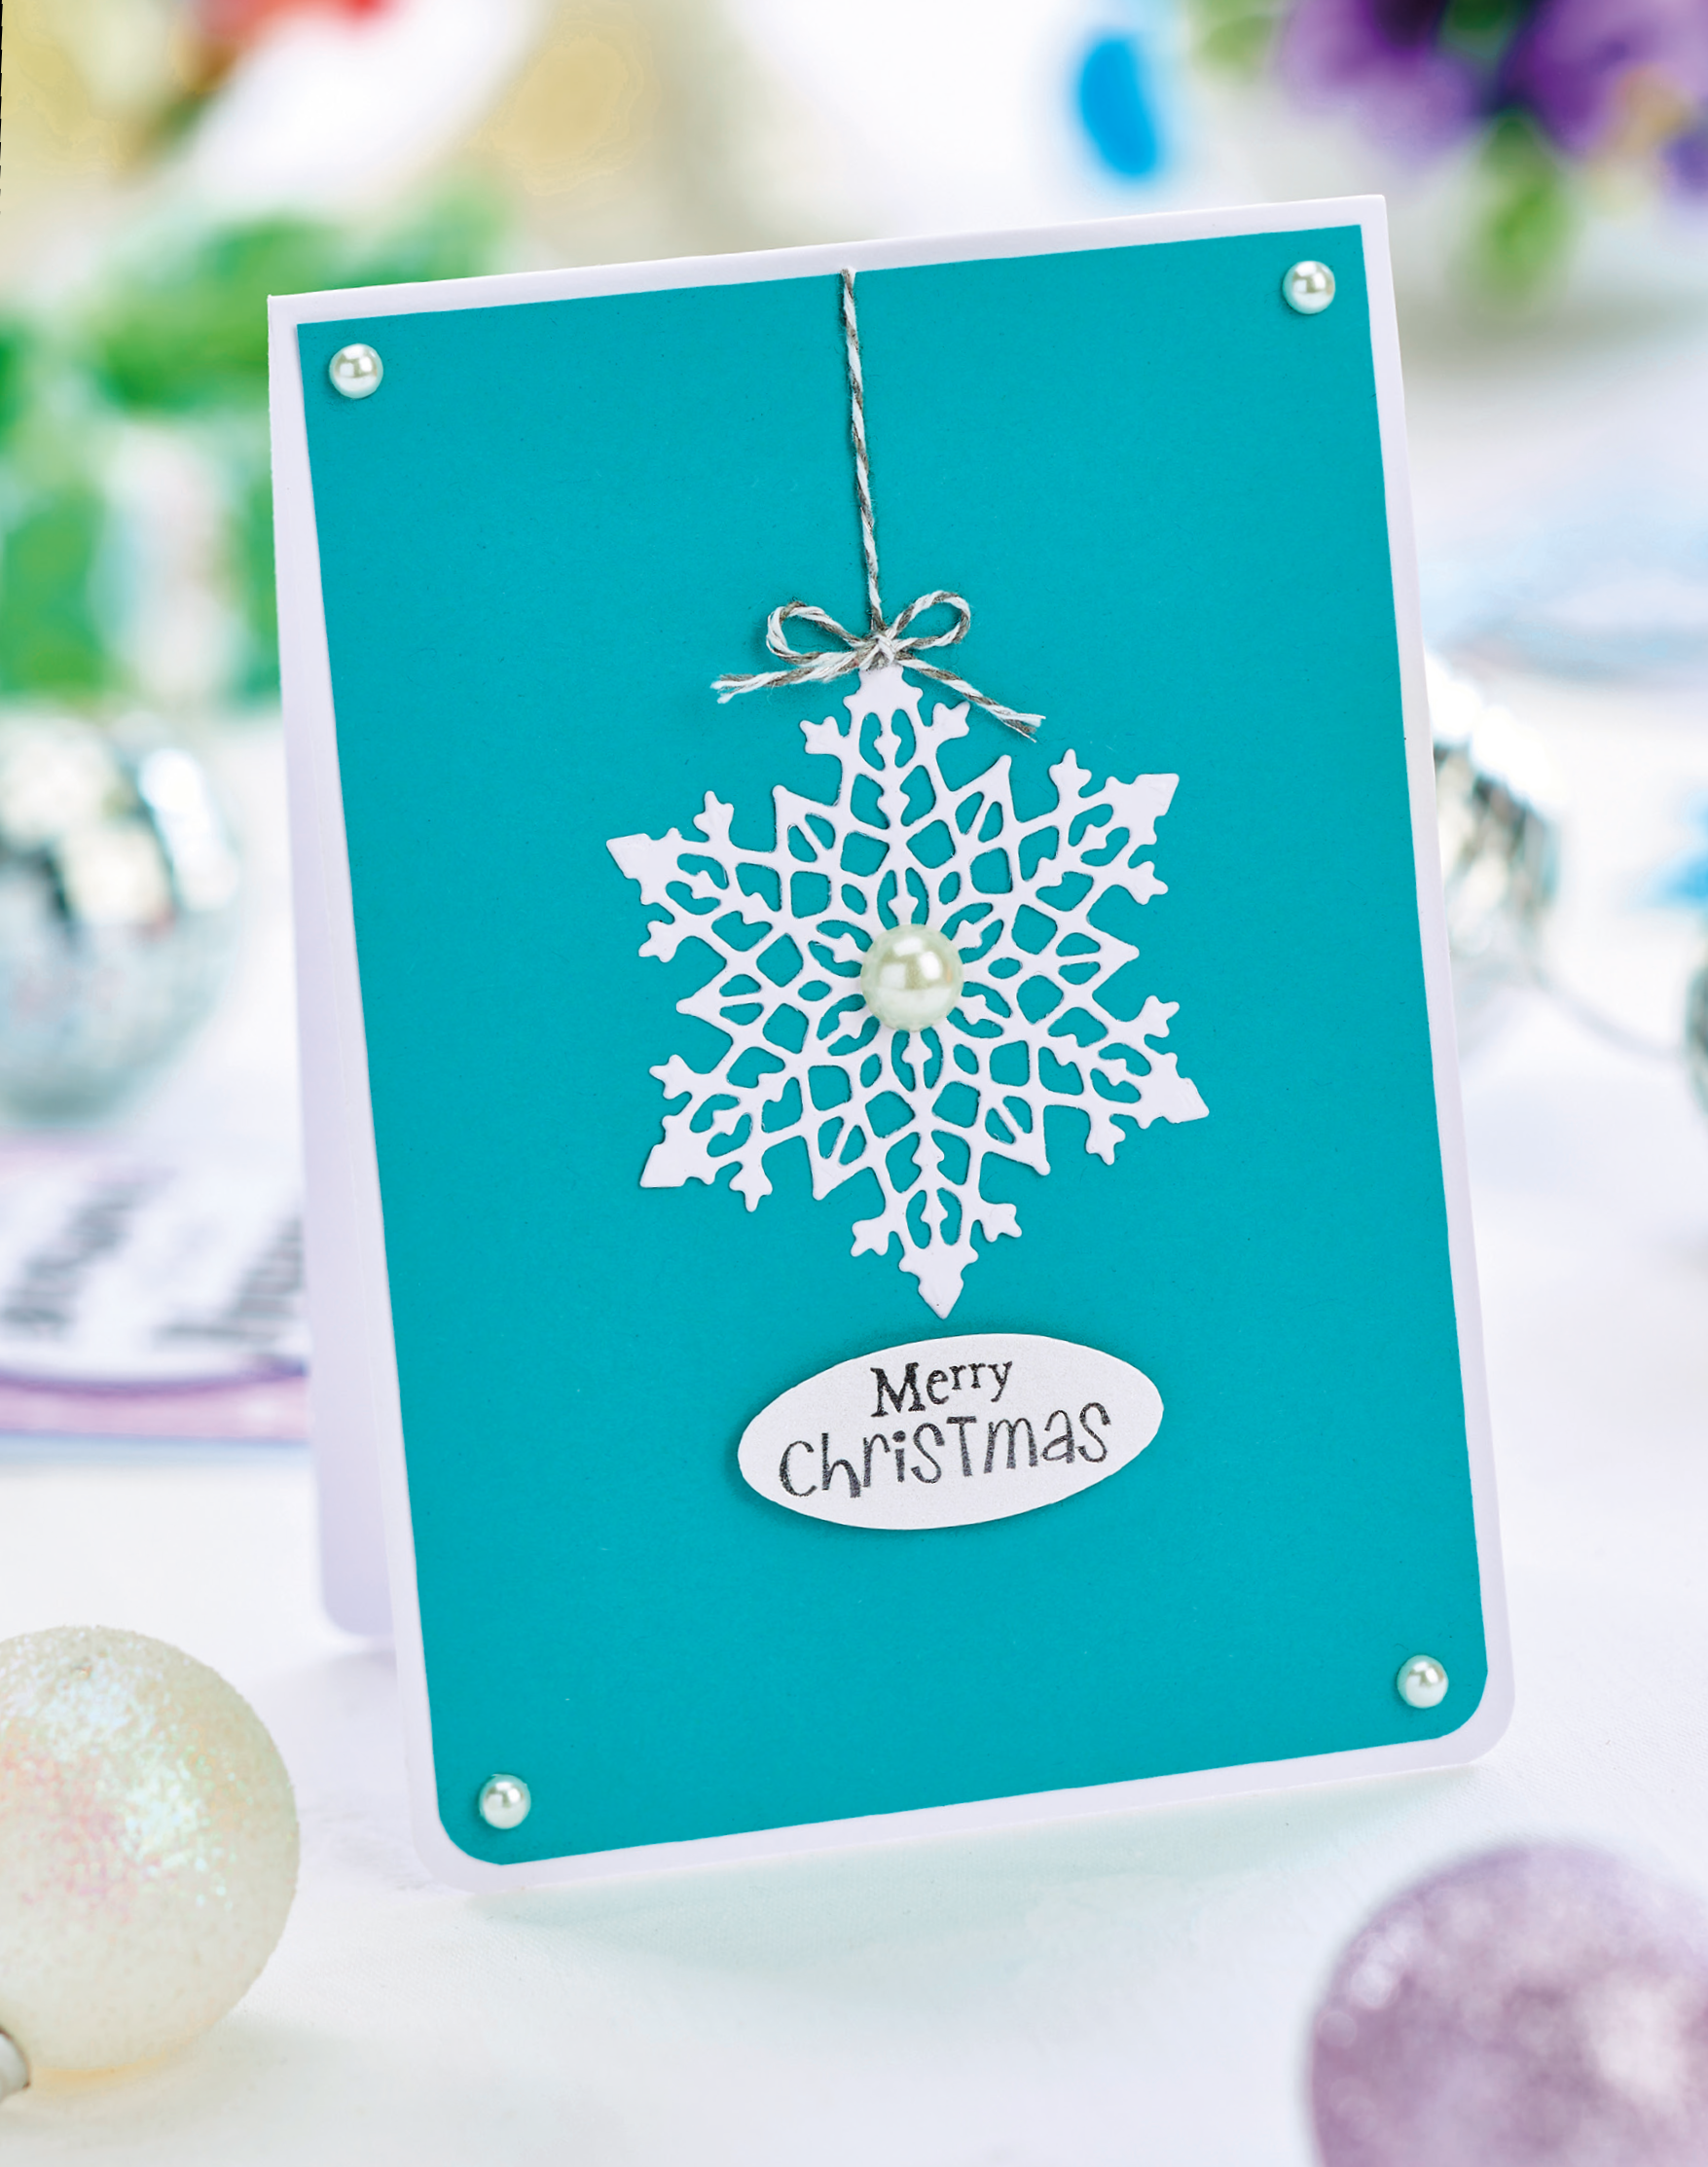
Blue Snowflake - Round the bottom corners of card blank. Take blue card and round the corners. Die-cut an intricate snowflake and place in the centre of the blue panel. Make a bow from twine, then attach to the top of the snowflake. Add a length of twine above to make it look as though it'd hanging, then secure to the back of the panel. Adhere a sentiment below and pearls to every corner, then matt onto the card blank.
-
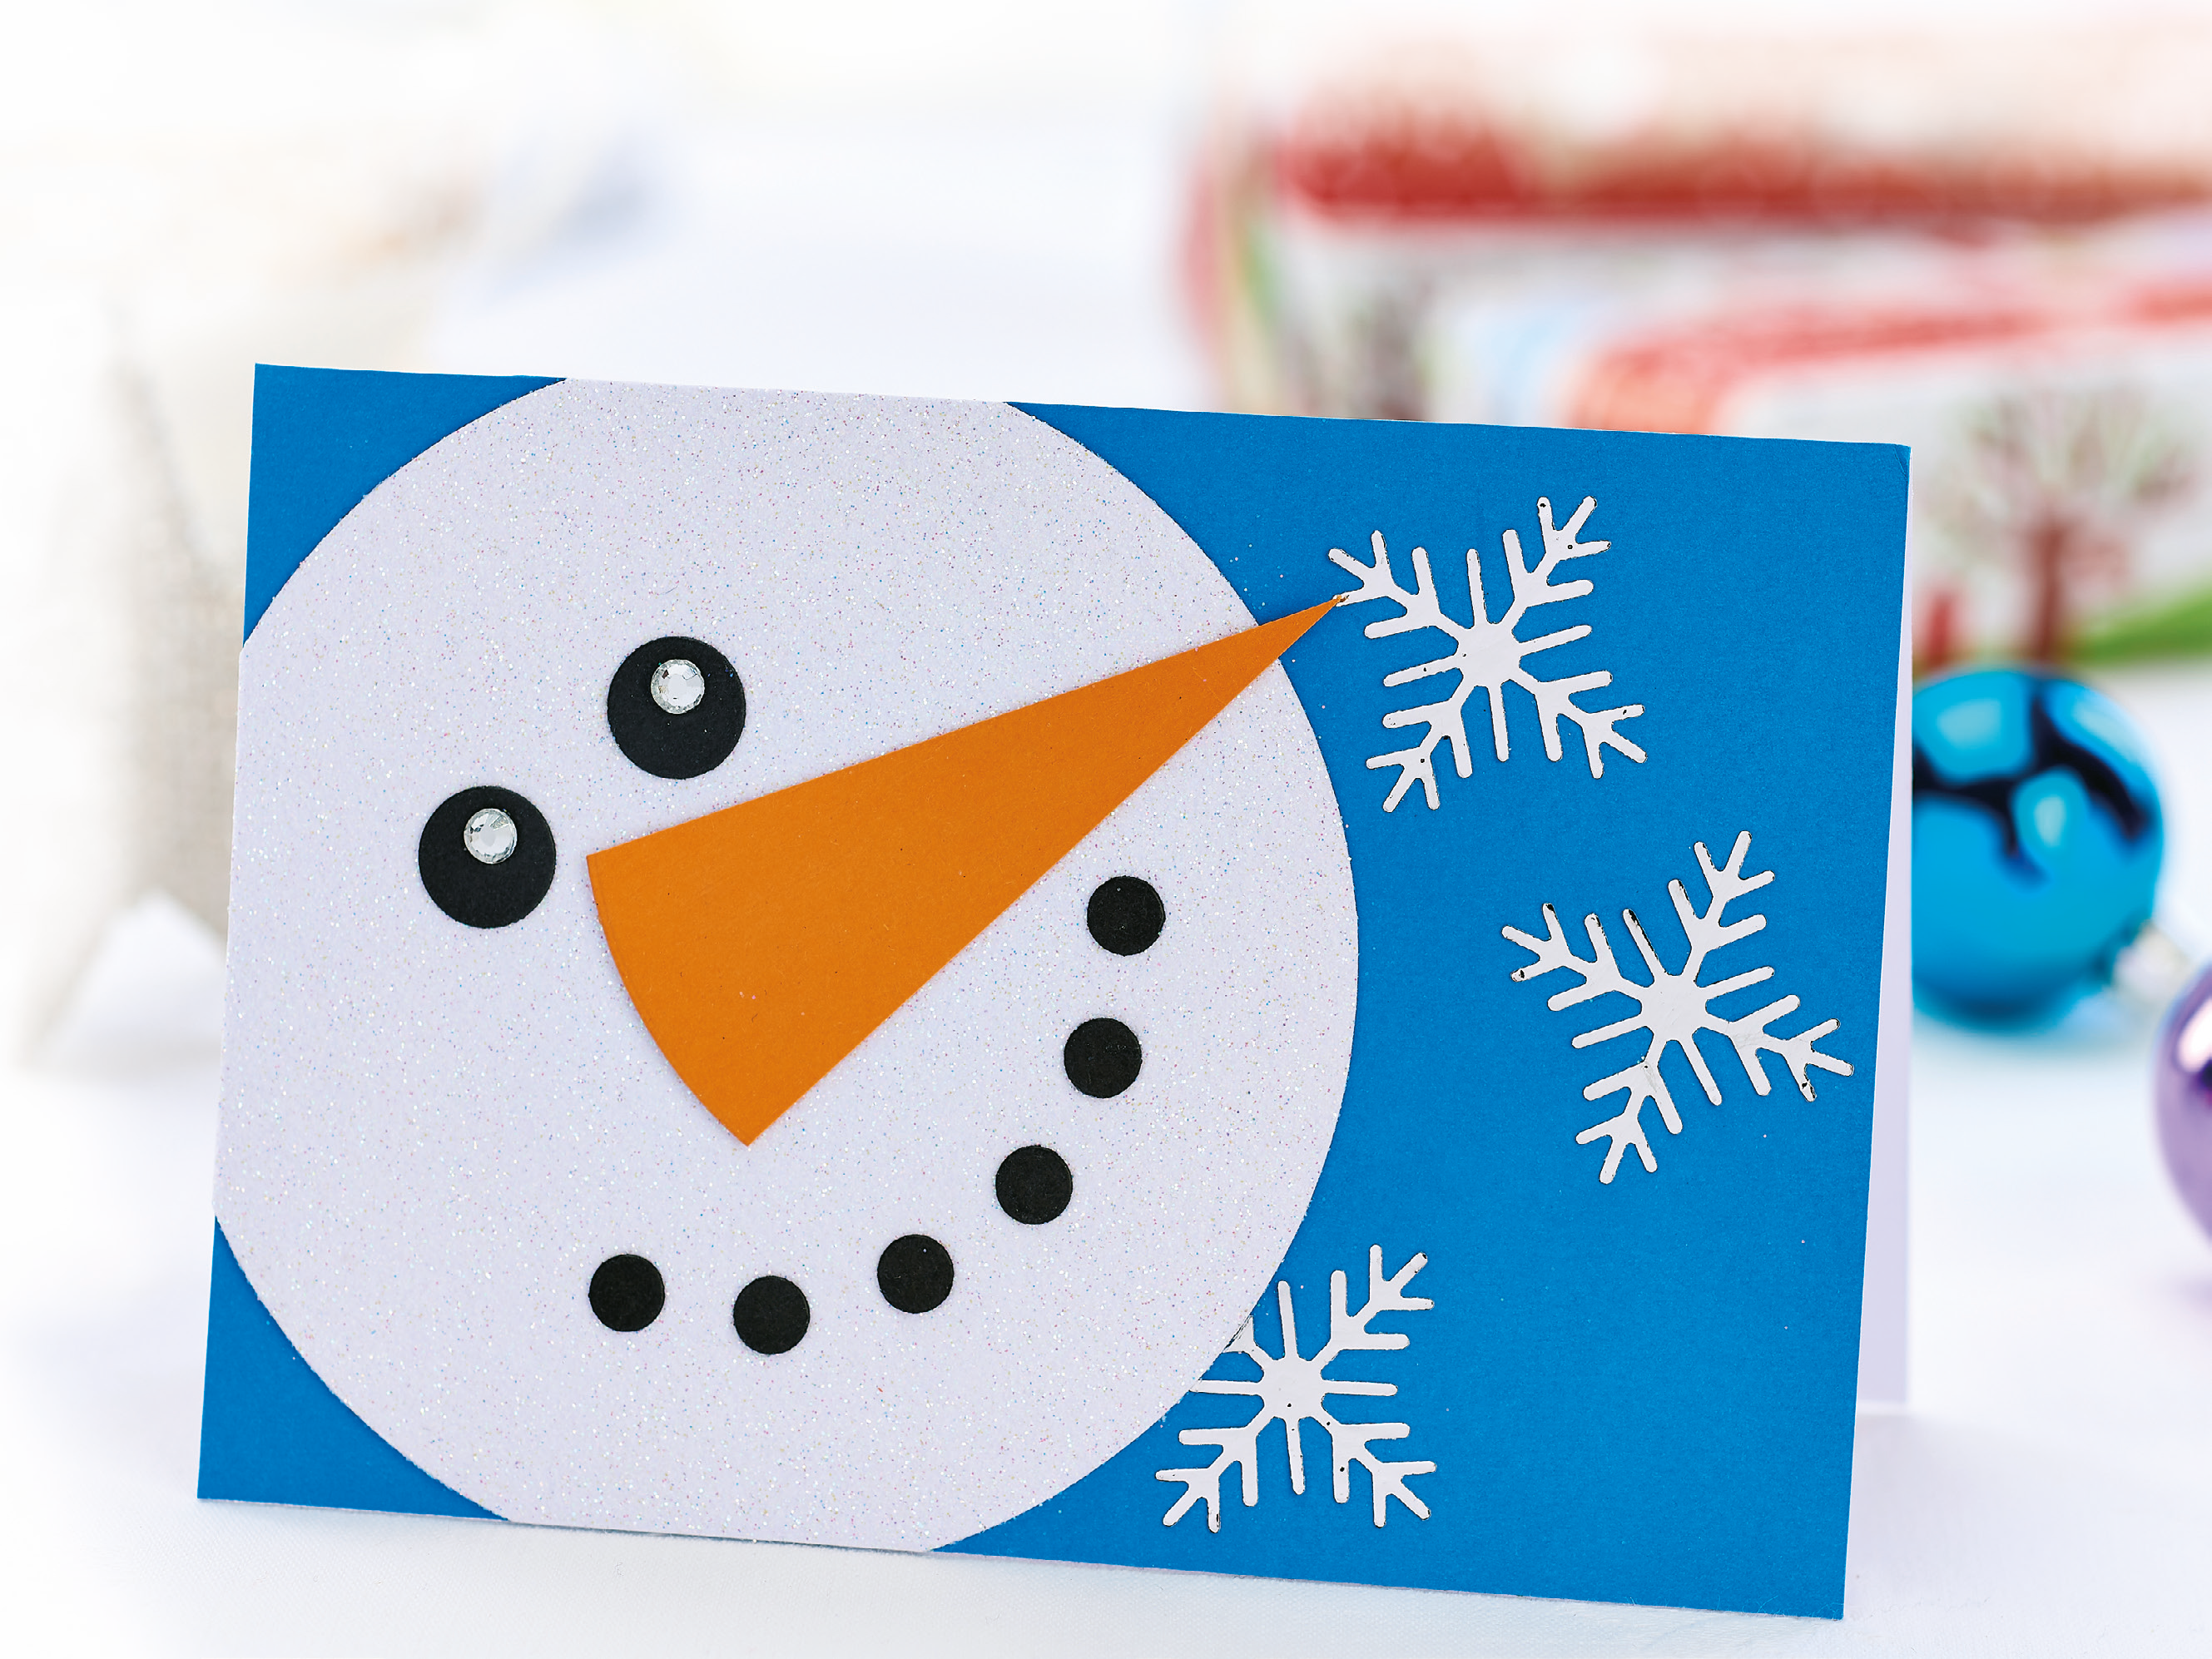
Frosty Snowman - Cover an A6 blank with blue card. Take a large white circle, spray with adhesive glue and sprinkle with fine glitter. Add black die-cut circles to create eyes and a smile, then adhere to the left-hand side. Cut out a triangle from orange card, die-cut a curve into the short edge and add to the face. Die-cut snowflakes from black laser printed card, heat foil with silver and adhere to the card.
-
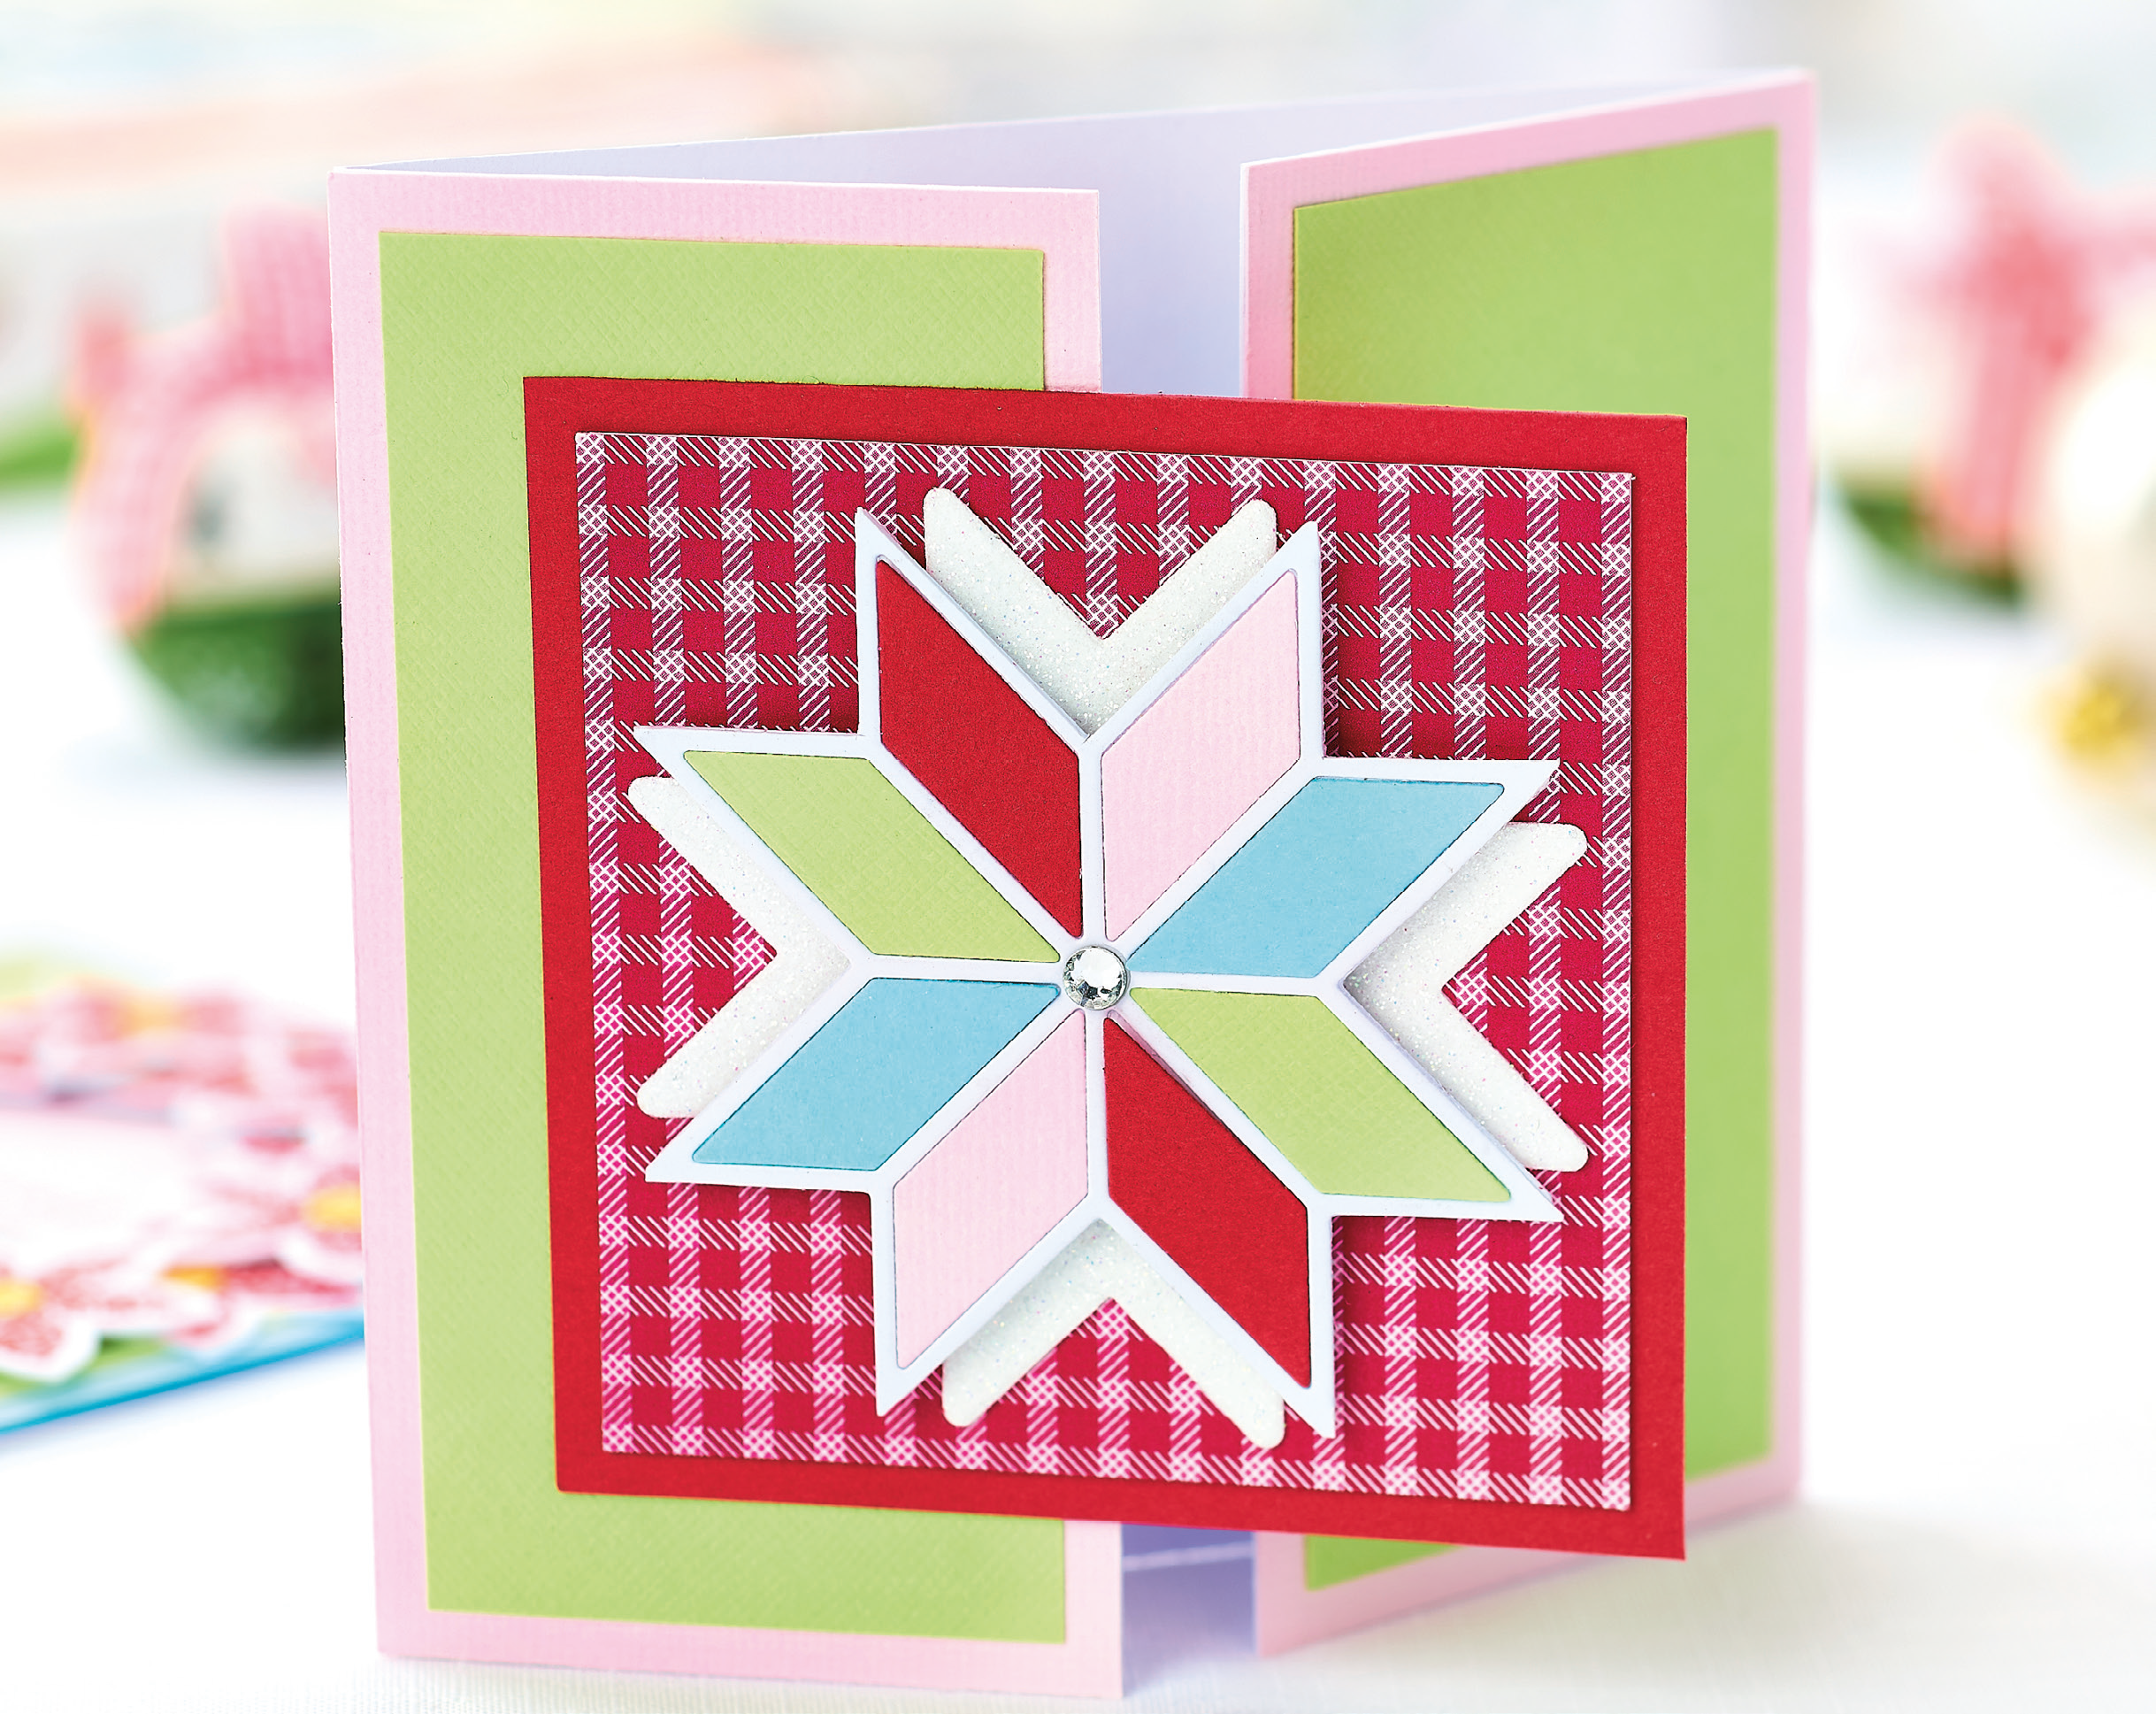
Geometric Snowflake - Create a 12cm square gate-fold card, cover the front panels with light pink and layer green rectangles on top. Die-cut two solid star shapes: one white, one glittered white. Die-cut a white outline star shape, trim the outer sections and adhere to a white base. Add coloured sections to the outline star and adhere onto the glitter star using 3-D foam pads. Trim a red check square, layer onto red and fix the assembled star to the centre. Glue a gem to the centre and attach to the left-hand section of the gate-fold.

Projects you may also like...


Recommended Projects...
 Crafts Beautiful Edition


