
Project
Make a Baby Mini Photo Book Using the Brother VC-500W Craft Label Printer
- Designer: Crafts Beautiful


Make memories to treasure with this keepsake photo book
What you need...
- • Chipboard
• Decorative paper
• Card stock
• Brother VC-500W Craft Label Printer
• 12mm, 19mm and 50mm tapes
• Glue
• Craft knife
• Cutting mat
• Paper trimmer/scorer
• Ribbon
instructions
-
1. Cut two chipboard pieces to 70mm x 195mm and cover both with decorative paper.
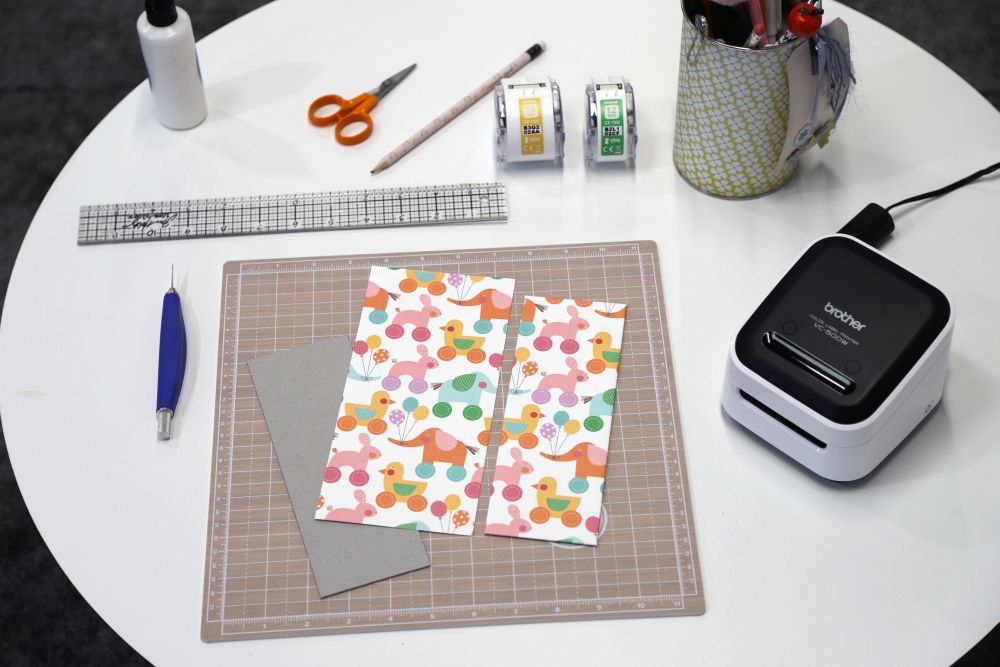
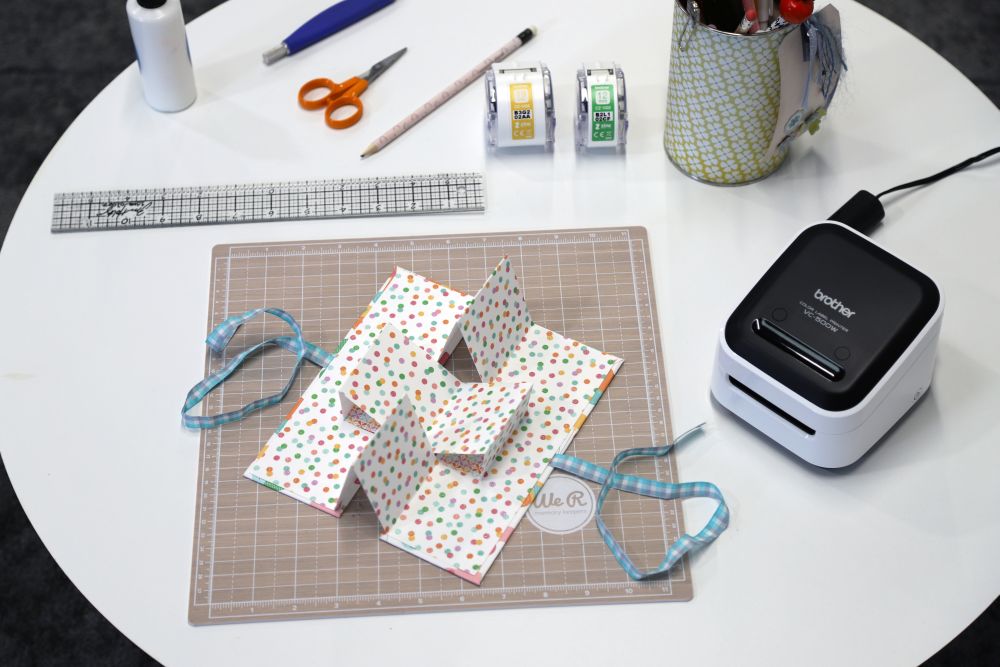
2. Cut decorative paper to 256mm x 192mm and score the long edge at 64mm, 128mm and 192mm. Cut the short edge at 64mm and 128mm. Cut two slits and fold back up as shown in the photo.

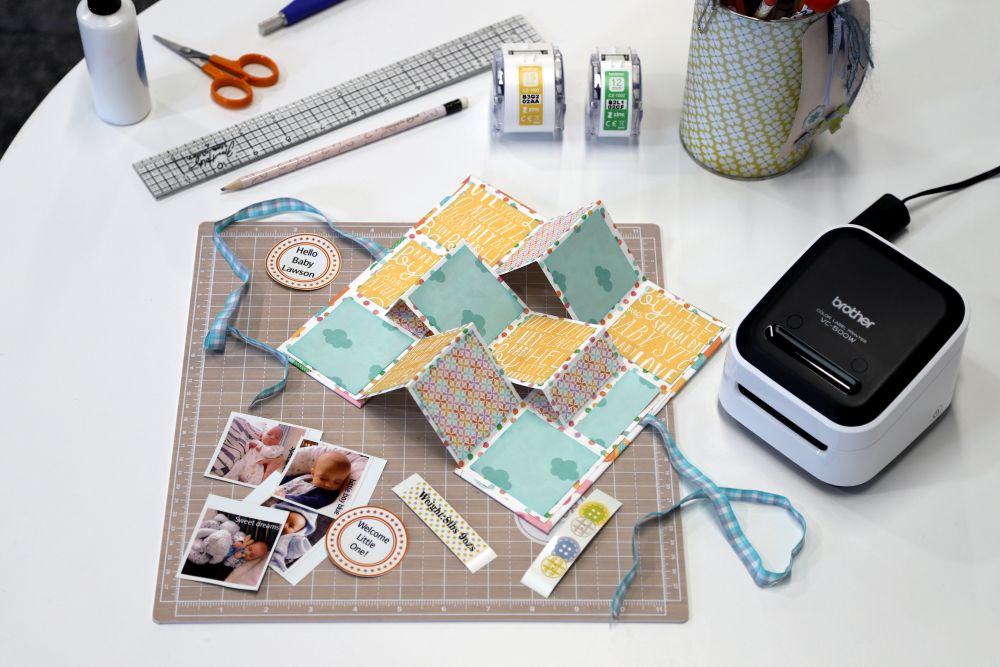
3. Glue together the two pieces at the inside front and back cover, sandwiching a piece of ribbon each side to be tied to keep the book closed. Cut and glue down decorative paper squares to enhance the inside of the book.
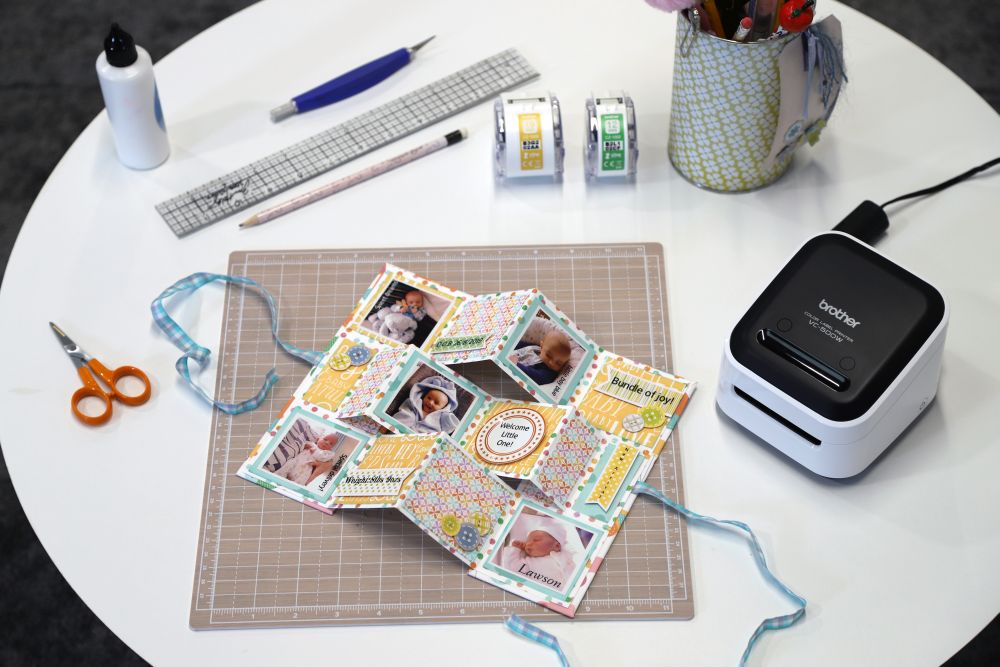
4. Using the Brother VC-500W Craft Label Printer, design various background pieces, photo squares, images to cut out and faux Washi tape strips, some holding baby’s details such as name, date of birth and weight.
5. Decorate the mini book with these pieces using 3D foam pads to raise some to give dimension.
Follow @brotherUKlifestyle on Instagram for project inspiration and more great crafty products

Projects you may also like...


Recommended Projects...
 Crafts Beautiful Edition


