
Blog
Blog

Are you one of those people who ends up in crafting chaos every December? Well, not this year! There’s two simple tricks to help you have a happy handmade Christmas: the first is to start today and the second is to keep it simple, which is why this quick and easy beaded parcel makes the perfect festive project. Follow Bead Flowers step-by-step tutorial to create the basic design, then use as a cute tree decoration, a gift tag, or secure it onto the front of a greeting card.
You will need…
Delica beads, Size 10, three colours
Beading thread
Size 10 beading needle
1
_beaded_parcel.JPG "Make An Easy Beaded Parcel Motif")
Cut beading thread, 90cm, then pass through a needle. Select one bead to use as a stopper – it will be removed at the end. Slide the bead 10cm from the end of the thread, then pass through it once more so it holds firmly. The length of thread left is your ‘tail thread’.
2
_beaded_parcel.JPG "Make An Easy Beaded Parcel Motif")
Decide which colour bead you would like to use for the ribbon – this will be referred to as colour C. Label the other two colours as A and B. Pick up 1(A), 1(B), 1(A), 1(B), 1(A), 2(C), 1(B), 1(A), 1(B), 1(A) and 1(B), then slide along the thread so they sit next to the stop bead. This will be the bottom row of the parcel.
3
_beaded_parcel.JPG "Make An Easy Beaded Parcel Motif")
Hold your work as pictured in the diagram. Pick up 1(A) and pass through the left-hand side of the end (B) from step 2. Pass through the (A) you’ve just added, moving in from the right-hand side. The thread path will move in a circular direction and the new bead should sit on top of the final one.
4
_beaded_parcel.JPG "Make An Easy Beaded Parcel Motif")
Pick up 1(B) – this is the red thread path in the diagram – and slide it along to sit next to the last bead you’ve added. Pass into the (A) underneath, moving in from the left-hand side, then through the (B) you’ve just added, moving in from the right-hand side. Pull the thread tight so the new bead slots into place on top of the original string of beads. This is called square stitch.
5
_beaded_parcel.JPG "Make An Easy Beaded Parcel Motif")
Continue working in square stitch to add all the rows of your parcel. Although you will be working from side to side as you follow the pattern chart for each row, you can turn your beadwork around if you prefer to work in the same direction. Follow the pattern in the diagram.
6
_beaded_parcel.JPG "Make An Easy Beaded Parcel Motif")
When you have completed the parcel, weave back through the beads, exiting from the left-hand side of the top left-hand ribbon bead. Pick up 7(C) and pass back into the top left-hand ribbon bead (the one you were exiting), entering the bead from the left. The new beads will form a small loop.
7
_beaded_parcel.JPG "Make An Easy Beaded Parcel Motif")
Pass through the top right-hand ribbon bead, exiting from the right-hand side of this bead. Pick up 7(C) and pass back into the same top right-hand ribbon bead, entering the bead from the right. Repeat the thread path through the two loops to hold them secure. Weave the working thread into the parcel to finish it securely. Knot between the beads or weave the thread in and out in multiple directions so it holds firm and cut. Carefully pull the stop bead off, then weave in the little tail of thread.
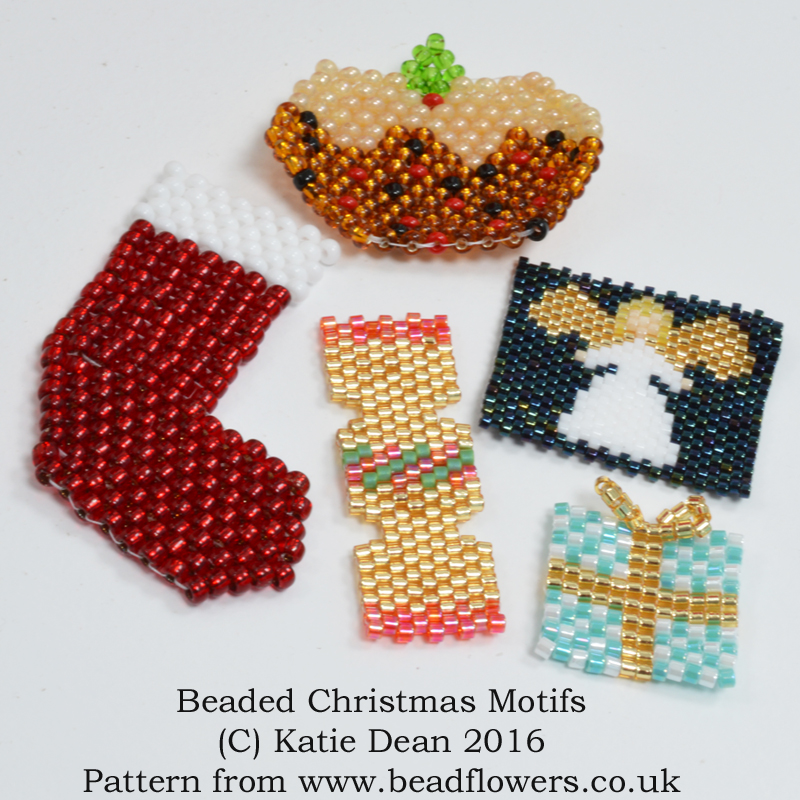
If you enjoyed creating this present motif, there are four more beaded motifs available for you to try! As a special gift, use code CBMOCT17 to receive 20% off the Christmas Beaded Motifs pattern, or another Christmas beading pattern of your choice at beadflowers.co.uk*. This offer expires on 31st October 2017.
*The coupon is valid for one use per customer. It is only valid on patterns (not books or kits) from the Christmas beading department. The code will expire at 11.59pm (GMT) on 31st October 2017.
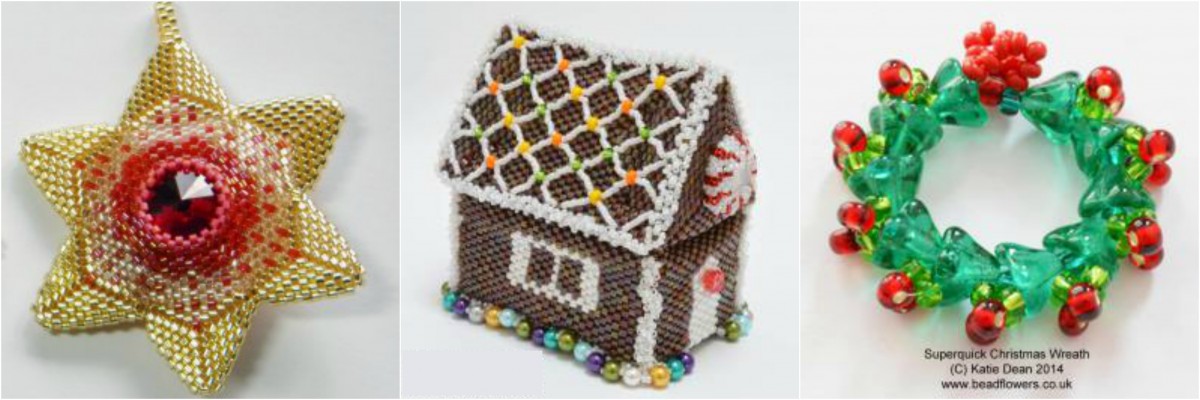


Blogs you may also like...


- SHARE
-

-

-
 hello
hello
-

Recommended Projects...


 Crafts Beautiful Edition