Make these bright and colour birthday cards for your stash
What you need...
- Stamps: Jilly Bean Soup, Birthday Bisque
Papers, Bella Blvd, Birthday Girl
Die-cuts: Marianne Designs, Candle; Creatables, Cupcake
Ink, black
Embossing powder, clear
Corner punch, round
Gems, clear
Adhesives: tape, double-sided; glue, PVA; 3-D foam pads
instructions
-
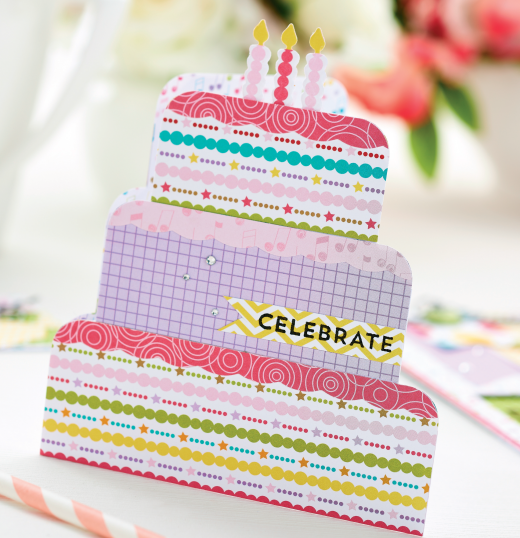
Cake Celebration - 1 Create a cake-shaped white card, 14cm x 16cm. Measure 5.5cm up from the bottom and draw a horizontal line across. Mark a second line, 5cm up from the first line, and finally measure a third, 4.5cm up from the previous. Trim a vertical strip, 1.5cm in from each side of the middle layer, then 3cm strips in from each side of the top layer.
2 Cover each section using patterned papers, then add contrasting scallop-edged trim to the tops of each. Round the corners and put to one side. Stamp a message onto yellow zig zag card using black ink and clear emboss, then trim to an inverted arrow shape and secure to the middle-right. Die-cut three candles from patterned papers and add yellow flames. Adhere between the layers on the top of the card. Embellish with tiny gems to finish. -
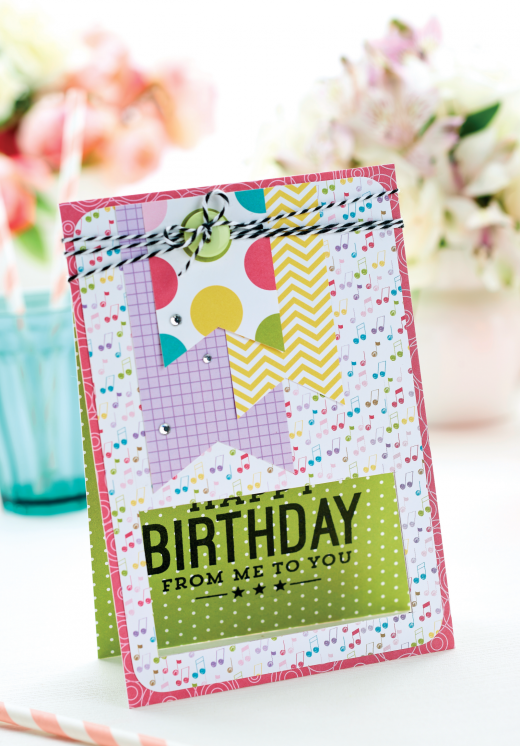
Happy Birthday - 1 Cover one section of white card, 11.5cm x 16.5cm, with pink patterned paper. Trim a smaller panel of musical note paper and round the corners. Cut three inverted arrow shapes from papers, then adhere to the top-left of the music section and fix to the pink panel.
2 Create an aperture in the bottom of the layered section, big enough to accommodate a birthday message. Stamp a sentiment onto green and white dot paper using black ink, then emboss using clear powder.
3 Position the stamped area behind the aperture. Mark the outside edges with pencil and trim to the same size as the panel, then stick to the other section of card. Score a horizontal line 2.5cm down from the top of the piece. Attach the front to the back using double-sided tape, to the section above the folded line.
4 Wrap black and white twine around the top of the card three times, tying the ends at the back. With a separate length, thread a green button through and tie around the horizontal strips with a bow on the front. Secure the button on the dot on the arrow shape using foam pads.


