
Blog
Blog
10 Papercutting Tips from Paper Panda
- SHARE
-

-

-
 hello
hello
-

- Tags:
- papercutting, papercraft, paper panda, louise firchau, crafts,


Paper Panda designer Louise Firchau and her partner Ryan have been together since 1999. They live with their twelve year-olds, Poppy and Thomas, and a multitude of beige, fuzzy animals in a country home in Bourton-on-the-Water, Cotswolds. Louise studied art and design, art history, illustration, and typography for seven years, before working as a freelance graphic designer. Paper Panda officially started in 2010 when she started making typographical lyrical papercuts from recycled paper.
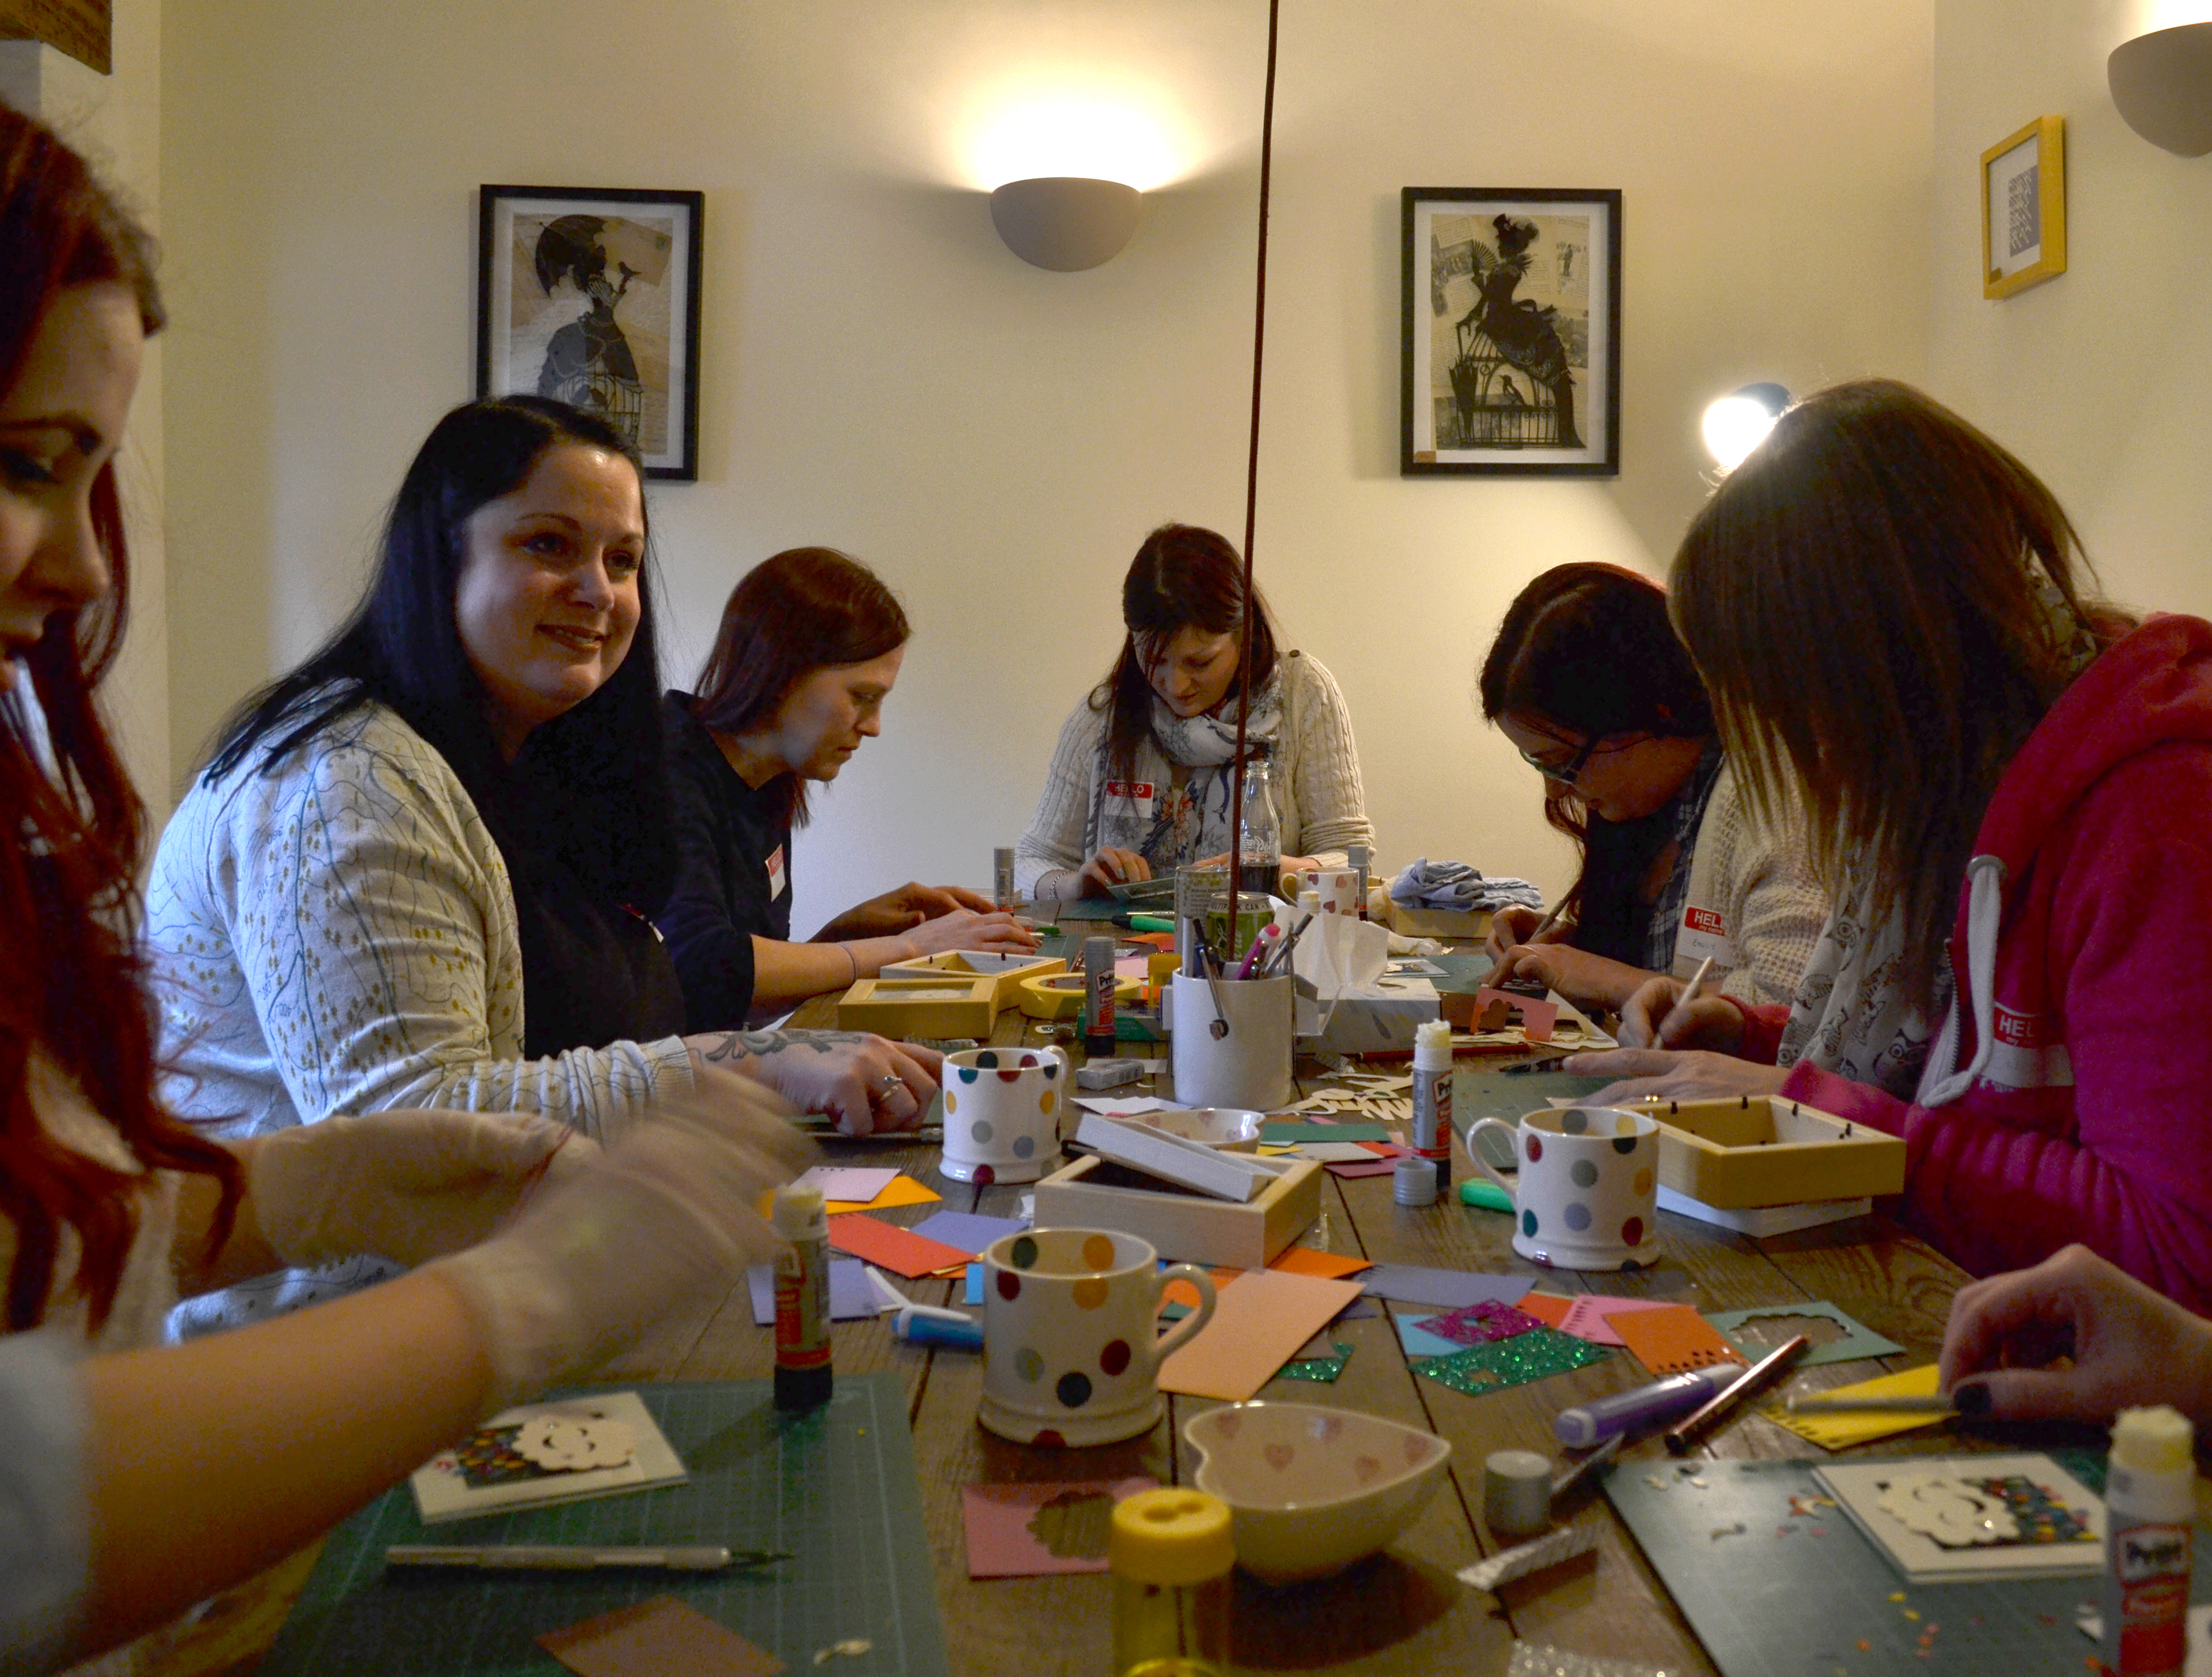
Since then, the company has grown significantly. From the Paper Panda shop you can buy finished and framed artwork, crafting supplies so you can give papercutting a go yourself, and more. Louise has also taught thousands of people to papercut through the Paper Panda Introduction to Papercutting DIY pack, her Papercuts Twenty to Make book, workshops based at her home studio in the Cotswolds, and through online groups.
Here she shares her top ten tips on papercutting…
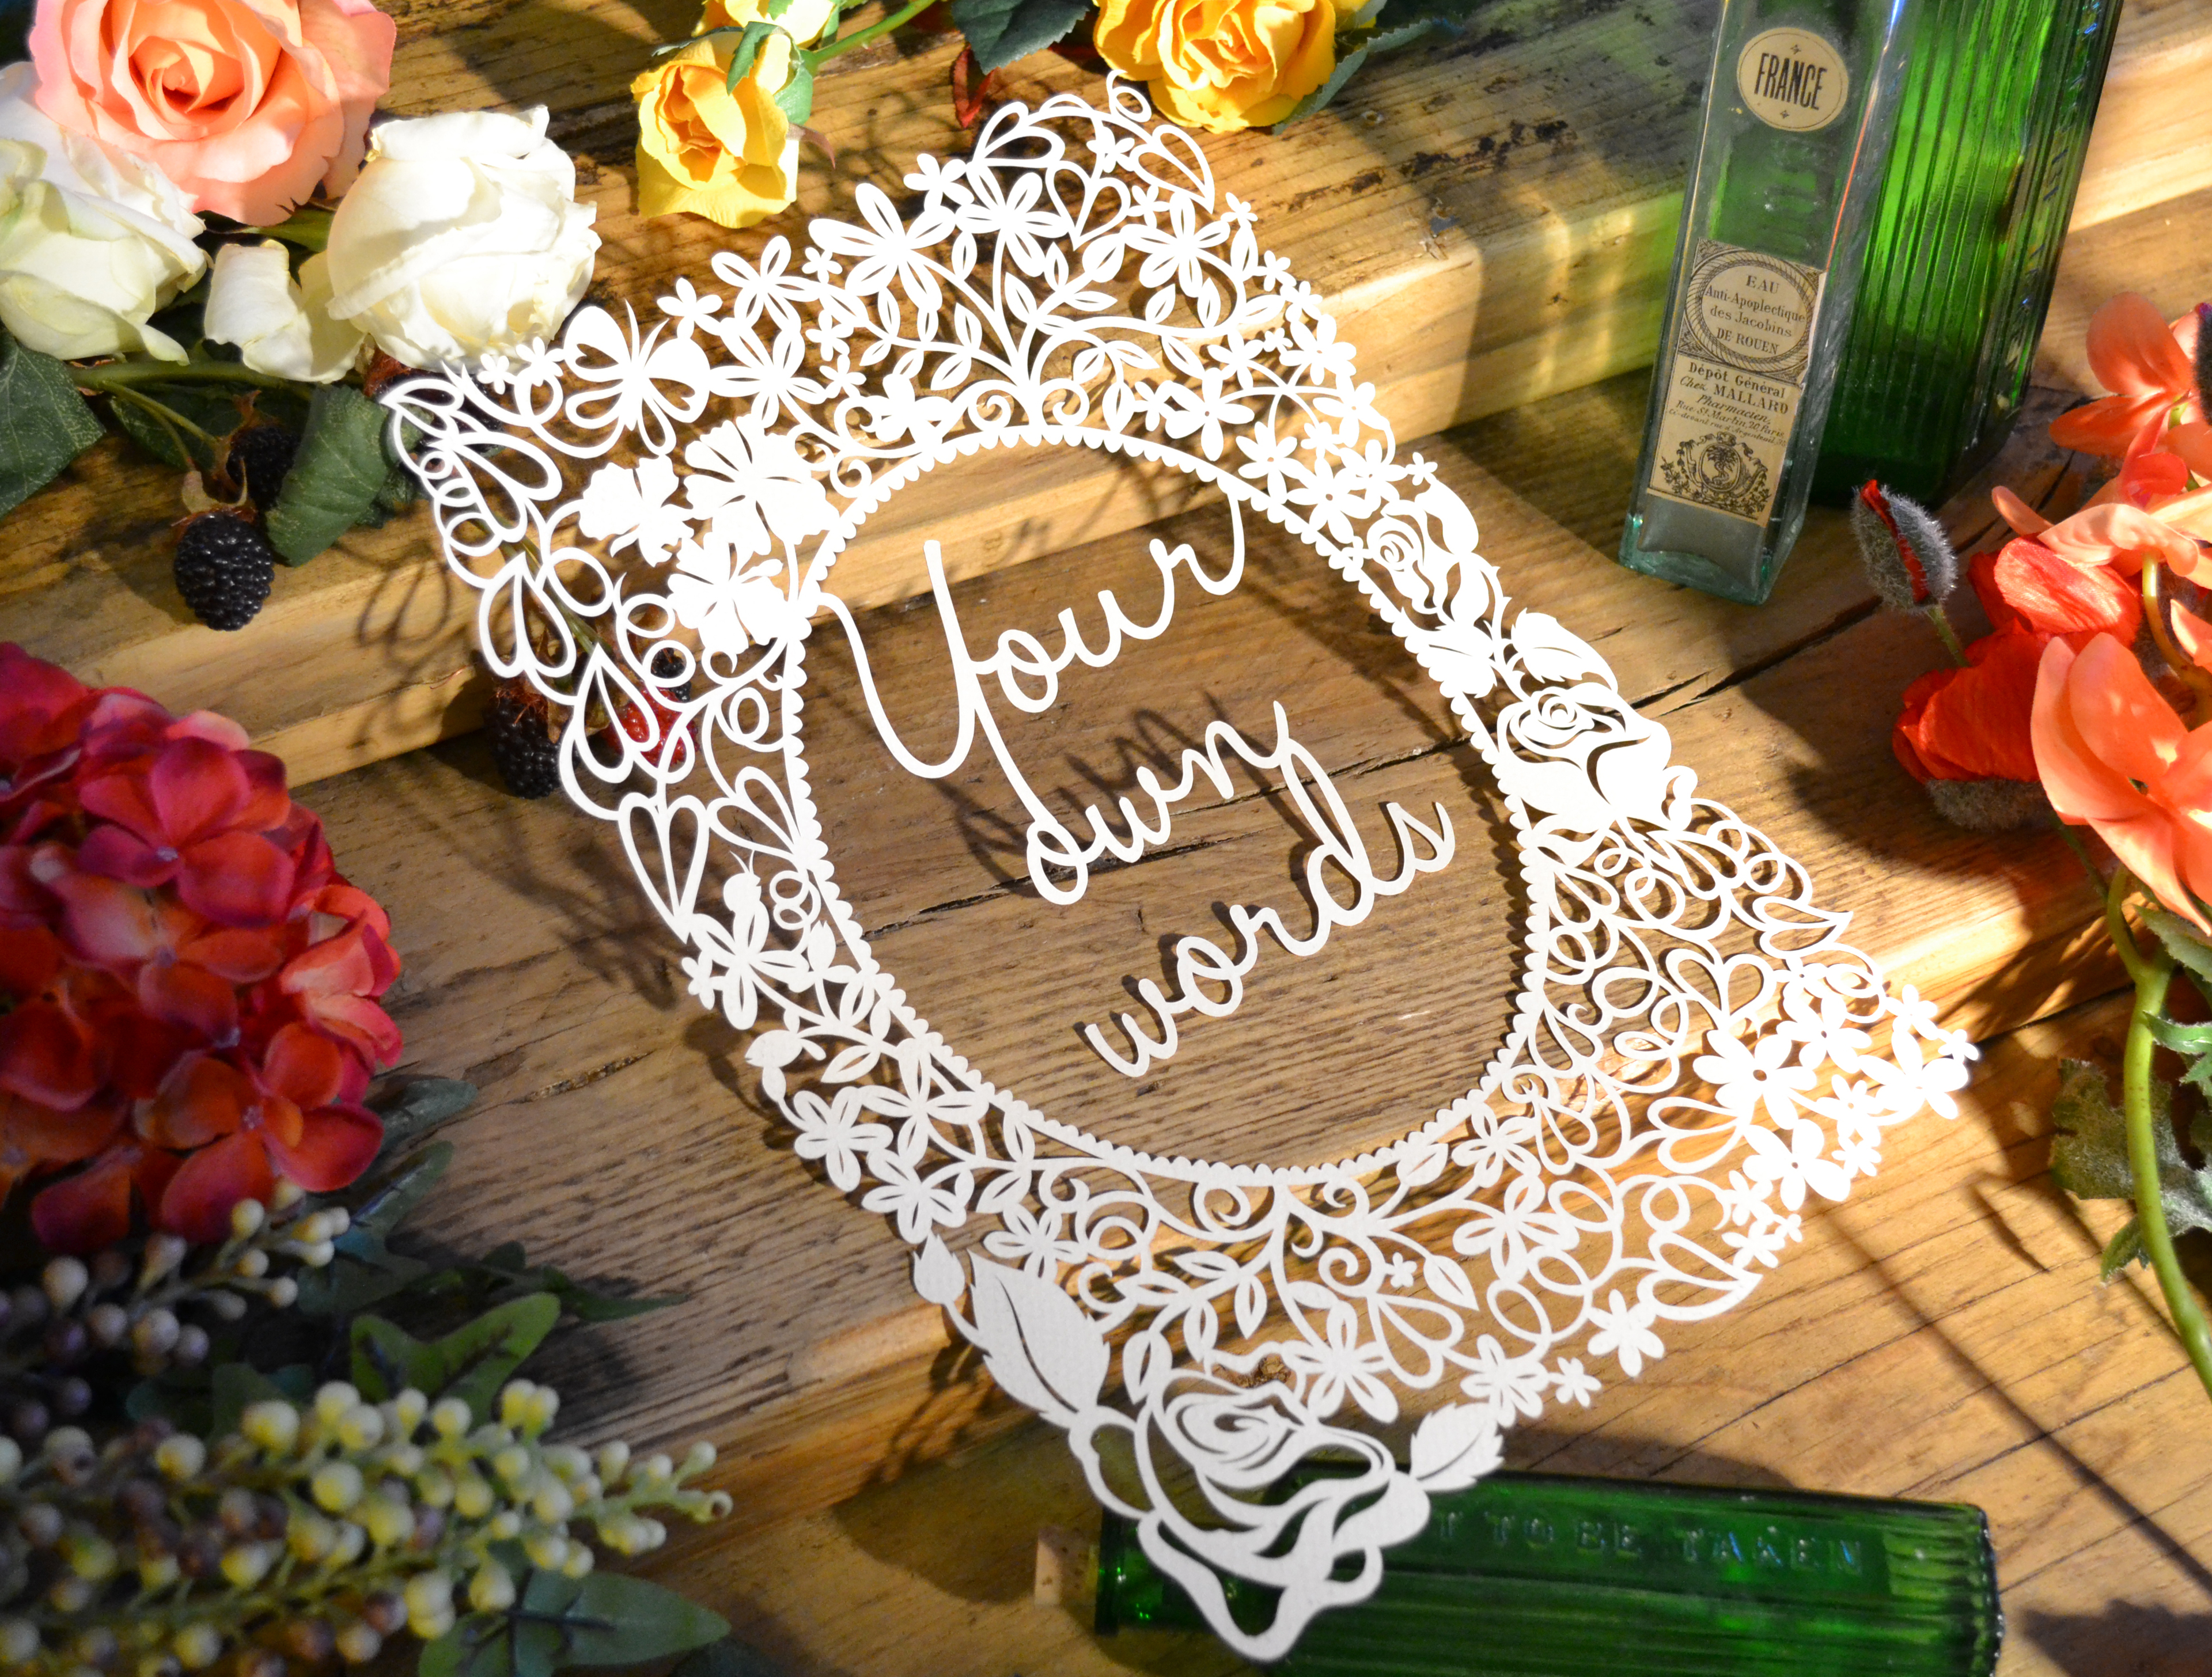
1. Make sure you use good quality paper. Copy paper is horrible to cut and blunts your blade really quickly. I use 160gsm hammered paper for most of my work, but different people get on better with different weights. We sell a wide variety in our shop here.
2. When cutting circles, it’s easier to turn the paper as you cut. Rotate it regularly to ensure you are cutting comfortably.
3. Always cut the most difficult section of a design first. That way if you make a mistake then you haven’t wasted too much time on the cut.
4. Resist the urge to remove excess paper whilst cutting, as leaving it until the end will add extra stability to the paper when you’re working.
5. Change your blade regularly. As soon as you start to feel it drag through the paper, it’s time to change it. This will help cut clean, smooth lines and will avoid you having to press down too hard.
6. Ensure you take regular cutting breaks to avoid straining your neck and to give your hand a rest.
7. If you do get neck ache, a sloped surface can be a real advantage!
8. A compass is useful for making teeny tiny holes, especially eyes.
9. Cuts can be floated within the design using either a double glass box frame (available from our shop) or a standard box frame with a sheet of acetate which, incidentally, we also sell! Mount your cut onto the back piece of glass or acetate using tiny dots of glue, then pop your frame back together with the cut sandwiched between the two layers. Voila!
10. And last but not least, enjoy yourself and make sure you don’t bleed too much on the paper!
For more useful tips and advice, as well as inspiration from fellow papercutters, why not visit Louise’s papercutting group on Facebook here?
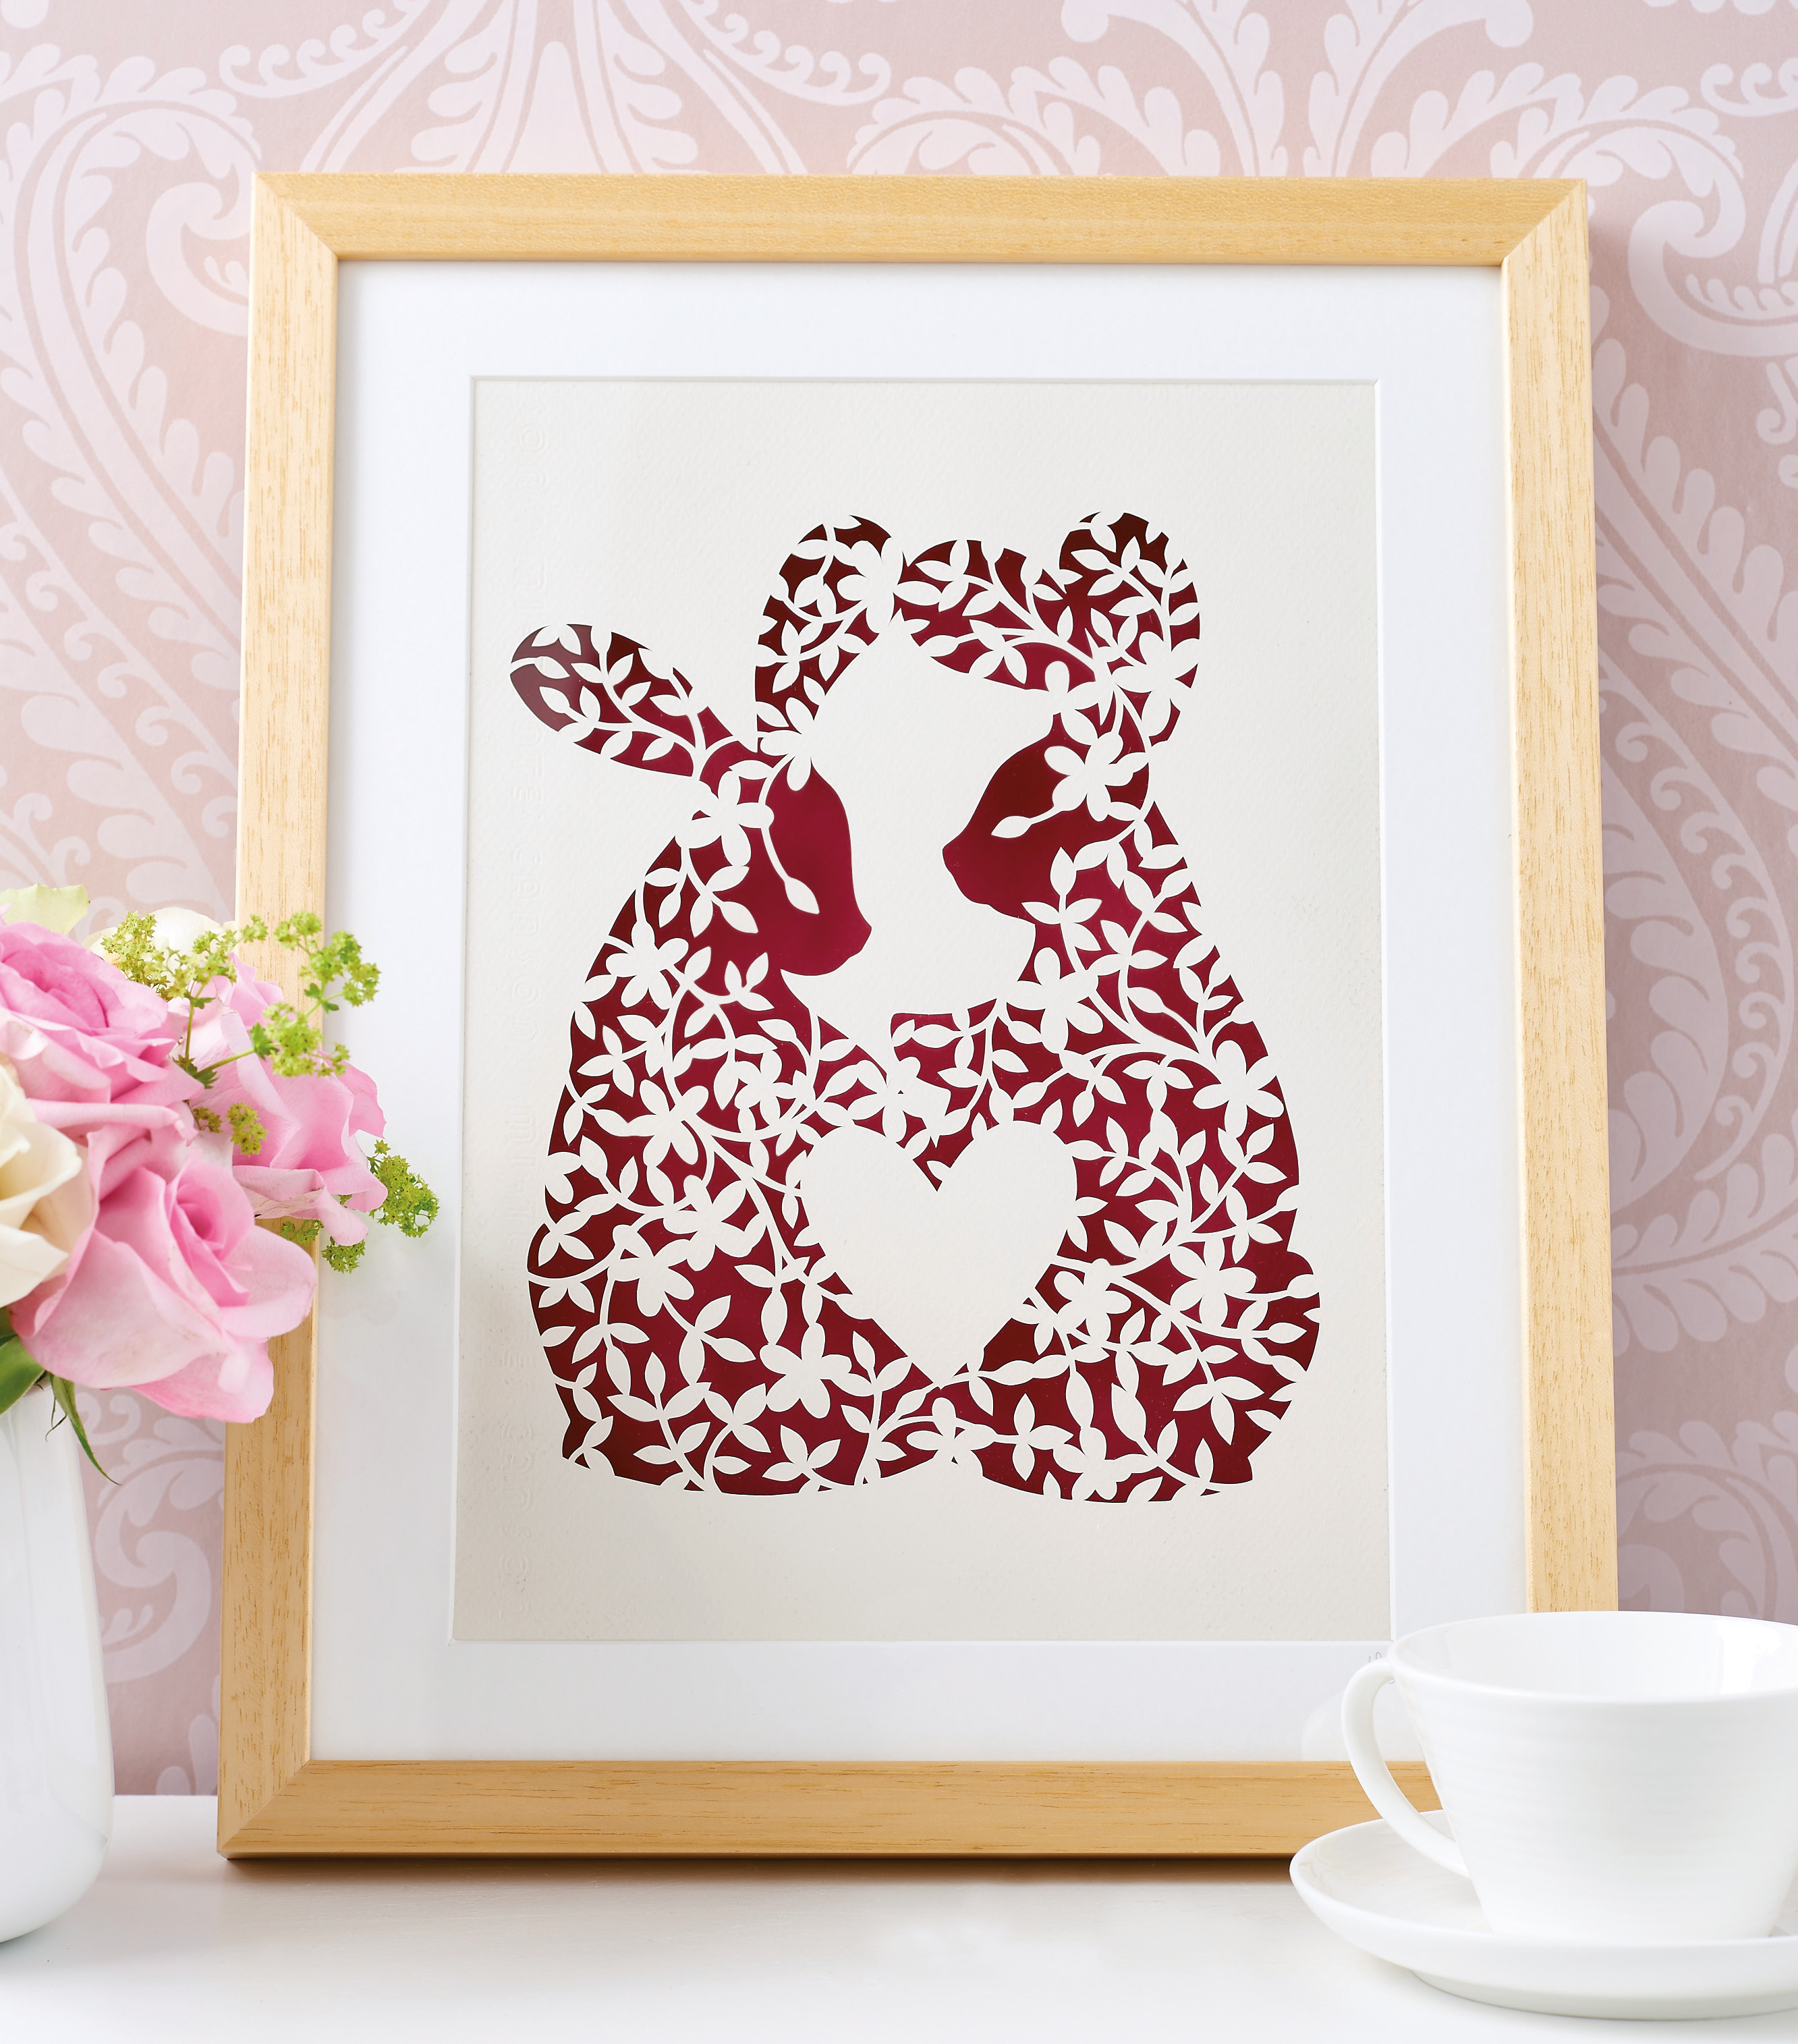
Plus, enjoy this FREE template for a gorgeous bunny design from the September 2015 issue of Crafts Beautiful!
Happy papercutting!

Blogs you may also like...


- SHARE
-
-
-
hello
-
Recommended Projects...


 Crafts Beautiful Edition