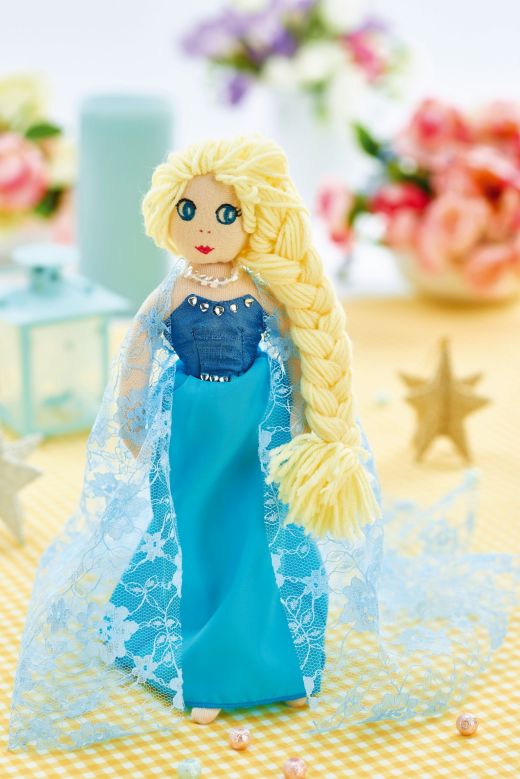
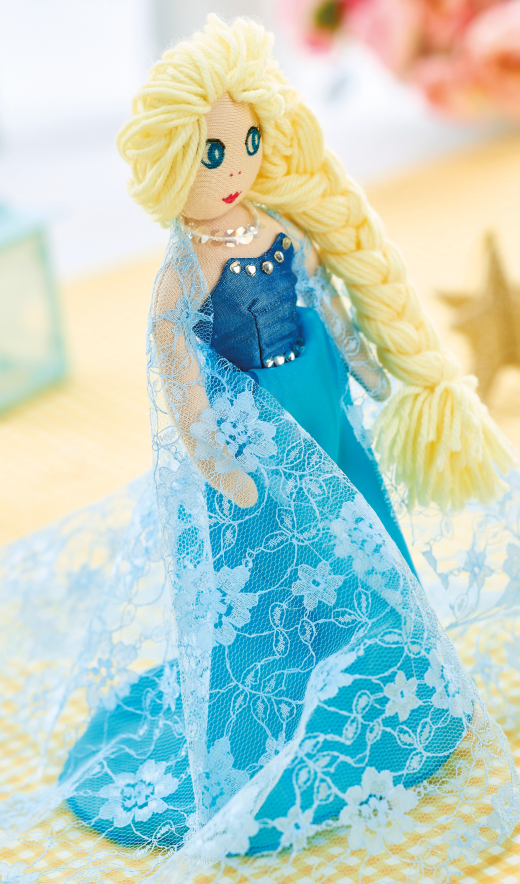
Create Amanda Walker’s fairytale dolly inspired by Disney's Frozen for your little one using a simple three-piece pattern
What you need...
- Fabric: cotton jersey, flesh-coloured; scraps, assorted colours; lace, pale blue
- Toy filling
- Yarn, pale yellow
- Gems, clear
- Sewing machine
- Sewing kit
- Pens, felt tip, permanent
instructions
-
Cutting Guide - From cotton jersey: One pair of the body piece, one pair of legs and one pair of the doll’s head.
For the doll’s clothes, cut out on the fold: One front skirt and one pair of the back skirt. Two front bodices and two pairs of back bodices.
For the cape: A half circle, diameter 25cm, from pale blue lace. -
Make The Dolly - 1 Stay stitch across the base of the two body pieces and the top of the two legs. This is to stop the fabric stretching too much. Sew two leg pieces together from one side, down and up both legs to the opposite side, with a 3mm seam allowance. Clip the curved seam between the legs, then turn out and stuff with toy filling. Take care not to overfill.
2 Sew the body pieces in the same way: stitch from the base on one side, up around the arms and the neck, and down to the opposite side. Clip into the thumb, under the arms and up into the curve of the neck on both sides. Turn out and stuff. The body and the legs can now be stitched together. Turn in the raw edges along the stay stitching lines and hand slip stitch the two together.
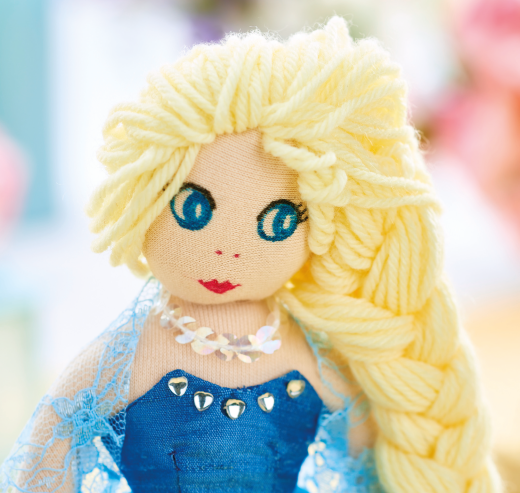
3 Draw eyes, a nose and mouth onto one of the head pieces with felt tip pens. Stitch the two heads together, leaving the top open; turn out and stuff. Fold in the raw edges on the top of the head
and close the seam by making a running stitch, gathering up the top of the head as you sew. Hand stitch the head to the front of the neck. The neck should extend up the back of the head; the stitching will be covered when the hair is secured. You may need to make a couple of invisible stitches through the neck and into the chin. -
Dolly's Dress - 1 Make darts in both of the front bodice pieces, then stitch two of the back bodices to one of the fronts. Repeat the process with the remaining front and back pieces. Open the side seams and, with right sides of the bodices facing each other, match the side seams together and stitch from the base of the back centre back seam, up and around the top of the bodice, back down to the opposite
centre back. Stitch with a 3mm seam allowance; clip around the bodice front, turn to the right side, and press.
2 To make the skirt, match and pin the two back pieces to the front piece and stitch together. Next, sew this to the base of the bodice; the skirt will need to have a couple of pleats at the back and front to fit the waistline of the bodice. Match the back seam of the skirt pieces together and stitch around, leaving 2cm unstitched at the waist.
3 Dress the doll and hand stitch the centre back bodice together and the top part of the centre back seam. Either overlock the hem of the skirt or make a roll hem. Finally, wrap the straight edge of the lace cape over the doll’s shoulders and secure in place by hand stitching under the arms. -
Dolly's Hair - Wind yellow yarn around card, 35cm wide. Ensure the strands lay next to each other and measure 6cm across. Cut through them at one of the card edges and carefully machine stitch through the
fold line across the length of the hank. Position on the doll’s head; the stitching line in the centre of the hank should run around the outer edge of the head, just in front of the head seam. Half of the
yarn should be hanging over the doll’s face while it’s hand stitched in place. Draw all of the hair over to one side, then divide into three and plait. Secure the end with more yarn and trim the end of the plait to neaten.
Projects you may also like...
Recommended Projects...
 BusymittsShare your makes


