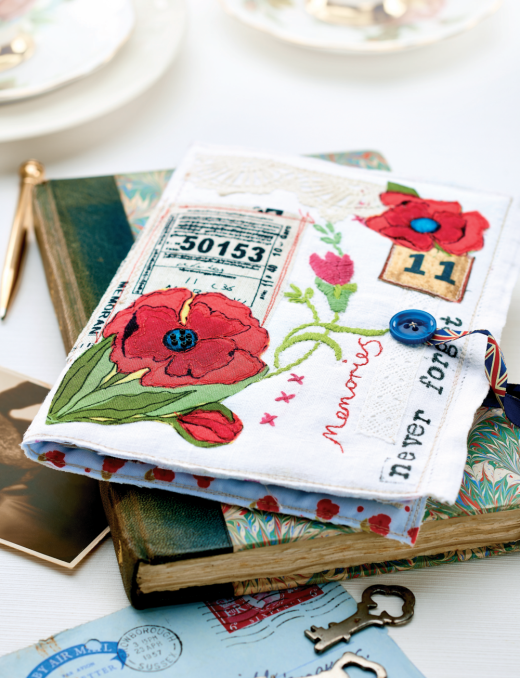
Gather together any family memorabilia to create this enchanting poppy journal
What you need...
- Fabric: Laura Gunn for Michael Miller, Garden Wall Floral (poppy); Tim Holtz Eclectic Elements (number/script); pale blue floral print; scraps
- Table linen, vintage
- Cotton lace, vintage
- Buttons, vintage
- Ribbon, Union Jack
- Photographs, black and white
- Paper ephemera, vintage
- Wadding, 21cm x 31cm
- Iron-on interfacing
- Thread, machine embroidery
- Sewing machine
instructions
-
Trim an old embroidered table cloth to 21cm x 31cm. Fold it in half and mark the middle with a line of pins; this will become the front and back of your book, so choose a piece that has some nice embroidery on it. Cut out two poppy heads from the printed fabric and back with iron-on interfacing. Trim a piece of script print fabric, a number 11 and a short length of old lace. Take wadding the same size and lay the book front on top, right side up. Arrange the cut pieces on the right-hand side of the pins; this will be the front of your book. Pin in place before machine or hand stitching through the wadding. At the left-hand side of the pins, stitch a rectangle of script printed fabric with a scrap of lace.
-
Stamp ‘remember’ in black ink on the back cover and ‘never forget’ on the front. Cut two 25cm lengths of ribbon, then stitch one on each side of the cover so they meet when you close the book. Remove the pins and set aside. Trim blue fabric the same size and mark the middle with pins. Place a vintage photograph on the left, lay short lengths of cotton lace across three corners and stitch in place. Add small fabric scraps and a poppy for interest. Stamp your relative's name onto a length of cotton trim and fix down the side of the photograph. On the right-hand side of the pins, cut an old ticket or coupon from printed fabric and lay it across the back of a postcard. Cut three fabric scraps, a small snippet of lace and a section of embroidery from a piece of table linen. Arrange as shown and sew lines of machine stitching in red. Add a pearl button under the embroidery for detail.
-
Take the finished front and back cover and lay it wadding side up. Position the pages you have just finished, right side up onto the wadding and pin in place all around the edges. Now machine stitch all the way around, 1cm in from the edge, three times to make sure you don’t stitch across the ribbon closures. Trim excess fabric from the edge, almost up to the stitching line. Sew a central line down the middle to form the spine of the book. Set aside. To make the additional pages, cut a rectangle of pale blue print, 20cm x 30cm, slightly smaller than before, and mark the middle with pins. On the right-hand side, stitch a rectangle of map print fabric to the bottom half. Back a fabric poppy with interfacing and sew it to the top right of the page. Add a number 11 as well as small pieces of fabric and lace. Iron on the reverse.
-
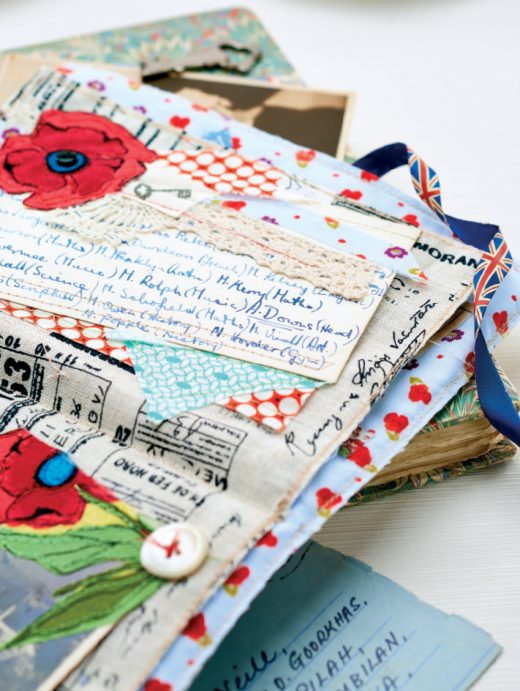
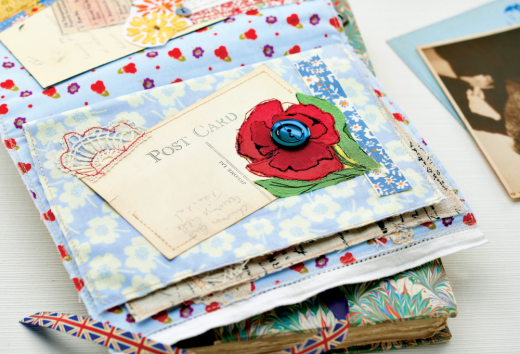
On the left side of the pins, hand or machine stitch an old postcard at an angle. Sew ribbon across the bottom, then back a poppy with interfacing and stitch it to the bottom left of the postcard. Finish the page with a scrap of old lace to the top right of the postcard and a large blue button to the poppy centre. Set aside. Trim script fabric, 20cm x 30cm, and mark the middle with pins. On the left side of the pins, stitch an old photograph at an angle. Attach lace across the top and sew on a poppy, poppy bud and bright fabric scrap. Hand stitch a large pearl button at the bottom-left.
-
Lay the reverse of a written postcard at an angle. Tuck two contrasting pieces of fabric under the left side of the postcard and machine in place. Stitch an orange triangle of fabric as shown. Interface a large poppy head, place as shown, but before stitching, tuck a collage effect of fabric scraps and lace underneath it. Stitch a small navy button to the poppy centre. To make up these middle pages, take the last page that you set aside and lay it wrong side up. Take the middle page and lay it on top, right side up, pin together. Machine stitch all the way around three times and trim excess close to the stitch line. Lay this section on top of the first front and back cover section and stitch down the middle to secure.
Projects you may also like...
Recommended Projects...
 BusymittsShare your makes


