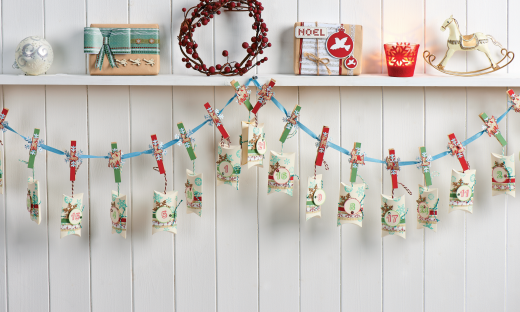
Make your own papercraft advent calendar with our easy how-to
What you need...
- Paper: Studio Calico, Wonderland collection, Toboggan; Alpine; Crate Paper, Sleigh Ride collection, Rudolph
- Dies: Die-Namics, Let It Snowflake; Sizzix, Bigz L, Movers & Shapers, pillow box
- Inks: Hero Arts, Pale Tomato; Green Hills Shadow; Stampin' Up!, Pool Party
- Stamps, Hero Arts: Journal Letters set; Smiling Snowman set
- Pegs, wooden
- Ribbon, satin, glitter, blue
- Card: red, green, cream, kraft
- Bakers twine
- Sequins
- Glitter
- Gems
- Adhesives
instructions
-
Using a pillow box die, cut out 24 pockets from cream card. Fold the scored sections and fix double-sided tape to the middle edge. Randomly stamp blue snowflakes over the front of the pocket.
-
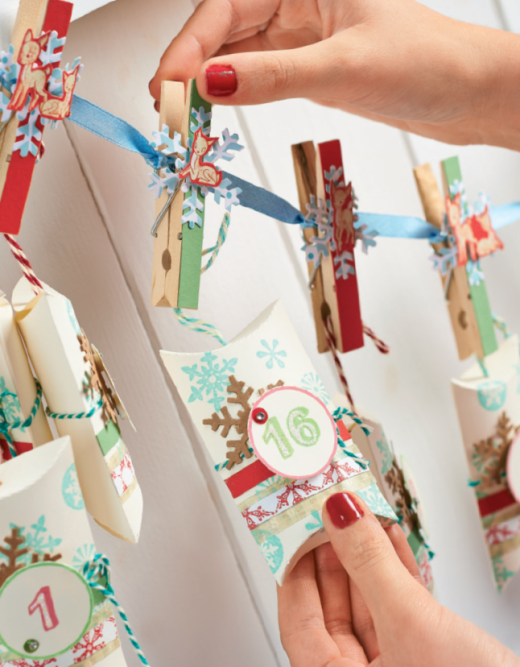
Press a strip of washi tape to each, then layer a slither of red snowflake paper over the top. Add green card to 12 of the pockets and red to the remaining ones, just above the washi tape. Knot green twine around each, then assemble them without sealing the tops or bottoms.
-
Punch a hole through the centre of the top two flaps, so they line up. Stamp red or green numbers onto discs of cream card, alternating the colours. Work the edges of the circles with the inks, so they contrast the shade used for the number. Fill the numbers with glitter, then add a gem-topped sequin to each.
-
Die-cut kraft card snowflakes, glueing one to the upper-left of each pocket. Attach the circle numbers over the top of the snowflake, using 3-D foam. Loop a folded 10-12cm length of twine through the bottom hole in the flap, using red for the red numbers and blue for the green. Knot the doubled twine underneath the hole and thread the loop through the second flap.
-
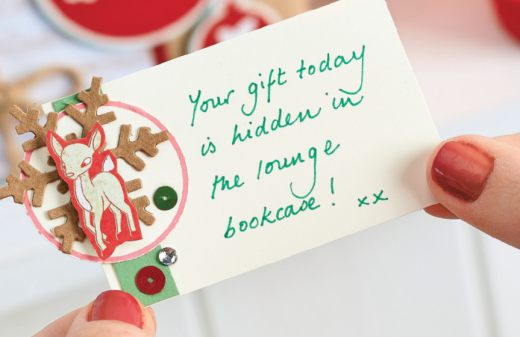
Trim and glue 24 red and green card strips, 12 of each, to the same dimensions as the pegs. Die-cut 24 medium snowflake from patterned blue and white paper, then stick one to each peg. Trim double or single deer from printed paper, so you have a total of 24, then fix them into place using foam pads.
-
Pair up the pockets with the pegs, matching the colour of the stamped number with the colour on the peg. Secure the looped twine within the pegs, ensuring the pockets are facing the correct way. Lay the boxes out, mixing them up so they aren't in numerical order, but ensuring the colours still alternate. Thread a 3m length of ribbon through the metal part of each peg and knot one side to stop the pockets from grouping.
Projects you may also like...
Recommended Projects...
 BusymittsShare your makes


