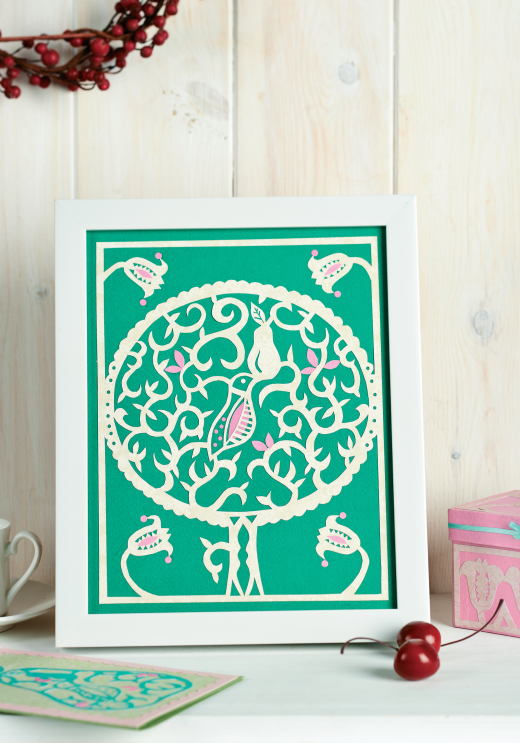
Combine sharp cuts with clever patterns for a little design magic
What you need...
- Frame, white, 20cm x 25cm
- Box, square
- Papers: Inspire Me, dark green, green, pink, dark pink; patterned, aqua, pale pink, pale green, beige; carbon
- Emulsion, pink
- Ribbon, narrow
- Adhesive: spray, PVA
- Tape, double-sided
- Scalpel
instructions
-
Photocopy our downloadable template directly onto the back of beige patterned paper. Alternatively, sandwich a sheet of carbon paper between the patterned paper and the template, then use a biro to trace over the design, checking periodically that it has been transferred to the paper beneath.
-
Cut out the centre of the partridge, the head and the bird’s back; work the smaller details first. Create the tree’s scrolls and leaves, turning the paper into the curves as you cut. Work the leaves from the curve to the point, so any mistakes won’t stray into the scroll. Continue until the whole of the inner tree and trunk section is cut.
-
Trim out the centre of the border flowers, then the background, using a metal ruler to ensure straight lines. Snip the scallop around the outside of the tree and punch holes where it joins the border. Make a dark pink lozenge and glue behind the bird’s chest.
-
Place the papercut right side down on a sheet of newspaper. Cover the back of the design with a fine mist of adhesive, leave for two minutes, then carefully lift onto green paper. Press clean scrap paper firmly over the work to set everything in place.
-
Make seven pink leaves and fix to the tree. Punch five small pink circles for the back of the bird and eight larger spheres to use for flowers. Cut little pink lozenges and stick to the centre of the blooms. Blot away excess glue, and press the whole design under books until set. Trim green paper to size and assemble back in the frame.
Projects you may also like...
Recommended Projects...
 BusymittsShare your makes


