Give plain ceramics a marvellous makeover with gorgeous sea-green shades and a clever transferring technique
What you need...
- China, white, plate
- Tray, large, china-based
- Napkin, white, cotton
- Paper, Lazertran, original, for pale fabrics
- Gift wrap, geometrical design
- Gems, adhesive, green, clear
- Craft knife
- Colour photocopier
instructions
-
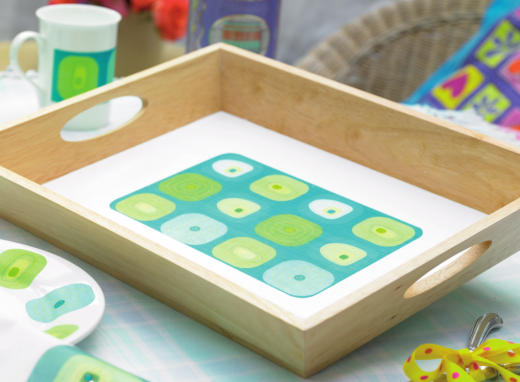
Embellished Tray - 1 Take a large, plain kitchen tray and wash with warm water to remove any residue. Apply three thin coats of white satinwood paint to the base and allow to dry.
2 Colour copy a sheet of square print gift wrap onto Lazertran paper, according to the manufacturer’s instructions. Trim the image to the desired size, and soak it in water to release the backing paper.
3 Let the excess water run off the transfer. Position onto the centre of the tray base and press, smoothing out any air bubbles. When dry, seal it onto the base with three coats of acrylic varnish. -
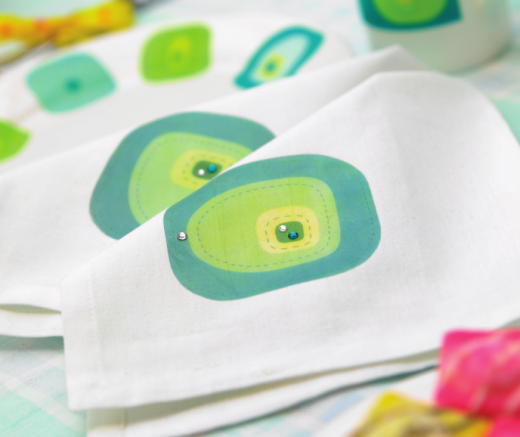
Retro Napkin - 1 Wash a plain white cotton napkin in soapy water to allow for any shrinkage. Colour copy a sheet of gift wrap onto Lazertran paper for light fabrics, and trim three large squares.
2 Press the napkin to remove any creases. Set the iron to hot, but with the steam turned off, and place one of the squares, reverse side up, on top of the fabric, using the picture as a guide. Lay a sheet of parchment paper over the motif and run the iron across it, ensuring the edges are covered.
3 Allow the transfer to cool, then gently peel off the backing paper with a firm but gentle motion. Iron on the remaining squares using the same technique. When complete, embellish further by adhering green and clear flat-backed crystals to each motif. -
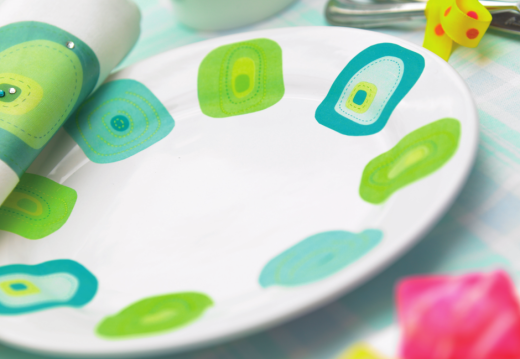
Funky Plate - 1 As before, colour copy a sheet of gift wrap onto original Lazertran paper. Using a craft knife, cut out eight squares, four green, two pale blue and two dark blue.
2 Take a plain white china plate and wash in hot soapy water to remove any greasy residue. Allow to dry. Place the images, one by one, into a shallow dish of lukewarm water, backing paper side up.
3 Slide each transfer off the backing paper and arrange onto the plate in a symmetrical pattern, using the picture as a guide. Gently dab away any excess gum from the surface and smooth out trapped air bubbles.
4 Place the plate in a domestic oven immediately and bake on the lowest possible setting for at least an hour. Slowly increase the temperature until the transfers have a glassy appearance. Be sure to allow the plate to cool before using.
Projects you may also like...
Recommended Projects...
 BusymittsShare your makes


