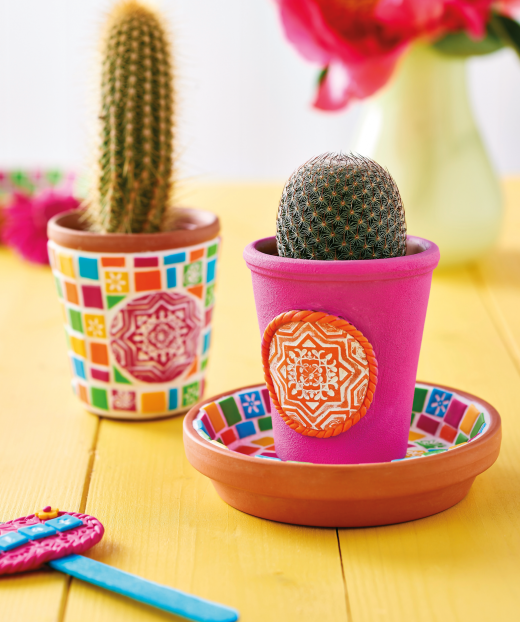
Achieve a faux mosaic look with this polymer clay project
What you need...
- Polymer clay, Fimo Soft
- Texture sheet, Fimo Accessories: Oriental, Meadow
- Polymer clay adhesive
- Paint, acrylic, white
- Terracotta pots and saucers
- Lollipop sticks
- Mosaic fix adhesive
- Mosaic fix grout
- Tissue blade, Fimo Accessories
- Scalpel
- Cutter, fondant, 1cm square
- Stamps, alphabet
instructions
-
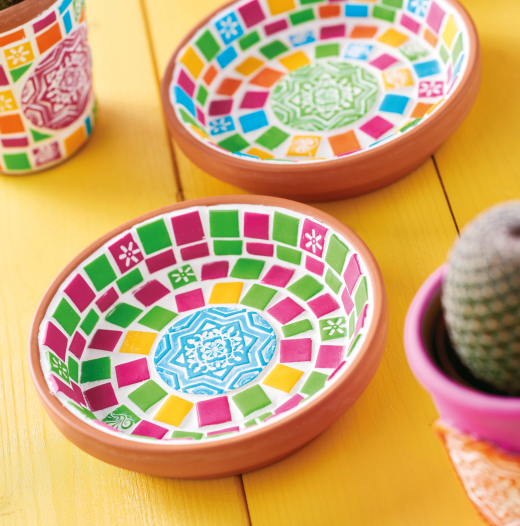
Mosaic Saucer - 1 Condition pink polymer clay and roll out into a rectangle, 5cm x 9cm and 3mm thick. Using a tissue blade, chop the clay into 1cm squares. Cut some in half. In the same way, make a batch of yellow and green mosaics. Create a smaller amount of pink and green mosaics and emboss them with either a small decorative stamp or the end of a felt tip pen top.
2 Cut a card circle, 4cm. Roll out blue clay, 5cm square, to a thickness of 3mm. Press an Oriental texture sheet into it until you get a good impression. Place the card template over an interesting section of the motif and cut around it using a scalpel. Bake all pieces to the manufacturer’s instructions.
3 Once cool, rub white acrylic paint over the textured pieces so it sits within the pattern, leave to dry for a few minutes, then rub away the excess with a damp cloth. Apply mosaic adhesive to the back of the round decorative piece and stick to the centre of a terracotta saucer. Do the same for the mosaic tiles and adhere around the central piece. Continue gluing down the tiles, alternating the
colours and using the half pieces as necessary until covered. Leave to dry.
4 Wearing rubber gloves, mix up grout to the manufacturer’s instructions. Push it into all of the little gaps between the mosaics, then scrape away any excess. Leave to dry out for 20 minutes and rub over the surface with a rough cloth. Leave for another 20 minutes and repeat the process until the tiles are clear of grout – if necessary, rub with a damp cloth. Once dry, buff the mosaics with a dry cloth. Use the same techniques to decorate a pot. -
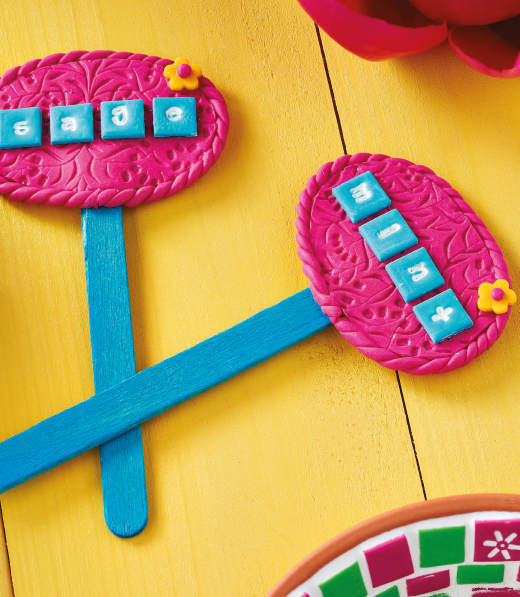
Plant Markers - 1 Condition pink clay and roll into a 3mm sheet. Emboss with a Meadow texture sheet, then cut out two ovals. Apply a little Bake and Bond adhesive to the backs of the pieces and sandwich a lollipop stick between the two.
2 Roll out two thin sausages of pink clay and twist together to form a rope. Apply adhesive to the outer edge of the oval and wrap the rope around the shape, then trim the ends to fit and bake.
3 Roll out a 3mm sheet of blue clay and stamp a herb name into it. Trim the letters using a fondant cutter and stick across the front of the oval using a little adhesive. Add a mini flower for decoration
and bake.
Visit [url=http://www.staedtler.co.uk/en/]http://www.staedtler.co.uk/en/[/url] for more information about FIMO products.
Projects you may also like...
Recommended Projects...
 BusymittsShare your makes


