Create a special canine card with our easy-to-follow how-to
What you need...
- Dies: Sizzix, dog; circles
- Card: black, white
- Paper, Doodlebug, kraft in colour
- Ribbon: grosgrain, pink, white; satin, yellow
- Gem, silver
- PC & printer
- Die-cutting machine
instructions
-
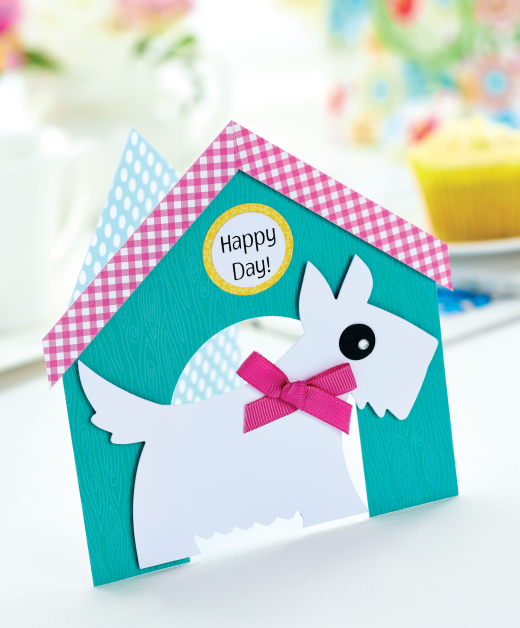
Westie House - 1 Cover the front of a house-shaped card blank with green patterned paper. Die-cut a circle just below the centre of the card and cut vertical lines either side of the widest points and down to the bottom to form an arch. Trim two strips of pink checked card and stick to the top using foam pads.
2 Die-cut a dog from white card. Glue a black circle for an eye, then add a silver gem. Punch two small holes in the neck and thread pink ribbon through them into a bow. Attach the motif to the front of the opening using foam pads, then stick green dot paper to the inside of the card. Print a sentiment onto a white circle and mount onto yellow paper, then adhere above the dog. -
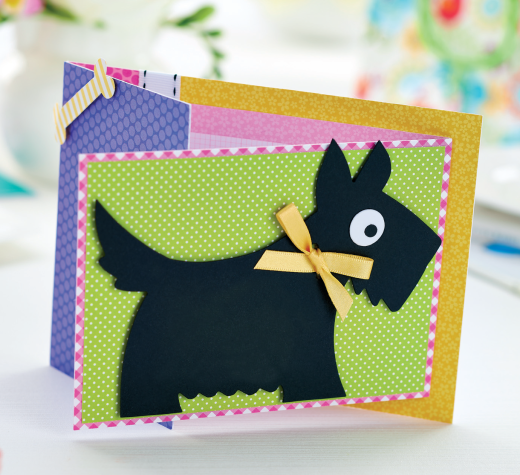
Scottie Greeting - 1 Create a left-folding blank, 10cm x 14cm, then a bigger blank, 12cm x 24cm. Score a vertical line on the larger card, 8cm in from the left edge, and fold. Die-cut a dog from black card, eye pieces from black and white, and a bone from yellow and white striped card. Assemble the dog, punch two small holes in the neck and tie a bow using yellow ribbon.
2 Take the smaller blank and cover the front with pink checked paper, then layer green dot paper on top. Turn this section upside down so it opens to the left and cover the inside with pink patterned paper. Trim a smaller section from light pink paper, round the right corners and stick to the centre.
3 Cover the left fold of the larger blank with purple patterned paper. On the inside, mount a strip of pink, 3cm, down the left edge. Stick white ribbon next to it and cover the remaining area with yellow floral paper.
4 Secure the smaller card to the inside of the other, allowing the front of the smaller card to overlap the narrow panel of the bigger one. Attach the dog to the centre of the green panel using foam pads. Place the bone to the top left of the purple section to finish.
Projects you may also like...
Recommended Projects...
 BusymittsShare your makes


