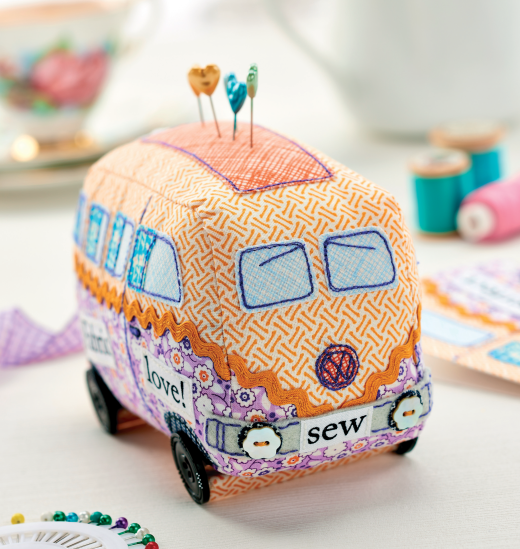
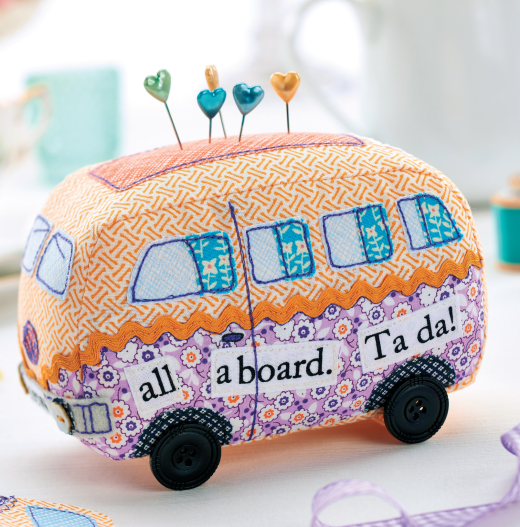
We know how much you loved our caravan pincushion, so say hello to this campervan version!
What you need...
- Fabric, printed: teal; purple floral; orange, dark orange; black scrap; typography
- Ricrac trim
- Buttons: black, spotty, four; pearl, two
- Interfacing
- Felt, grey
- Adhesives
instructions
-
Campervan Pincushion - 1 Using the templates, cut out the top and bottom pieces of the campervan twice from purple floral and orange fabric, turning the template for the second side. Overlap the purple fabric onto the orange by 5mm and stitch across. Cover the join with a length of ricrac trim, iron on the reverse, then repeat for the other side.
2 Use the template to cut out four windows for each side; turn the template over for the other side. Back them all with interfacing. Fix curtains to the windows with a glue stick. Place each window onto orange fabric, then machine or hand stitch over them twice using a dark purple thread. Sew a vertical purple line behind the first window to define the door and stitch a small door handle. Repeat for the other side.
3 Cut out four black wheel arches and stick them in place; the glue will prevent fraying. Stitch them down using black thread. From the typography print fabric, cut out the words of your choice and back them with interfacing. Stitch to the respective sides above the wheel arches. Iron on the reverse and set both sides aside.
4 To make the middle section of the van, which combines the front, roof, back and underside all in one piece, use a strip of orange fabric, 7cm x 48cm. With patterned side up, leave a gap of 7cm from the right-hand side, then cut the front bonnet from purple fabric, back with interfacing and stick it to orange fabric and cover the join with ricrac trim.
5 Cut out two front windows, back with interfacing stitch to the orange fabric; check the placement will match the windows on the sides by temporarily pinning them so that the ricrac meets. Stitch a small circle of dark orange to make the emblem badge.
6 Make the sunroof from dark orange fabric, 3.5cm x 9cm, and interface. Pin to the roof, 2cm above the windscreen you have just stitched, then sew around it twice in dark purple. Iron the whole piece on the reverse. -
Adding The Detail - 1 Make the bumper from a strip of felt. Trim 'sew’ from fabric and stitch it to centre for the number plate. Sew on two black circles, which should be slightly larger than your chosen headlamp buttons at either side. Attach the buttons and hand stitch around the edge of the bumper to add details. Stick the finished bumper to the front of the van.
2 Make the axels from four pieces of thin card, 4cm x 6.5cm. Score three lines across the width of each axel at 1cm intervals, fold into a triangular shape and secure the end with glue. Once dry, add orange fabric to match the base of the van. Line up the axels with the black fabric wheel arches and stick in place. Once dry, attach a black button to the end of each axel for the wheel. -
Making Up The Campervan - 1 Start by pinning the front piece to one of the sides, making sure that the ricrac meets so it looks like a continuous length. Keep pinning all the way round, overlapping the other end at the bottom where the seam will not show. Stitch a 5mm seam all the way around.
2 Match up the ricrac to the other side of the van and repeat. Clip the seams on the curves and turn right side out. Firmly stuff the van with toy filler and, before sewing up the gap in the bottom, slip in a piece of thin card inside the base.
Projects you may also like...
Recommended Projects...
 BusymittsShare your makes


