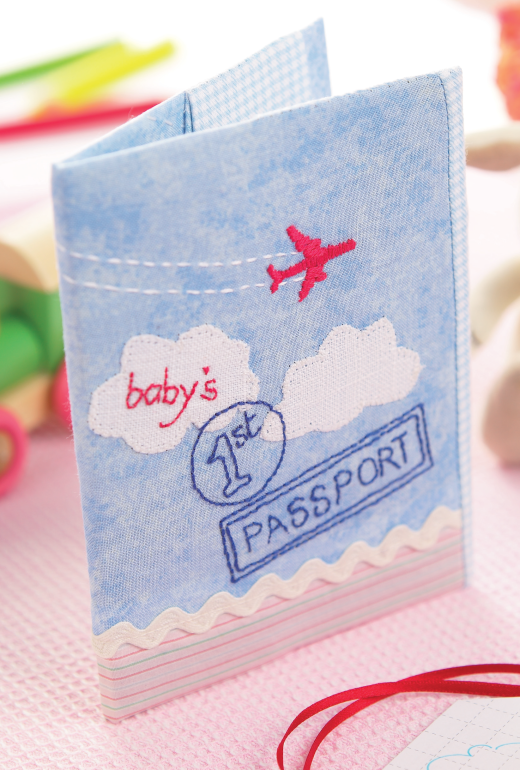
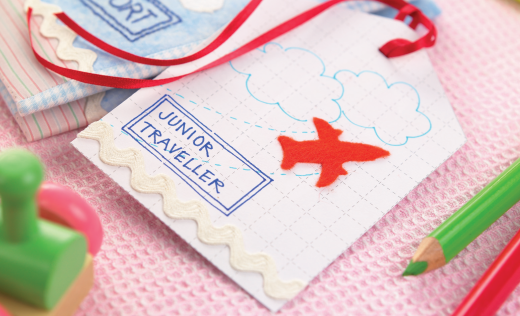
Make sure your junior jet setter travels in style with this luxury hand-stitched passport cover!
What you need...
- Cardboard, lightweight
- Paper, squared
- Card
- Wadding, polyester, two 11cm x 14cm rectangles
- Fabric: blue cotton, 16cm x 22cm; white cotton, 6cm x 10cm; blue gingham, two 10cm x 20cm rectangles; red felt
- Shirting, striped, 6cm x 22cm
- Ricrac, white
- Thread: tacking; DMC stranded embroidery thread, white, red, dark blue
- Pens, felt-tipped: turquoise, dark blue
- Embroidery needle
- Sewing machine
- Iron
- Adhesives
instructions
-
Passport Cover - 1 Cut two rectangles of card, 14cm x 17cm. Draw a line, 5mm from one short side on each shape, then score along it and fold under to form the
spine of the cover.
2 Make a second score line, 6cm in from the other short side, and fold it under to create a flap. Glue the two pieces together, along the spines, so that they overlap with both flaps on the inside. Reinforce the join with sticky tape.
3 Adhere wadding to the front and back covers. Draw two cloud motifs onto white thread in blanket stitch. Draw the red plane motif just above the second cloud. Back stitch around the outline with three strands of red, then work over the shape in satin stitch, as shown.
4 Sew the 'vapour trail' with two parallel lines of running stitch, worked with two strands of thread. Copy the 'baby's' text onto the first cloud and back stitch over the letters with two strands of red thread. Copy the rest of the design, then stitch with a double strand of dark blue.
5 Sew pink fabric to the bottom edge and press the seam to one side. Stitch white ricrac over the seam, then sew a gingham rectangle to each end of the cover and press the seams flat. Lay the cover out flat, wrong side up. Place the opened out card cover on top with the wadding facing downwards.
6 Turn the surplus fabric along the top and bottom edges over the card, then stick it down in the same way. Fold the flaps back under and slip stitch to the main cover along the top and bottom edges to finish. -
Gift Tag - 1 Glue card to squared paper, lining it up against the grid, and cut out. Trim a triangle from each corner at one end to make a tag. Snip the plane
motif from red felt and adhere to the card.
2 Add the vapour trails with two lines of turquoise dashes. Draw in clouds, then add the 'junior traveller' caption in blue. Glue ricrac to the lower edge.
Use the scissors to make a slot centrally at the top and thread ribbon through.
Projects you may also like...
Recommended Projects...
 BusymittsShare your makes


